- From the sidebar, select Marketing, then Property Flyers.
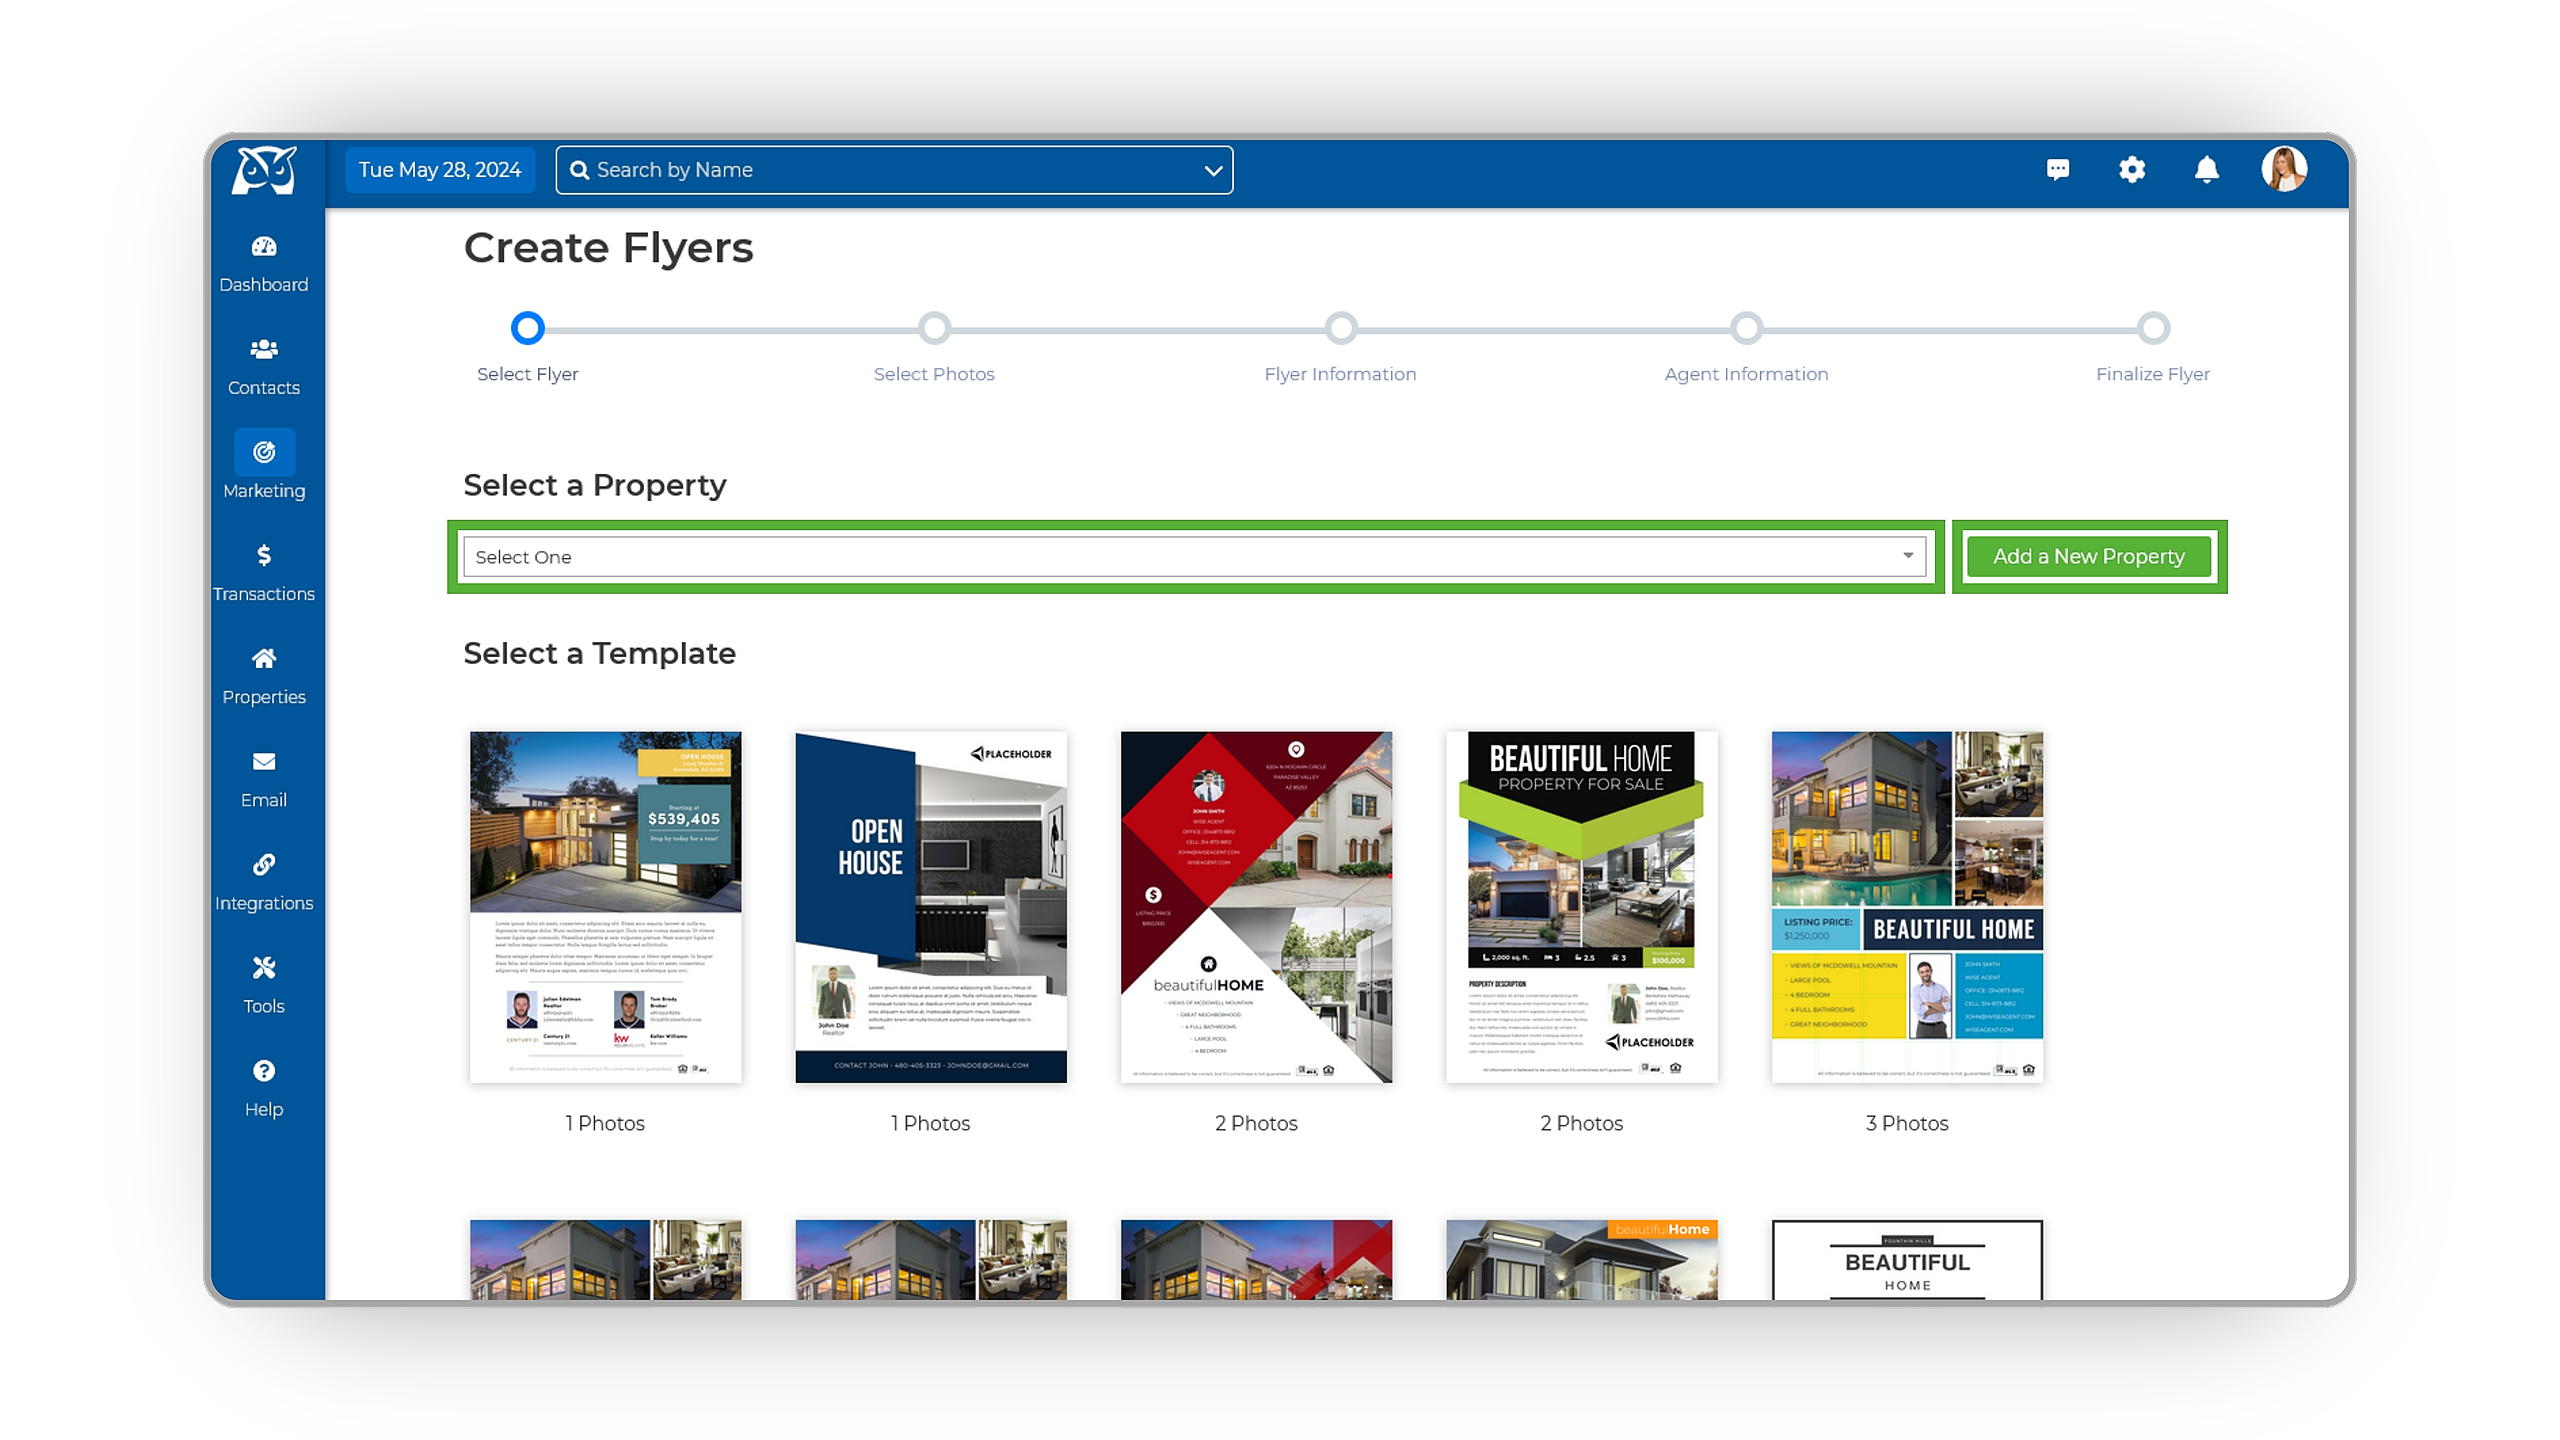
- Begin by selecting a property for which you want to create a flyer. You can do this by clicking on the Select a Property field, where a dropdown menu will display all the properties saved in the system. You also have the option to add a new property by clicking the green Add a New Property button.
- After selecting the property, click on a template from the available options, each indicating the number of included images, then select Next.
-
On the Select Photos page, you can upload images from your computer by clicking the Upload button. Images can be reordered by dragging them into the desired sequence displayed on the right-hand side. To remove an image, hover over it to reveal a red trash bin icon, then click to delete. Additional photos can be added by clicking the Upload button again.
-
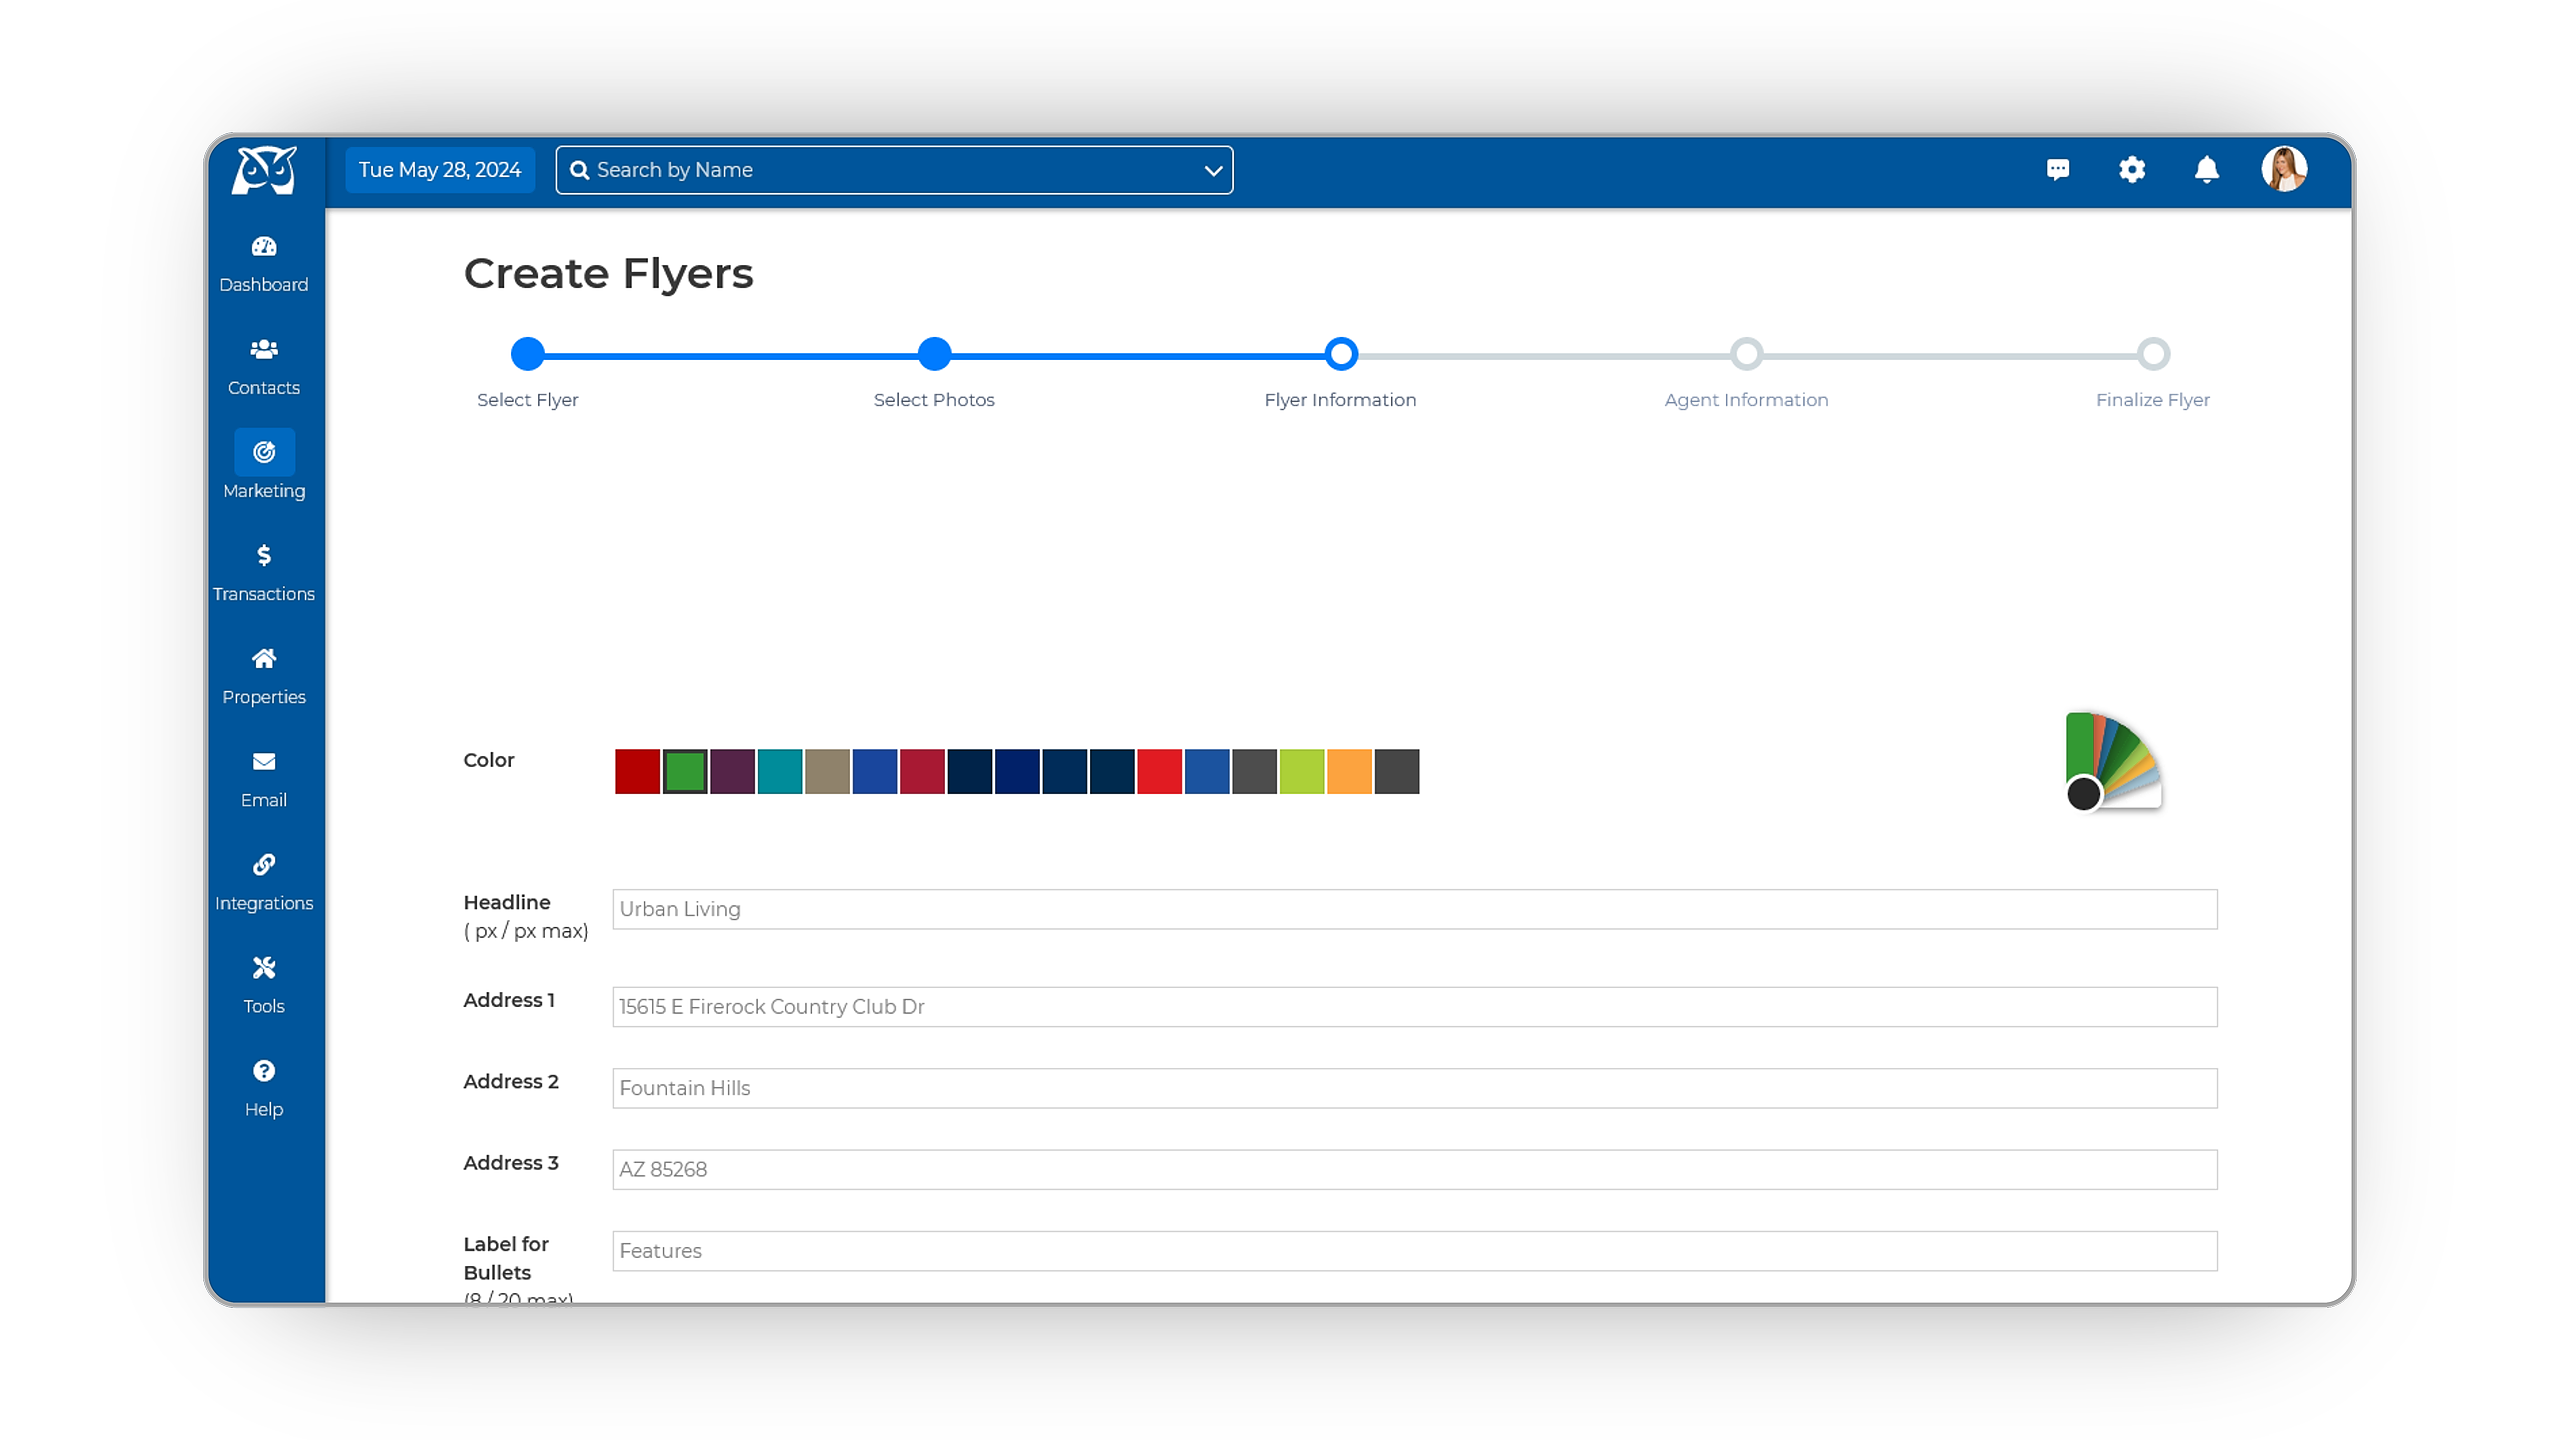
After selecting and arranging photos, click the Next button to proceed to the Flyer Information page. Here, property details are automatically populated, and you can customize the color scheme by selecting specific colors from the color swatch. Any necessary edits can be made to the fields before advancing to the next step.
-
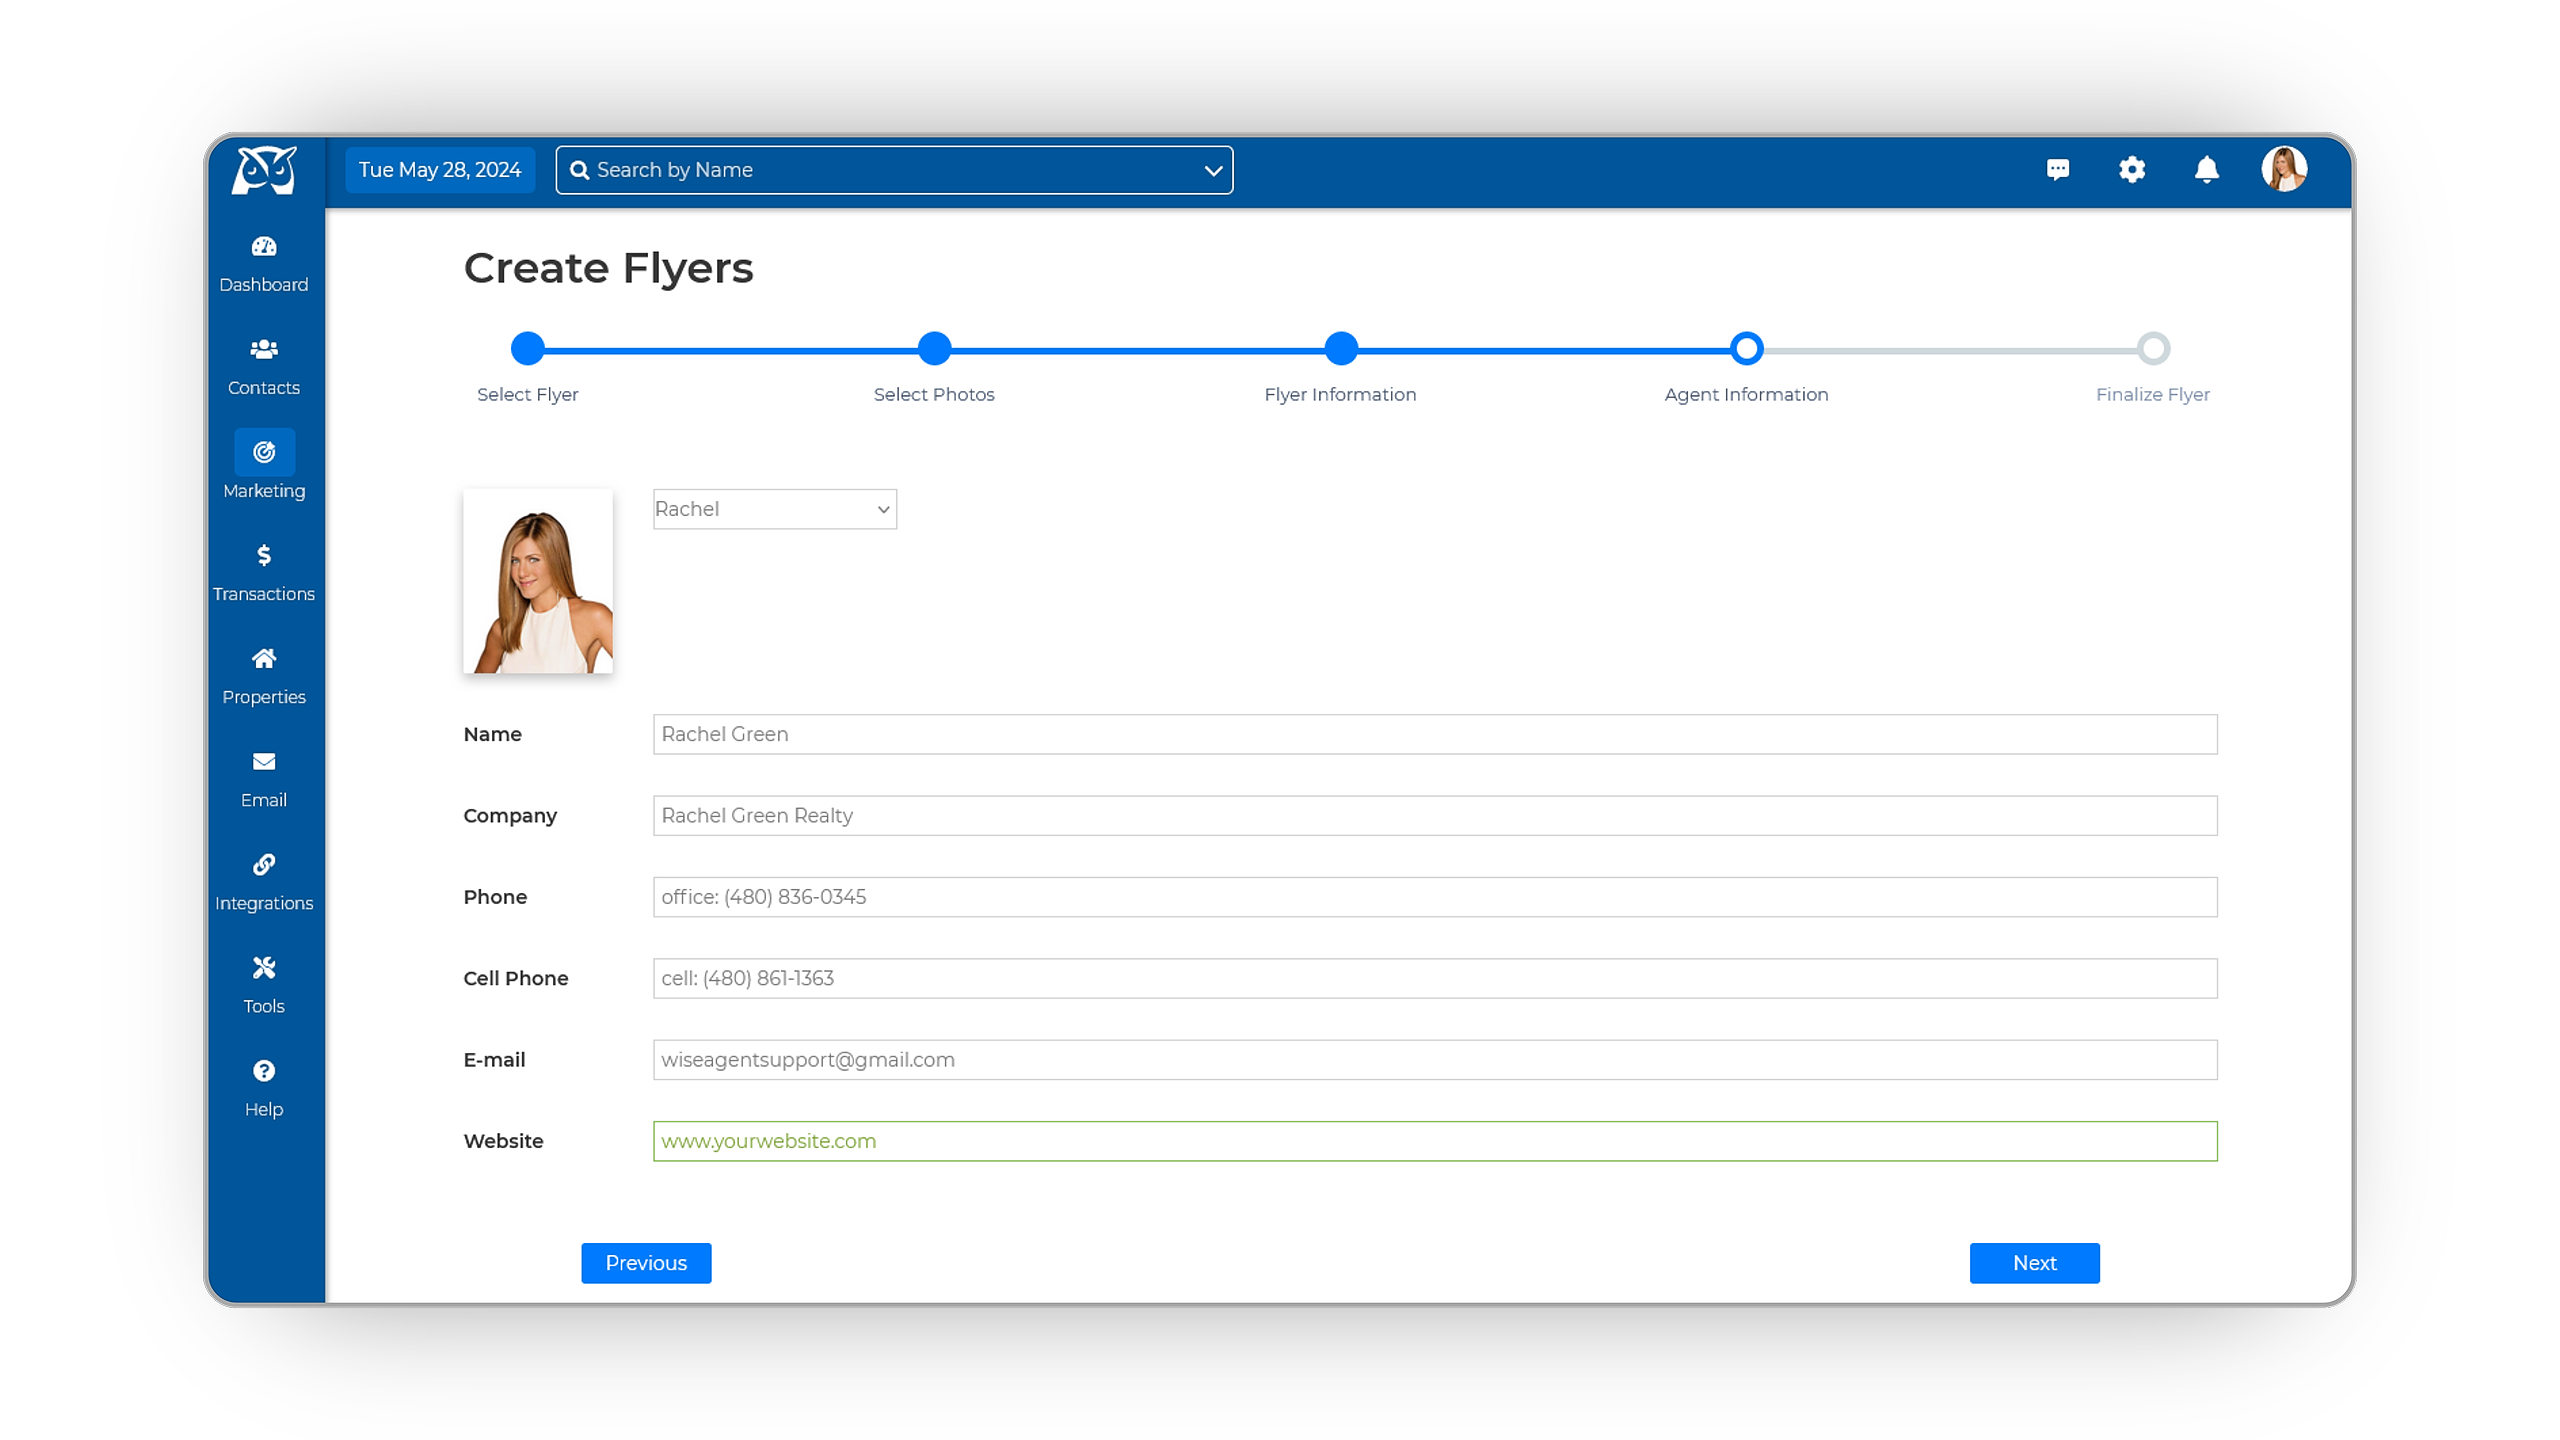
On the Agent Information page, select the team member's name from the dropdown menu. All relevant agent information will be populated in the fields, which can be edited as needed. Once adjustments are made, click the Next button to proceed.
-
The Finalize Flyer page allows you to preview the flyer and make any final modifications if required. If satisfied with the design, you can proceed to download the PDF version of the flyer.

Article suggestions