Getting Started
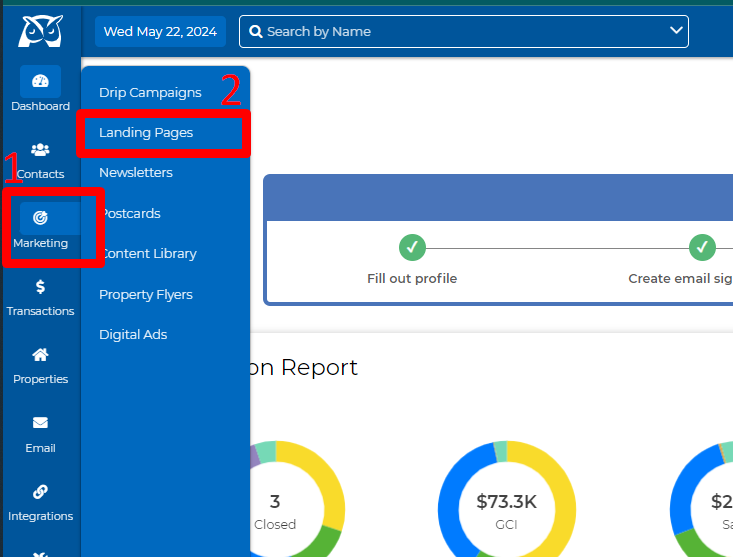
- Go to the Marketing dropdown and click on Landing Pages.
Create a New Landing Page
How to Select and Customize the Perfect Landing Page Template
- Browse Templates:
Explore the selection of landing page templates available.

Preview
Hover your mouse over the search icon to see a preview of the landing page.
Create Your Page:
Click on the "Start Editing" button to finalize your selection and start building your landing page.

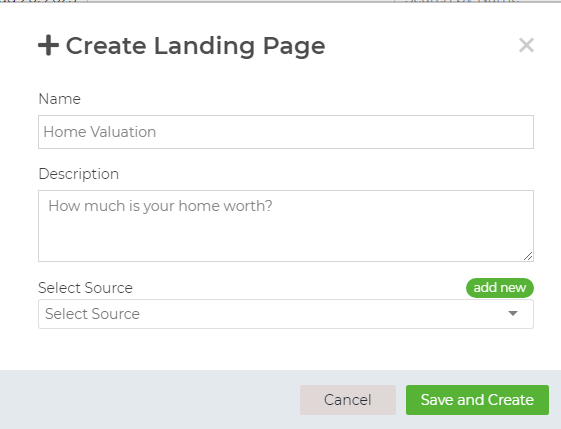
- To set up your landing page, start by naming it, adding a description, and selecting a source. You can also create a new source if needed. Once everything is ready, click "Save and Create." (Sources are linked to each lead when they submit their information through your landing page.)
Select From Existing Saved Landing Page to Edit
To Edit Existing Landing Pages
- Search for landing page to edit by name or by status (All, Active, Inactive)

- Click on the blue pencil to edit the page

Customizing Your Landing Page
Steps to Create and Customize Your Landing Page
Once you choose your template, you’ll be directed to the landing page editor, where the page is organized into distinct sections that can be edited individually.
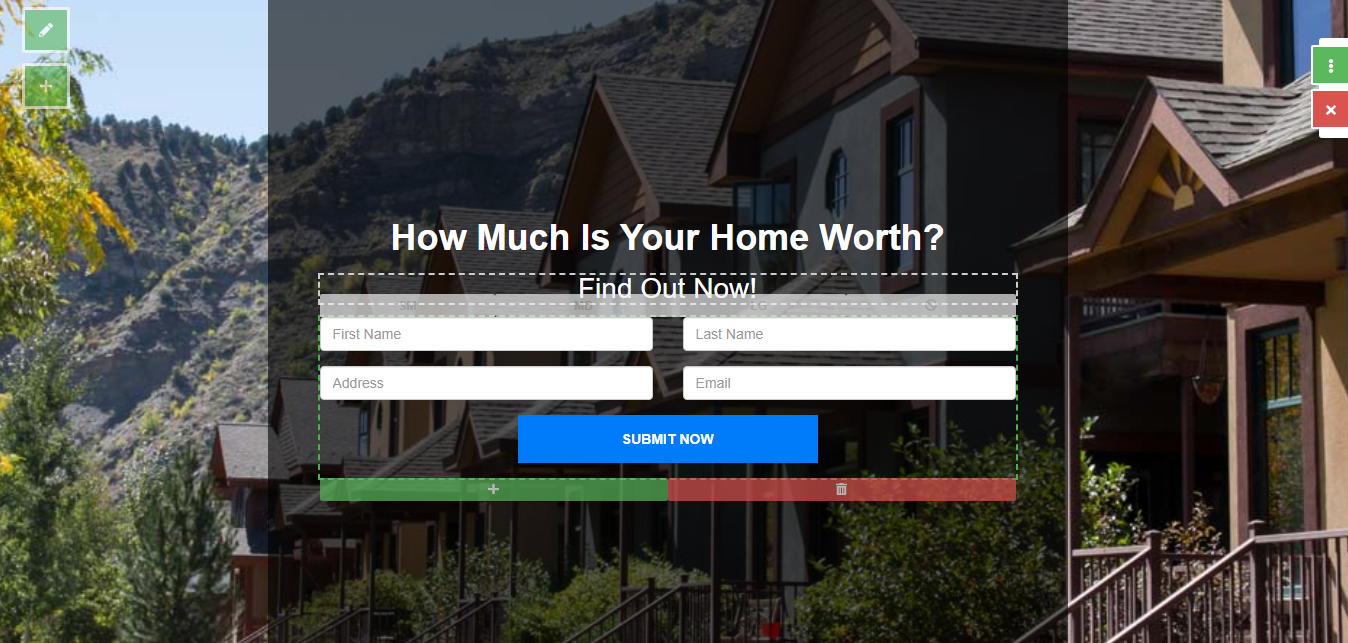
Editing Options
Click the pencil icon on the left side of your screen to adjust settings, change the background and colors, or delete as needed.
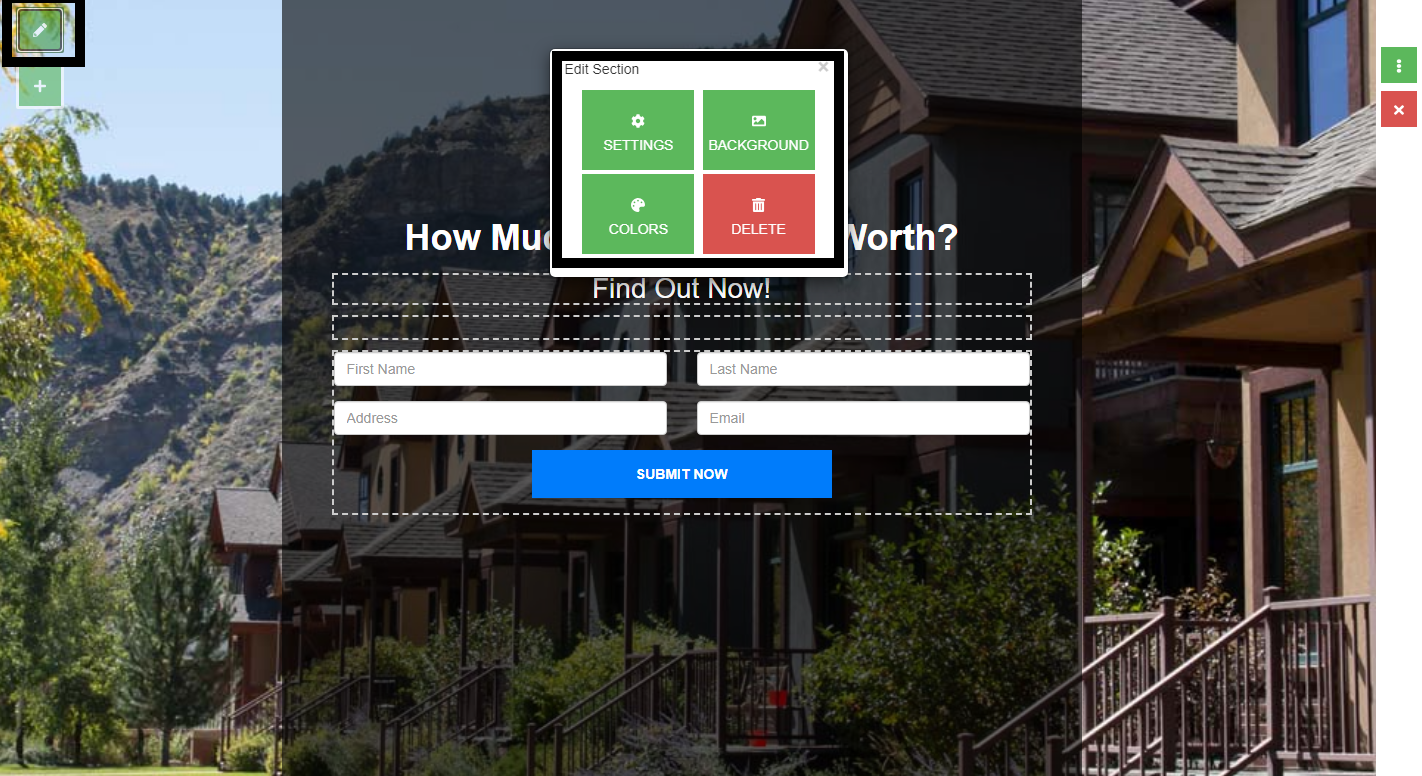
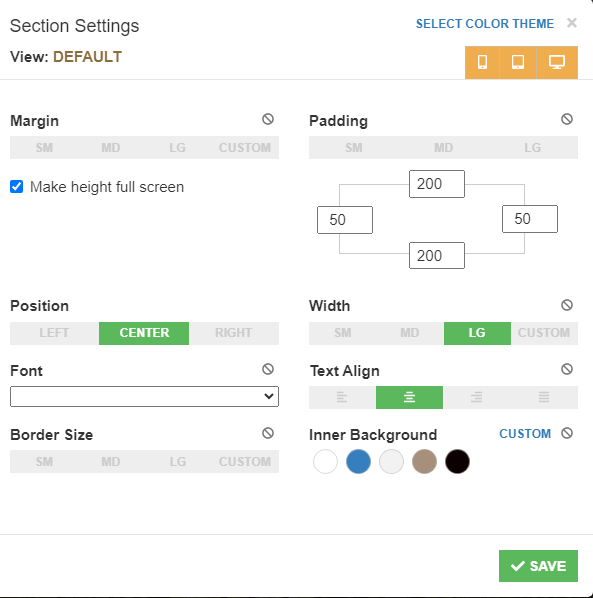
Settings
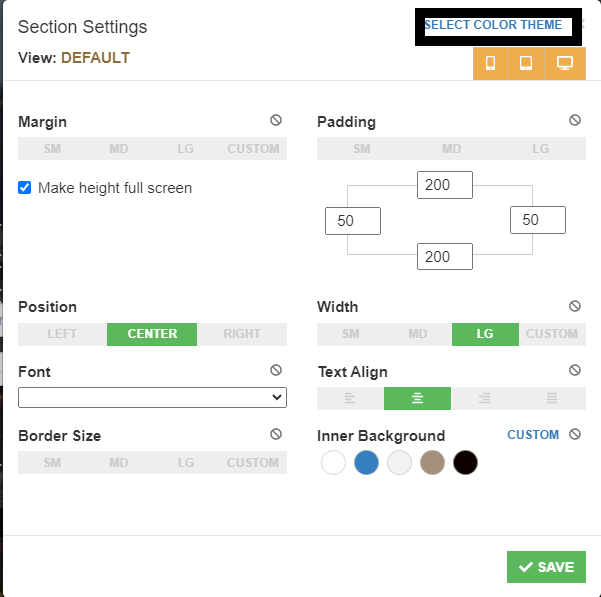
Clicking on "Settings" allows you to adjust section options, including color theme, margins, padding, as well as font size, color, and style.
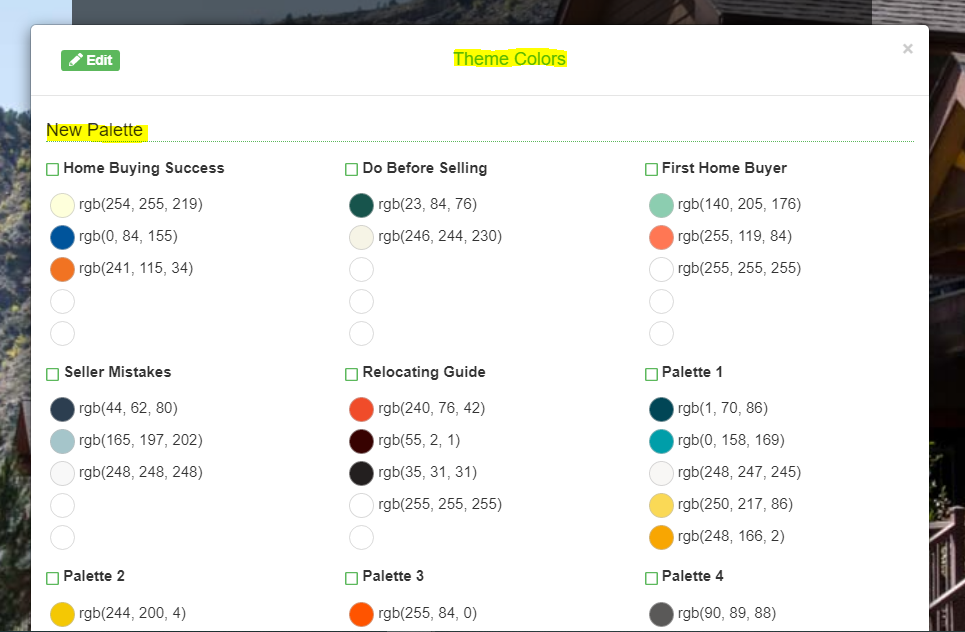
Select a color theme for your landing page from the available palettes or design a custom one.
You can choose the view type based on your device, whether it's a mobile, tablet, or the default desktop or laptop settings.
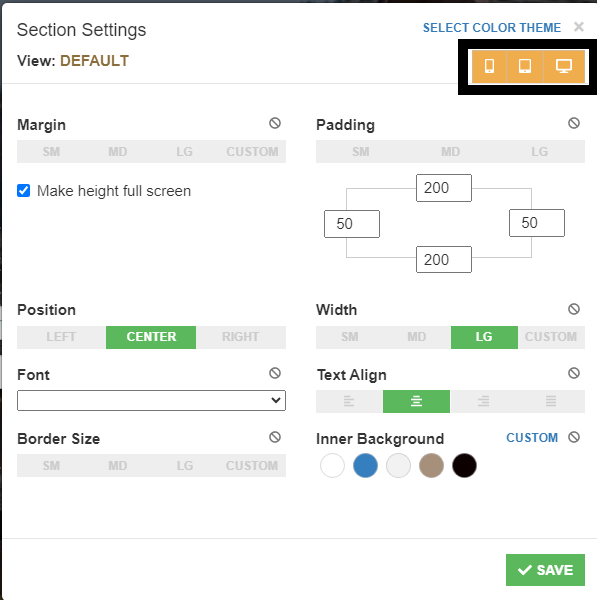
You can customize the margin and padding as well. There's an option to enable full-screen height by selecting the checkbox. Additionally, you can modify the position and width, alter the font, align the text, adjust the border size, and change the inner background. Once you've finished, click on "Save."
Background
Clicking this button lets you customize your landing page background. You can adjust the color theme, change the background image, or remove it entirely.
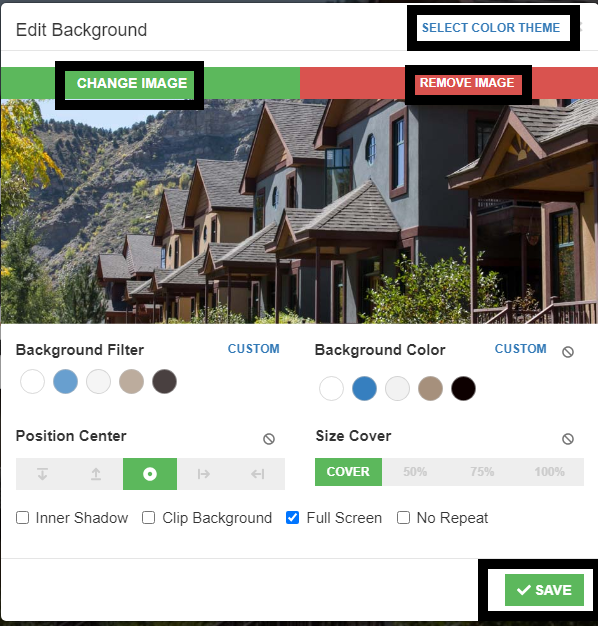
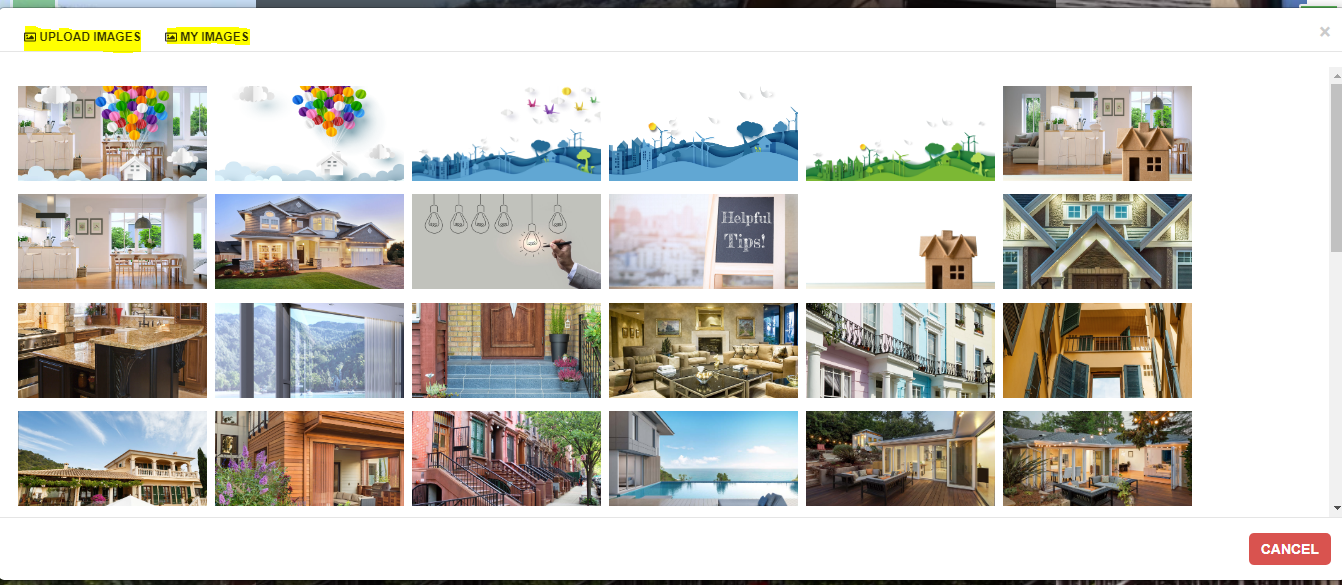
By selecting "CHANGE IMAGE," you can choose an image from the system or upload your own.
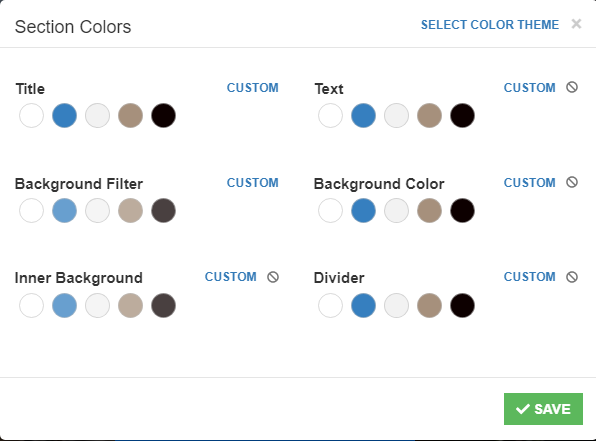
Colors
Choose a color theme and customize section colors, including the title, text, background filter, background color, inner background, and divider. Once you've made your selections, click the "Save" button.
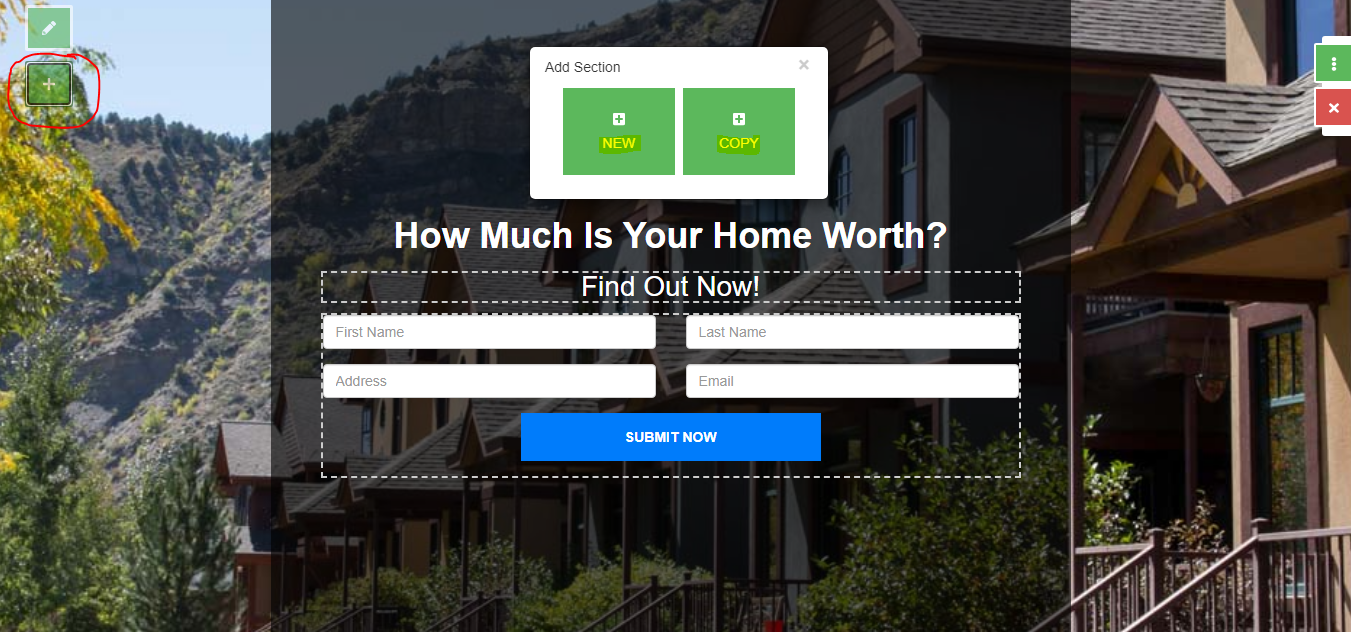
Sections
On the left-hand side of your screen, you can click on the plus (+) button to add a section or copy the existing section you are on.
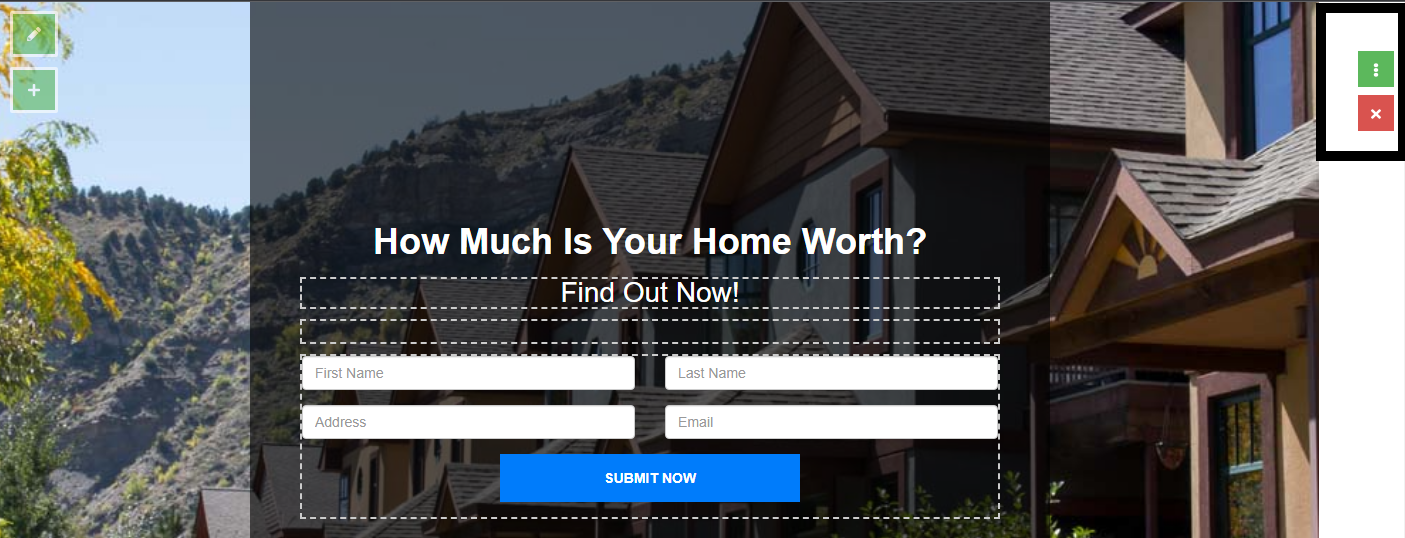
Menu Options
Menu
On the right-hand side, you will see the menu by clicking on the three vertical dots
On the menu, you can check the status of your landing page and preview it using the magnifying glass icon. You can also view the source and edit it by clicking the pencil icon. Additionally, you can add or modify rules by selecting the "Add or Edit Rules for Leads" option.
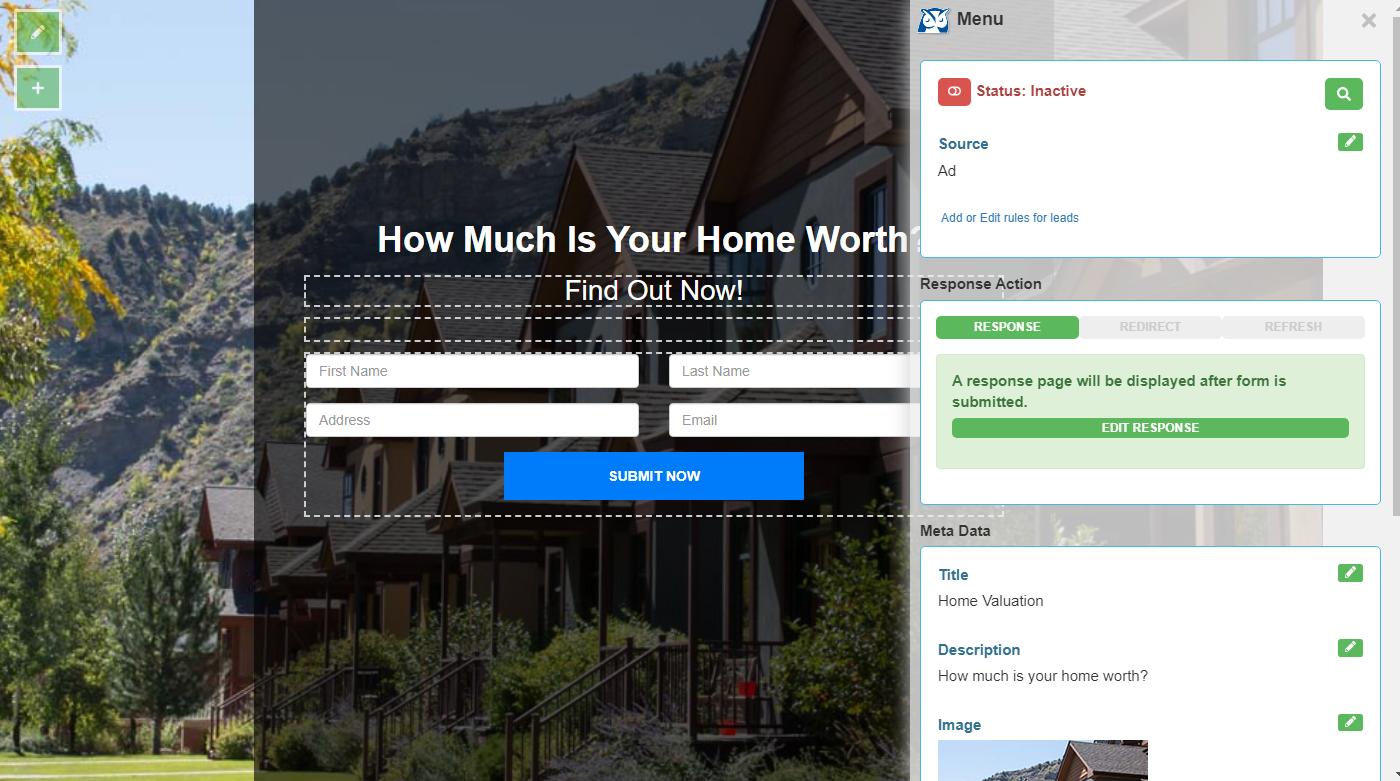
To learn more on creating and editing lead rules, view our article HERE
Response Action Tab
On the Response tab under Response Action, you can edit the response page and hit "Save" once done.
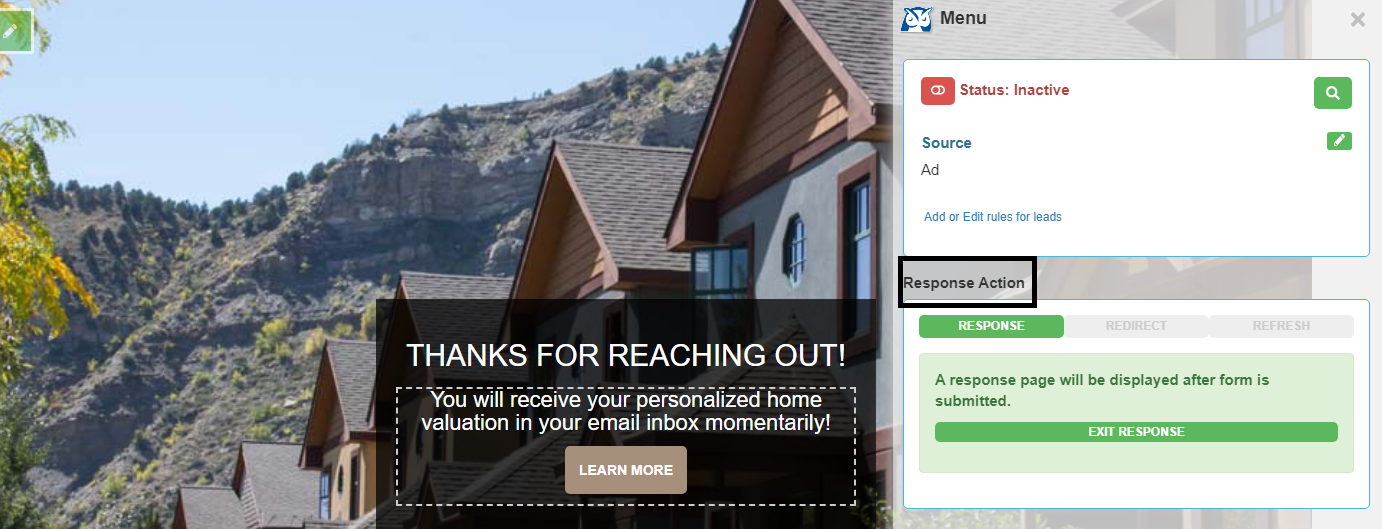
The Redirect tab will allow you to redirect your leads to your chosen URL,
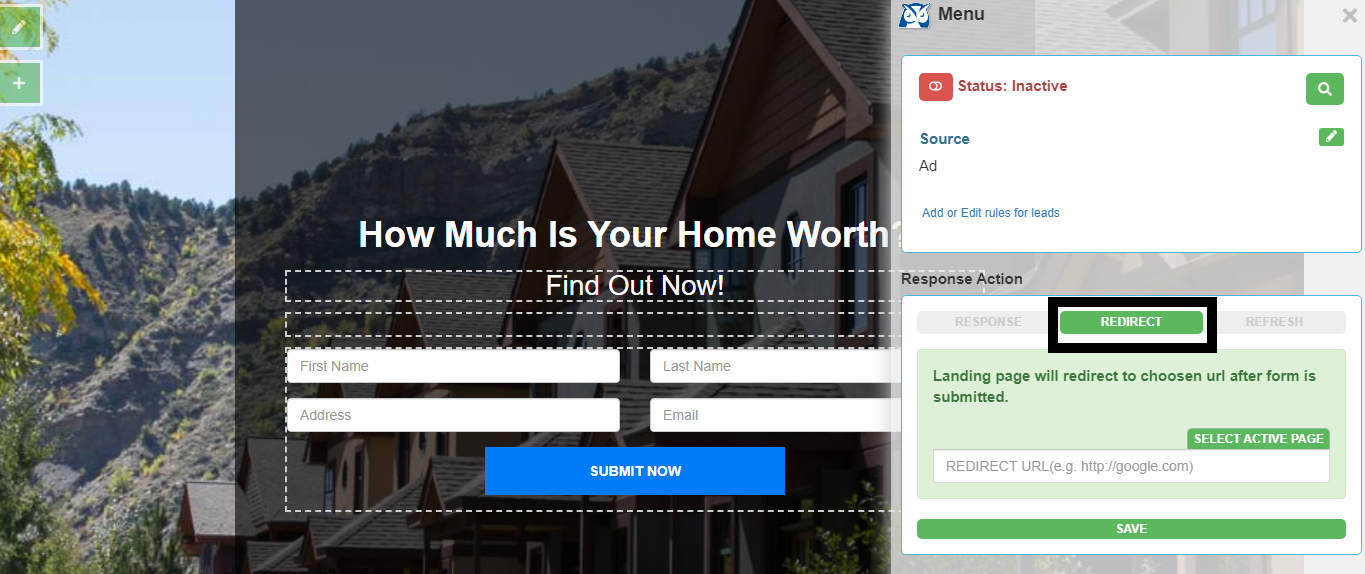
Or the Refresh tab will allow your landing page to refresh after a form is submitted.

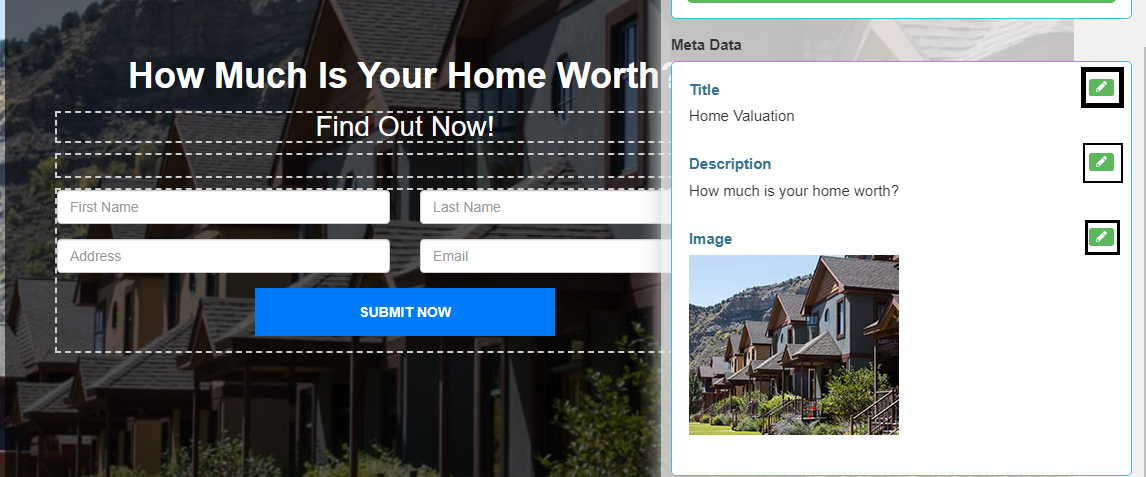
MetaData
The MetaData section enables you to customize your landing page's title, description, and preview image by simply clicking the pencil icon.
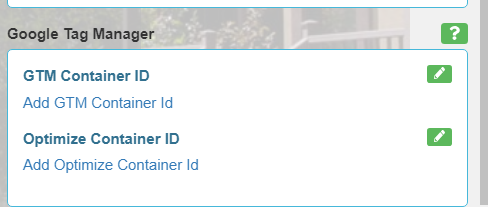
Google Tag Manager
The Google Tag Manager section allows you to add/edit container IDs and optimize container IDs by clicking the pencil icon to the right