What is Popl?
Popl is the #1 digital card lead capture system that allows you and your team to create an eCard, or digital business card, online. Using a link or QR Code, you can quickly share a customized form to capture lead details making lead capture easier than ever at any event. For more information about how to create a new Popl account visit popl.co.
Set Up a Zapier Integration between Popl and Wise Agent CRM
Using Zapier, a platform designed to automate workflows effortlessly, you can now have any leads that are captured using your Popl digital business card flow directly into your Wise Agent CRM. For detailed instructions on how to set up a Zap! from Popl to Wise Agent, follow the steps below.
- Login to your Zapier account by visiting https://zapier.com/. (if you do not have an existing Zapier account you will need to create a new account, which is available for free. If you intend to use more than 100 zaps a month a paid subscription to access Zapier Pro will be required.)
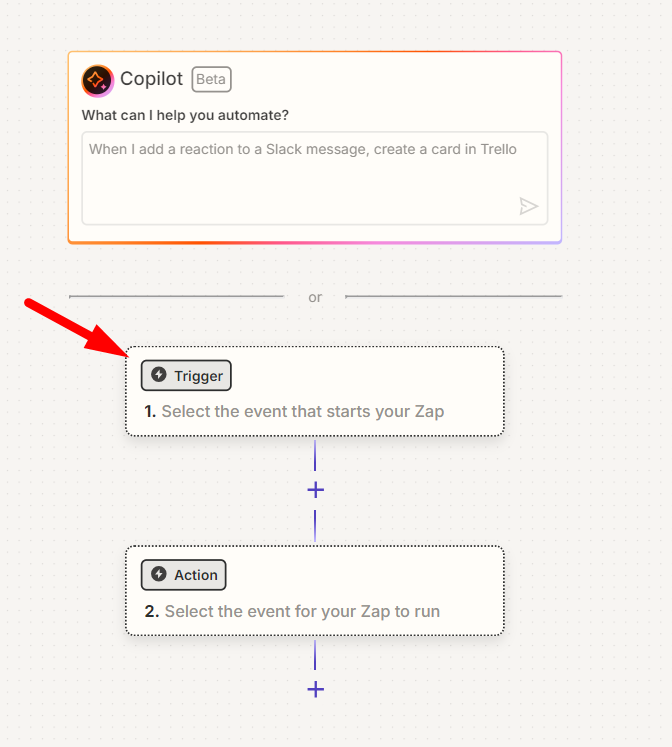
- Once logged in, click on the orange Create button and select Zaps or Zap under the Start From Scratch tiles.
(NOTE: Zapier offers an AI tool, Copilot. For assistance with the creation of new Zaps, simply type in details about the automation you hope to create. Copilot will generate steps on how to create a Zap that meets your needs.) - Once your Zap template has been created, you must identify the Trigger Event and the Action Event. In this case, our Trigger is a new lead completing your Popl form, and the action is that same lead being added to your Wise Agent CRM. Select the Trigger button to begin your Trigger Event configuration.
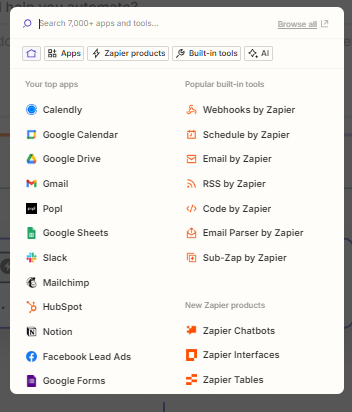
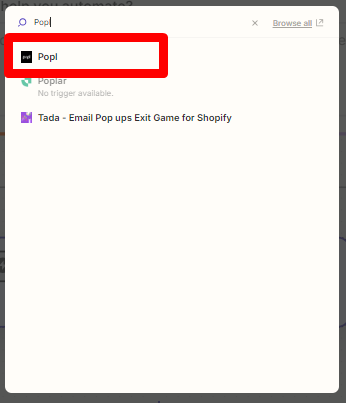
- After clicking Trigger, a side panel will open on the right-hand side to allow you to configure your Trigger event. Under the App field type click Change and search for the Popl app by typing "Popl" in the search bar. Select the Popl app.
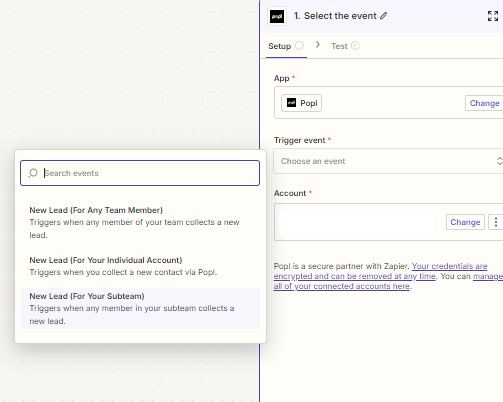
- Click the Trigger Event field and select the correct trigger that applies. You can select a Trigger Event within Popl that best applies to your team dynamic. The available options are: New Lead (For Any Team Member), New Lead (For an Individual Account), or New Lead (For Subteam). If you are a single agent we recommend using New Lead (For an Individual Account).
- Under the Account field, click Change. A pop-up window will be displayed, enter your Popl credentials and click Continue.
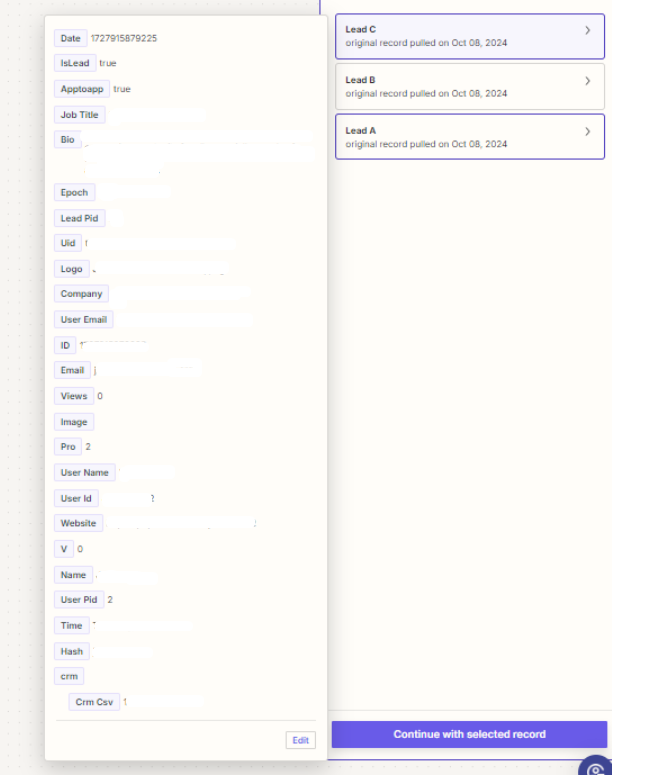
- Click Test Trigger to create a link between your Popl account and Zapier. This step will allow Zapier to ping Popl to review the most recently created leads to use as a template for your Zap. Once your lead examples have been pulled, review the lead data and select which lead you'd like to use as your template. Click the > arrow to review the information listed for each example. After choosing the lead example you'd like to use, highlight the lead, then click Continue with Selected Record.
(Note: Select the lead that has the most complete record to ensure the correct fields are appropriately mapped to Wise Agent) - Upon completing your Trigger settings, a new pop-up will appear to select the app you'd like to use for your Action Event. In this window, search for "Wise Agent CRM" and click the Wise Agent app.
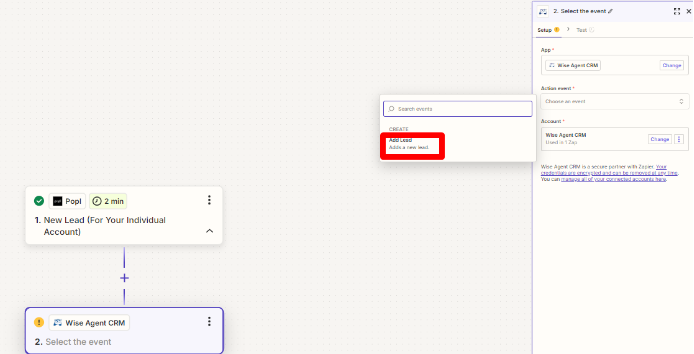
- Now that the App field has Wise Agent CRM selected you'll need to identify your Action Event. Wise Agent only offers one action event, Add a New Lead, highlight this option.
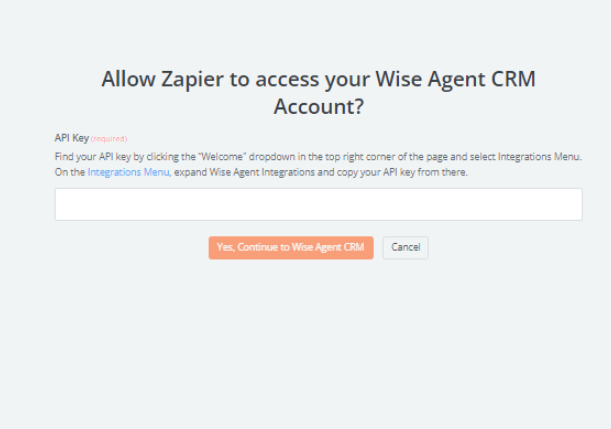
- Under the Account field click Change then click Add Account. Here you will need to enter your Wise Agent API Key which can be found within your Wise Agent Integration Settings. For detailed instructions on how to locate your API key click here. Paste your Wise Agent API key and select Yes, Continue to Wise Agent CRM.
- Click Continue on the bottom of the Zapier Action panel window.
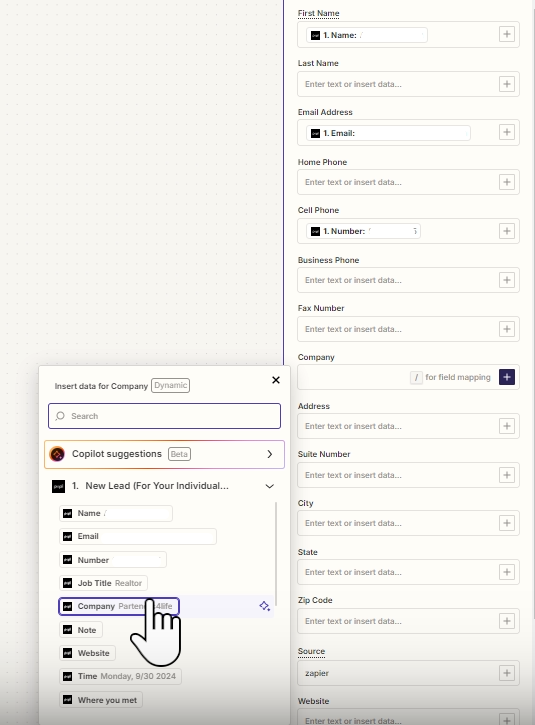
- Next, you will be directed to the Add Lead panel where you can map your lead data. Here you will identify the fields from Popl that should be mapped over to Wise Agent. For example, if you have a First Name field in Popl, you must indicate that this field should be sent to the First Name field in Wise Agent. To map each field, click the + icon to select from a list of options.
NOTE: Zapier requires the first name and last name fields to be separate. If your Popl form uses a single field for your lead's name, such as "Full Name" or "Name" you will need to follow the steps outlined here to separate the values and split the text to ensure that the name fields are mapped correctly in Wise Agent. For assistance with adding this step you can also reach out to our award winning support team! - Before moving on to the next step, ensure that you have updated the SOURCE. Zapier automatically lists the Source as "Zapier" for every new Zap created. If you intend to use more than one app through Zapier this can cause confusion on where your leads are truly being sent from. We recommend adding the source name "Popl" or the name of your Popl form.
- Click Continue then click Send Test. A test lead will be created in Wise Agent using the template lead you selected. (You can also opt to skip this step, but we recommend testing the Zap to ensure it's functioning properly.)
- Click Publish.
That's it! Now that your Zap has been set up any new lead that fills out your Popl digital form, will automatically be sent to your Wise Agent CRM.


