

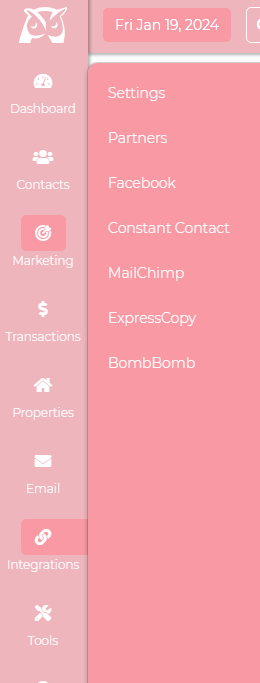
1. Connect the Digital Ads integration by clicking the Integrations and Settings.
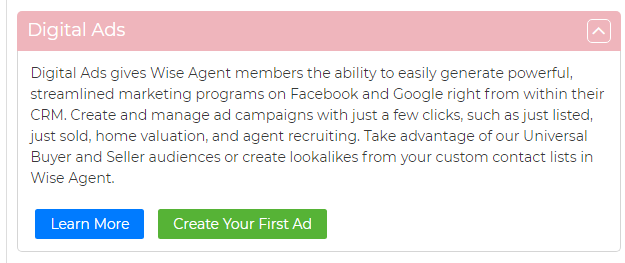
2. On the left-hand side of your Integrations page, check for Digital Ads click on the arrow down button, and click "Create Your First Ad."
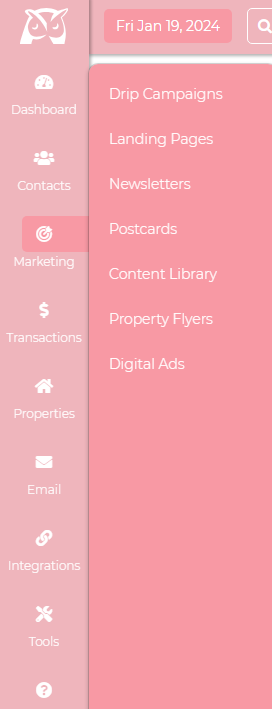
3. Once activated, go to the Marketing dropdown and click on Digital Ads.
4. On the Digital Ads, connecting your Facebook page is recommended since Facebook will act as a branding of your Ads. You can use the Digital Ads Business page on the left-hand side if you have no Facebook business page.

5. After connecting your page, you will be routed to your ads dashboard, where you can create an ad with various options.

6. Before selecting an ad type, read the description to ensure you choose the right one. Ad types include Traffic Ads and Lead form Ads for Facebook and Google.
- Traffic Ads - will send your potential clients to your listing pages, such as your Wise Agent landing page or your website.
- Lead Form Ads - will have a form built into the ad that your potential client can fill out without leaving Facebook/Google.
7. When you go to the support dropdown, you will find the FAQ button, which details where your ads will be shown and the questions included in the lead form ads. If you need assistance or have questions, click on Contact Support anytime.

Steps to create an Ad:
( Let's have the Just Sold / Sellers Lead ad as an example )
- Select an ad and click on the "Get Started" button.

- You will be directed to the "Program Details" page. You can preview your ad on the left-hand side, and this will automatically refresh as you make changes.

- Under the Facebook Page dropdown, you may select and link the page you want to run an ad. Under Listings, select the listing you want to promote by clicking the red plus + button. Next is selecting your Targeting options. You can choose your Radius from Listing Location or Custom Location ( Custom Location is like a postal code or region ).

- Next is editing the Creative section. This field will show the primary text for your Ad. There are also options for you to customize the text by clicking in the field and selecting placeholder text for the property. You can also edit the headline, add a description, and pull your default property image from your Wise Agent account. If you want a new image added, click "Upload Custom Image."

-
Next, you will be able to choose whether you want to have the property status overlay. If you want to remove it, click "none," and your ad will refresh without it. There is also an Image Overlay for your profile picture where you can choose a custom image that could be something like your logo. If you would not like to include any of these, click on "none."

-
Finally, it would be best to have the URL to direct your leads when they finish your lead ad form. If you hover your mouse, we can see that sending them to a site without a contact form is recommended instead of already filling one out. For Traffic ads, you send them to a page with a contact form, like a Wise Agent landing page, to collect the information. You can preview your URL by clicking the "Preview URL" button, and once done, click "PROCEED TO LAST STEP."

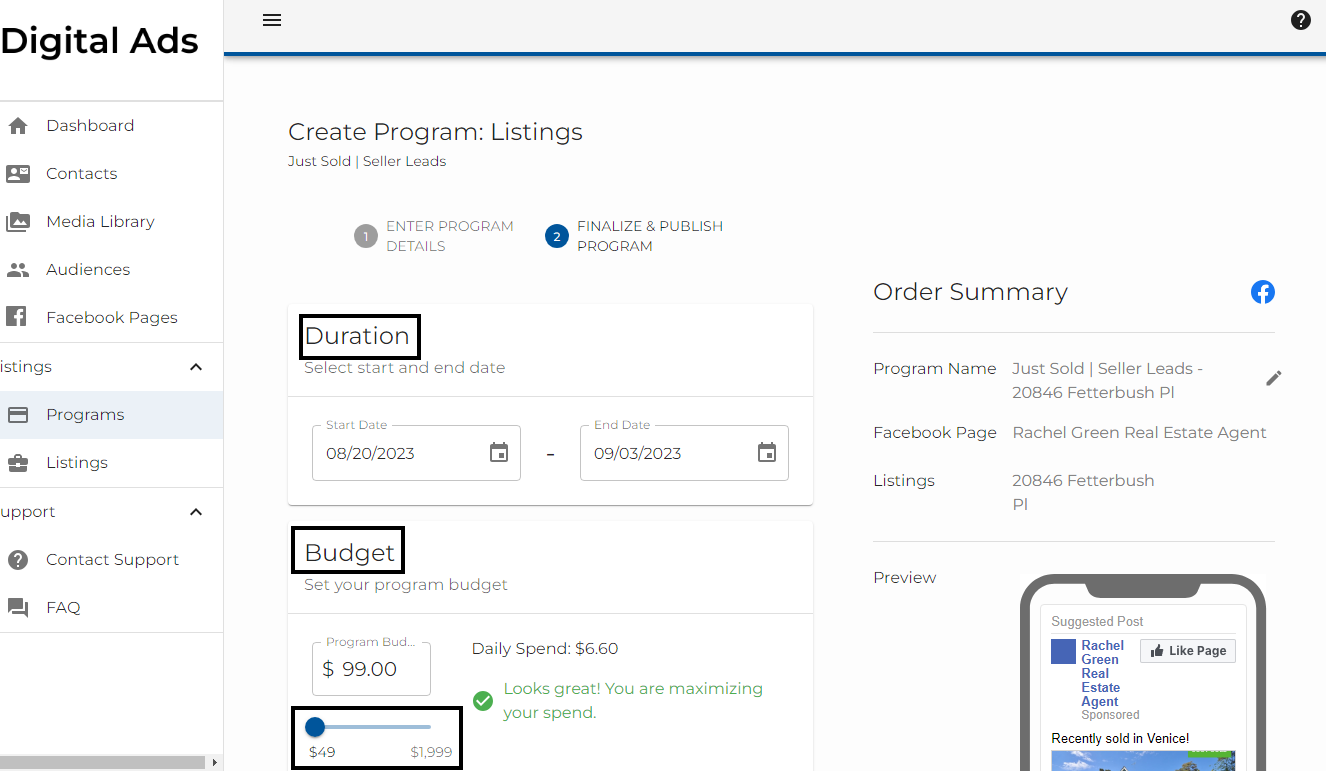
- Next, finalize and publish your program. First, you have to select the start and end date or the duration of running your ad and then set a budget ( you can change to spend with the slider or by typing in a specific amount ). The minimum daily spend is $3.27.
- Next is billing. You can add a new card or use the same card; you may also add your promocode, and once done, hit the 'PURCHASE NOW' button.

- You will now be routed to the program details, where you will see the order id number, order status, ad status, billing status, blueprint, start/end date, and how much you spent on the ad, including your card details. You will see that your ad is in pending status until it has been reviewed. Your ad will likely be on pending status for at least 1 - 5 minutes unless your ad needs some edits. If that is the case, please contact our support team for assistance. If you want to cancel, click the "CANCEL PROGRAM" button. A message will also pop up at the top that says, "Your order was placed successfully. You can check back to this page for stats after it has been published".

Once you cancel the program, there will be a message that says, " The program has been successfully canceled."

-
You can see the status of all your ads and edit or cancel your campaigns by clicking on the "Programs" option on the left-hand side and then selecting the program you want to edit. Remember that the programs you edit will go back to review for final approval.

Here is a YouTube video for this feature: