Activating The Transactions (ZipForm® Edition) Integration
- Log in to your Transactions (zipForm® Edition) account.
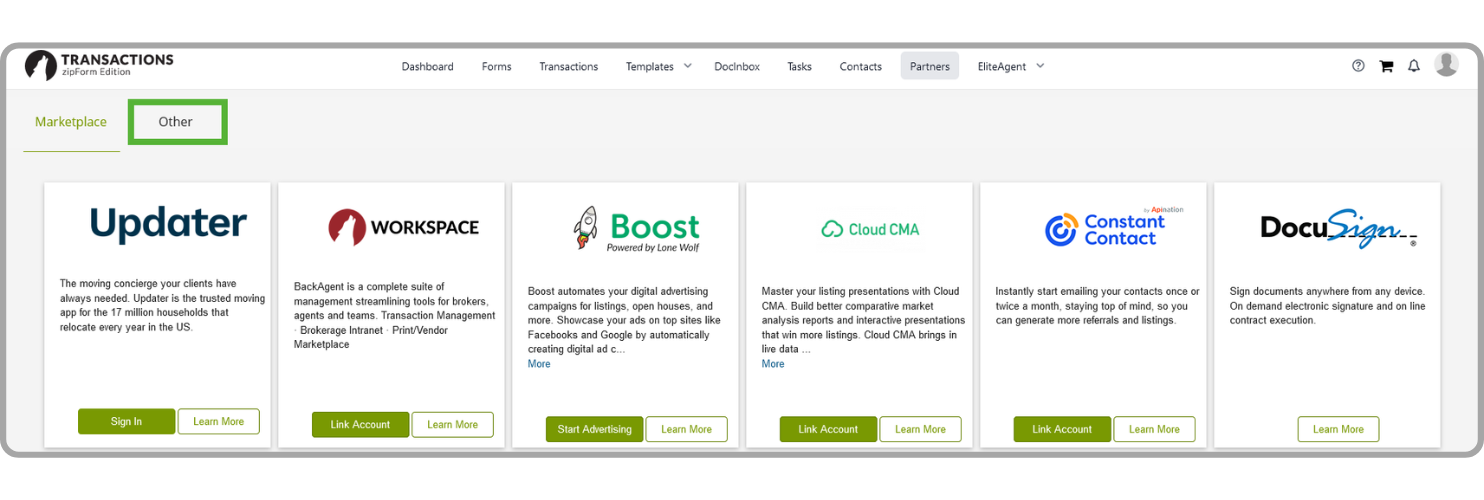
- Navigate to the Home Dashboard and select Partners from the top menu.
- Within the Partners section, select Other from the upper menu.
- Locate Wise Agent and select Link Account. You will then be redirected to your Wise Agent account, confirming the successful connection between Transactions (zipForm Edition) and Wise Agent.
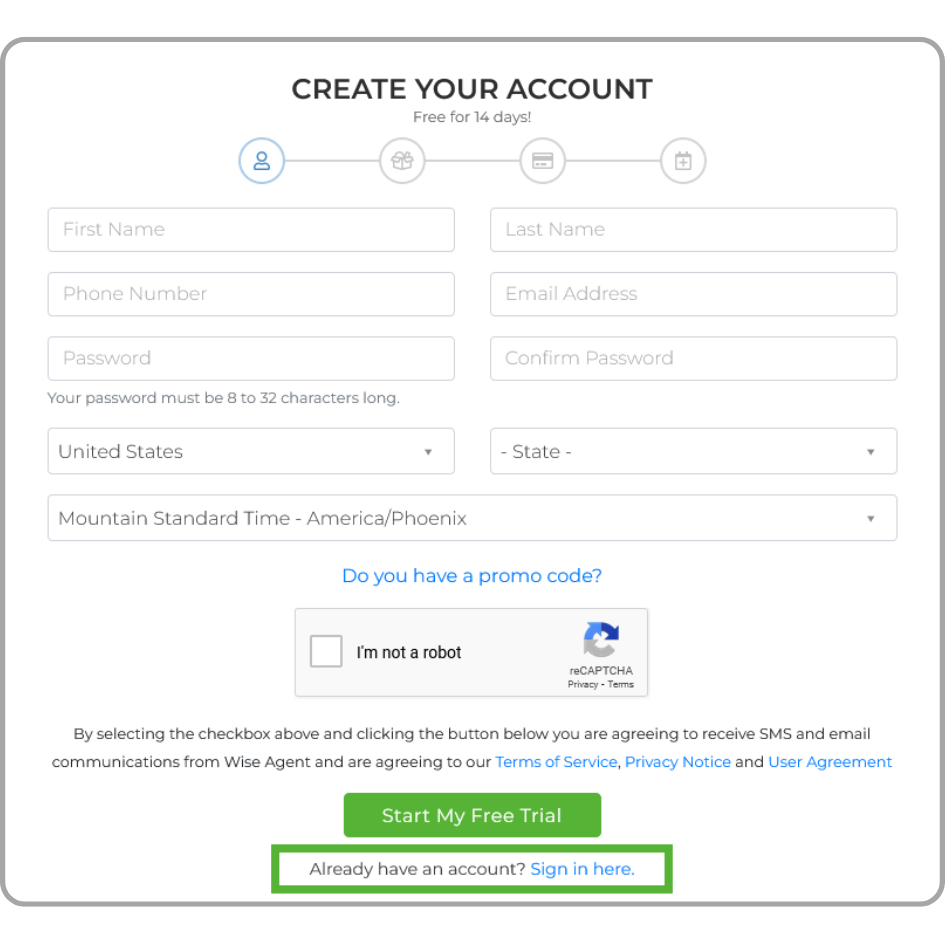
💡 Upon selecting Link Account, if you are prompted with Account Not Found, Create a New Account. Click Yes to proceed, even if you have an existing Wise Agent account. You'll be redirected to Wise Agent's registration page. Here, select Already Have an Account and log in using your Wise Agent credentials.
Viewing & Managing Transactions
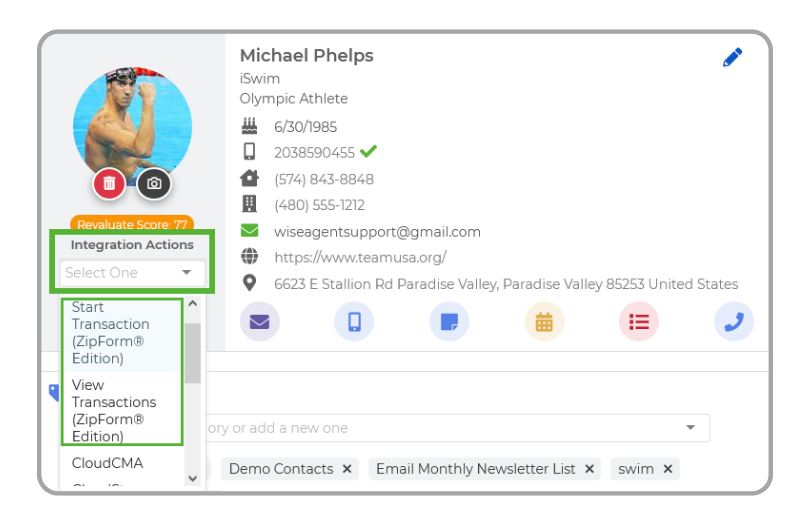
From any contact summary page in Wise Agent, you will see a drop-down under your client’s profile image called “Integration Actions”. This will allow you to start or view a zipForm® Plus transaction for the contact. From the same modal where you view and manage your transactions, you are also able to pull files directly into your client's summary page and save them as attached files that can be viewed, downloaded, and attached to transaction checklists within your CRM.
- Log in to your Wise Agent account.
- From the sidebar, select Contacts then Contact List.
- Search for the desired contact and click on their name to view their Contact Summary.
- Select the Integration Actions dropdown, then click Start Transaction (ZipForm® Edition) or View Transaction (ZipForm® Edition).
-
Once selected, a pop-up window will appear with your next steps outlined!
Attaching Files From Zipforms To Your Wise Agent Checklists
Gone are the days of downloading and uploading files to multiple platforms. Your files can now be pulled from your zipForm® account as an attached file to your checklists within Wise Agent!
- Log in to your Wise Agent account.
- From the sidebar, select Transactions then Checklists.
- Choose an existing checklist or create a new one.
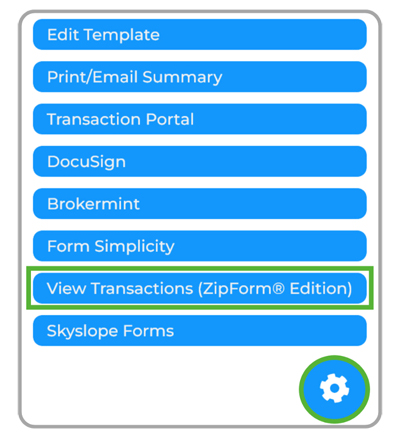
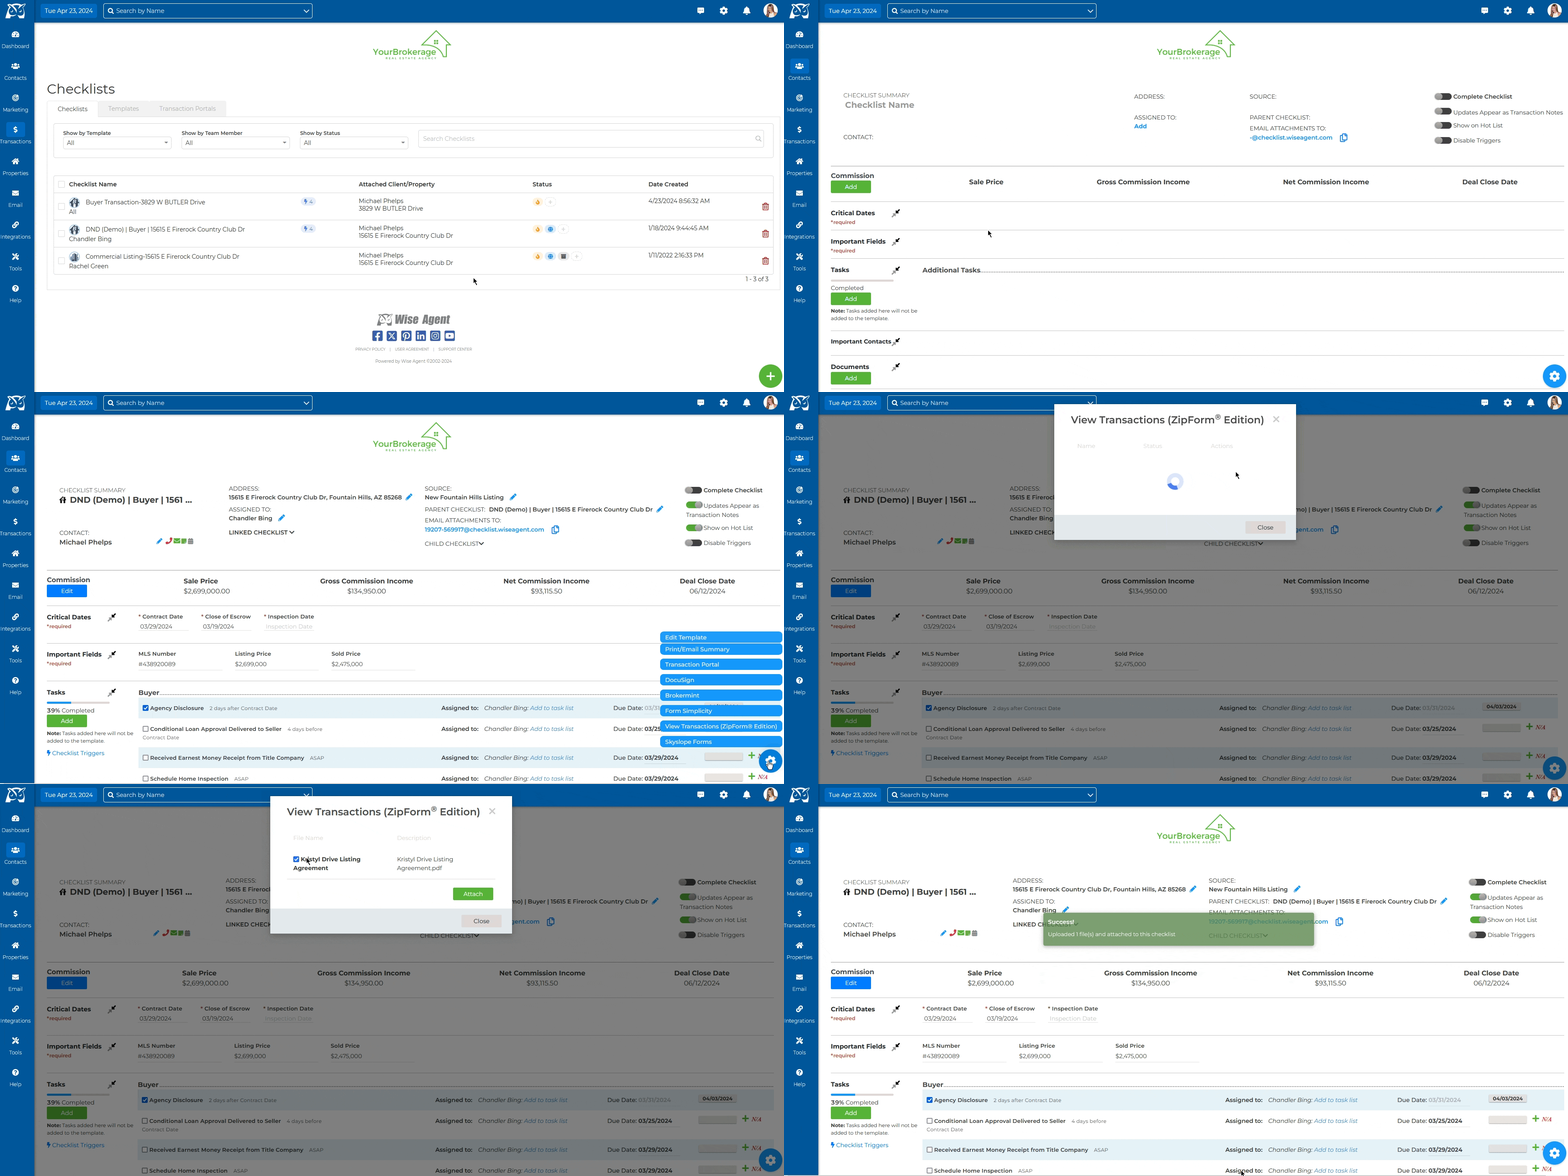
- Once a checklist is selected, you will enter the Checklist Summary Page. Locate and click on the blue gear icon in the bottom right corner, then select View Transaction (ZipForm® Edition) from the menu that appears.
- A pop-up will appear where you can select Get Files to the right of the corresponding transaction you wish to pull from.
- Once selected, checkbox the files you want to add.
-
Finally, click on Attach, and you're all set!


