🚩 PLEASE NOTE: There is a one-time non-refundable $100 fee that will be billed through Wise Agent to set up this integration. 🚩
Step 1: Link Northstar MLS To Your Broker Only Subscription
If you have not done so already, register for an MLSGrid account and complete the Broker Only Subscription. Note: Only the designated broker can complete the following steps. If you are not the designated broker, kindly forward these instructions to your broker.
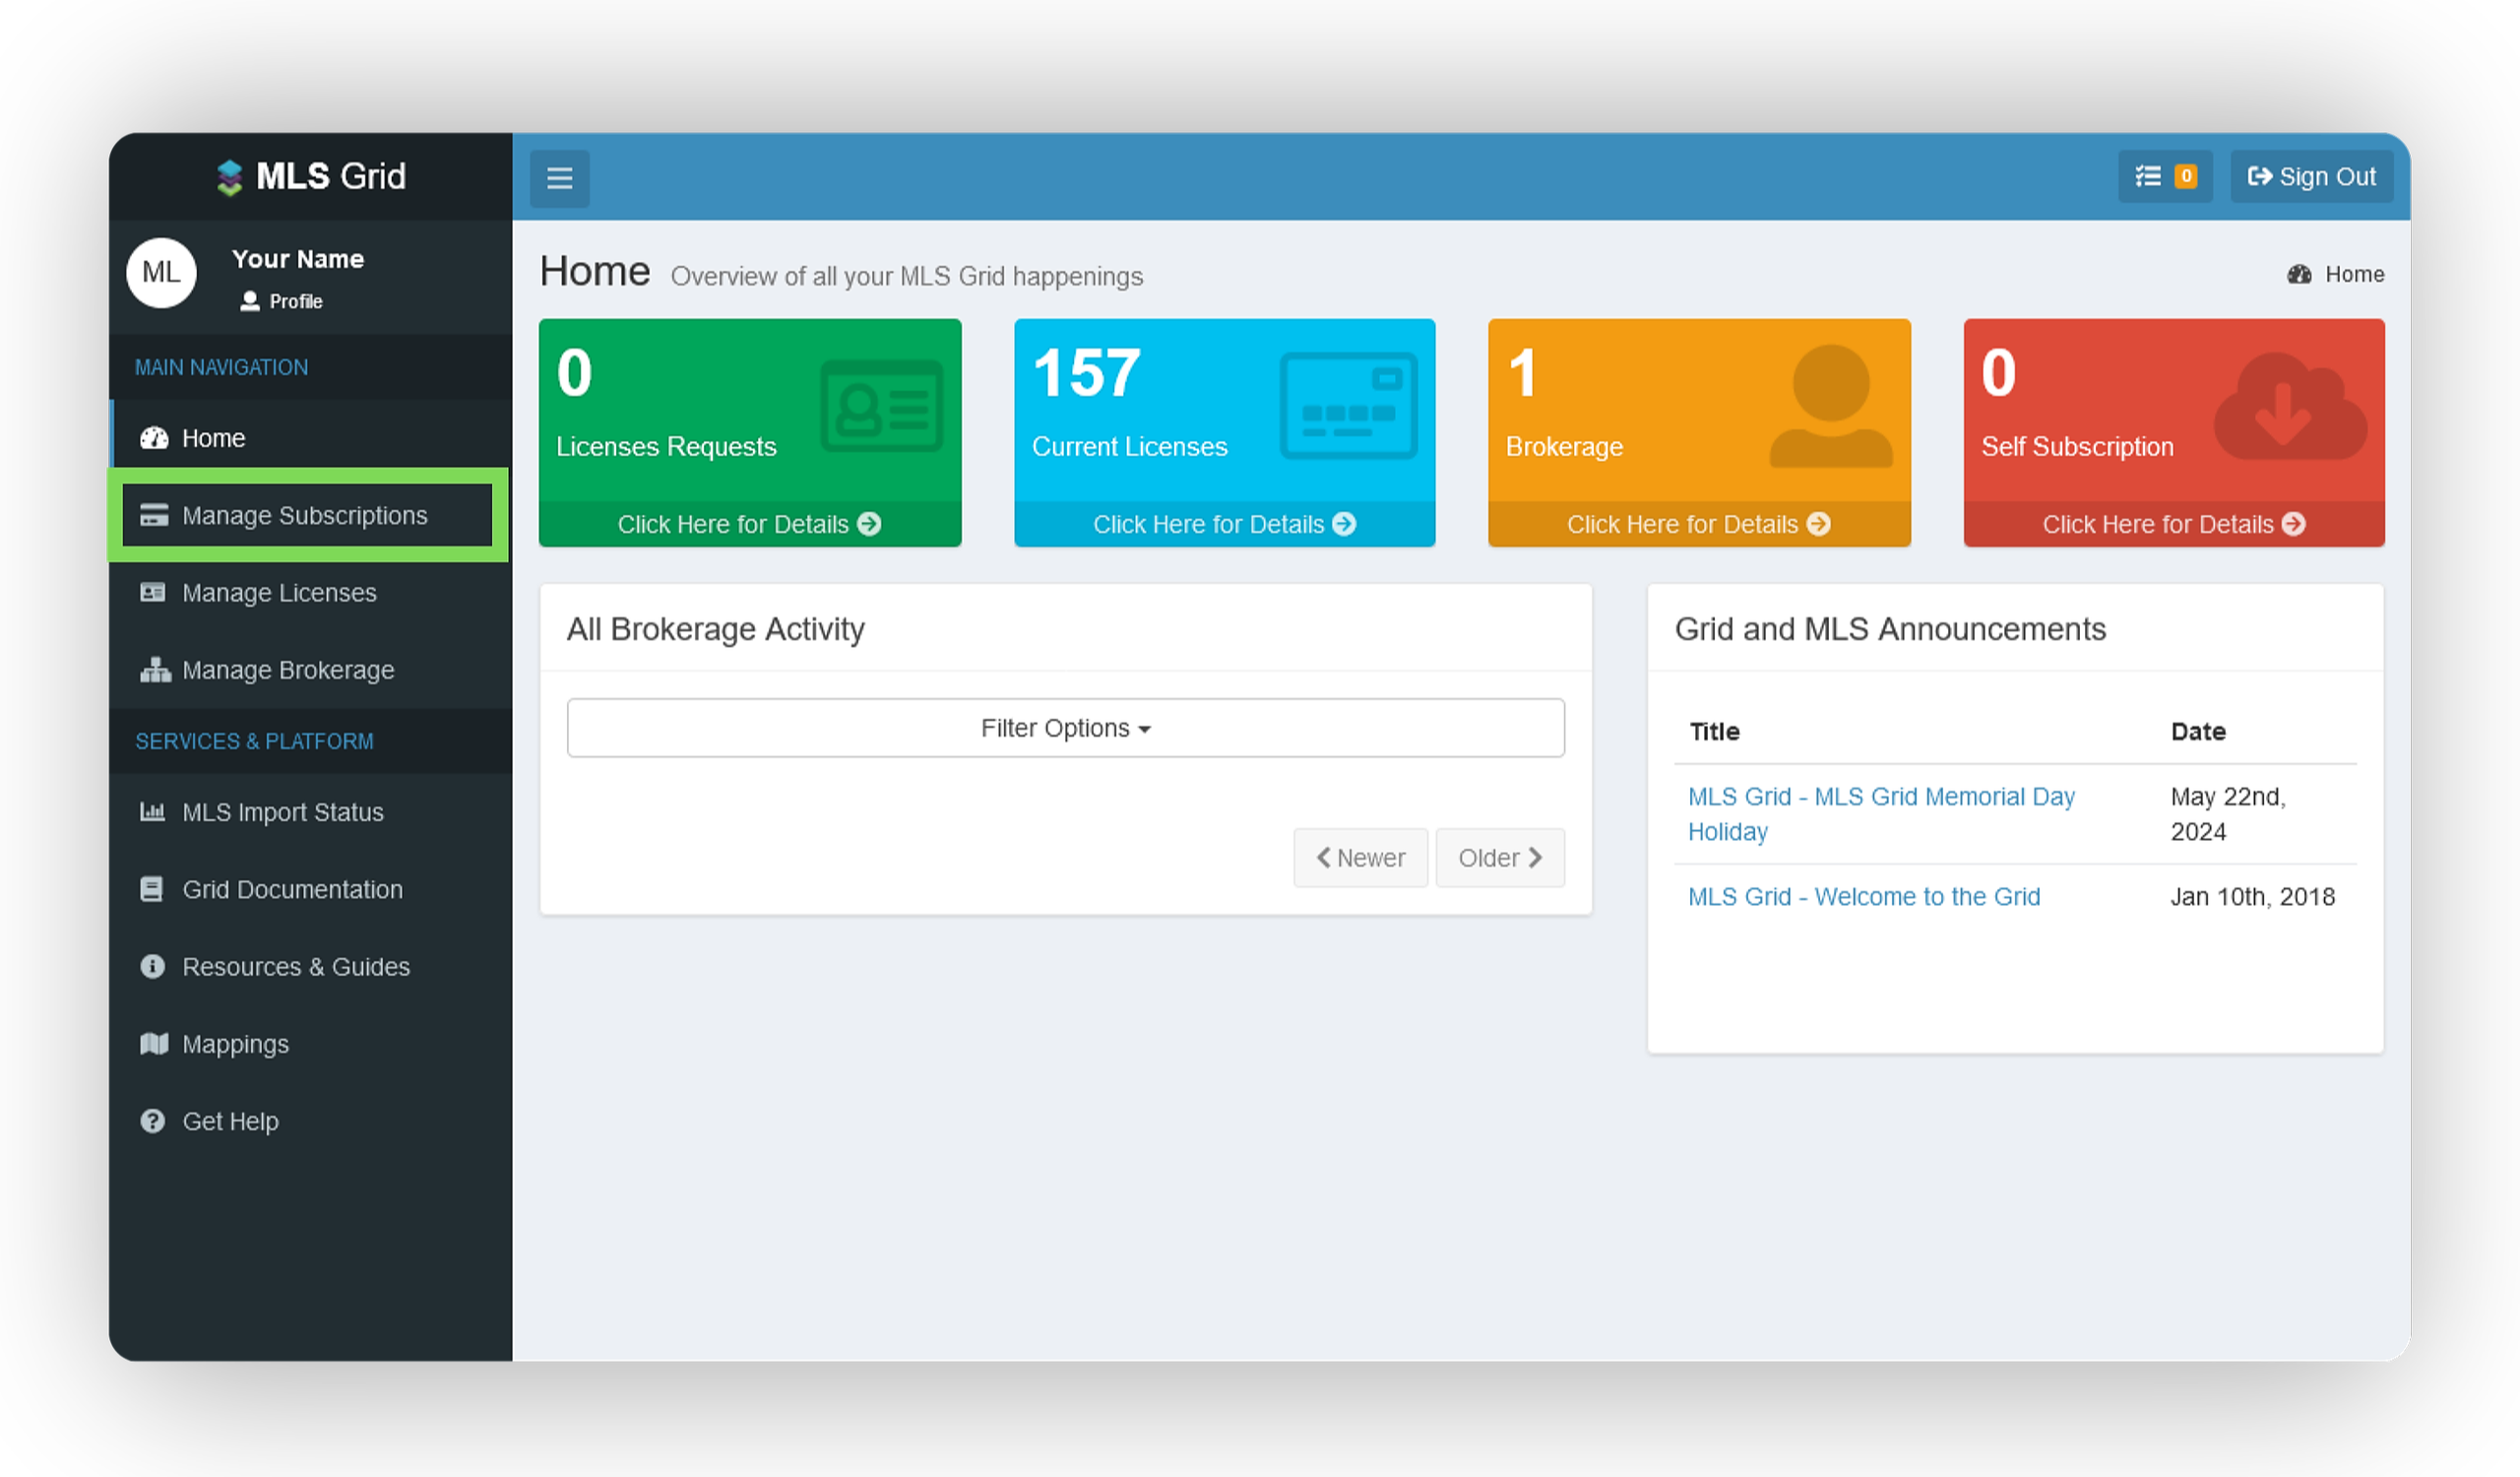
- Login to your MLSGrid dashboard.
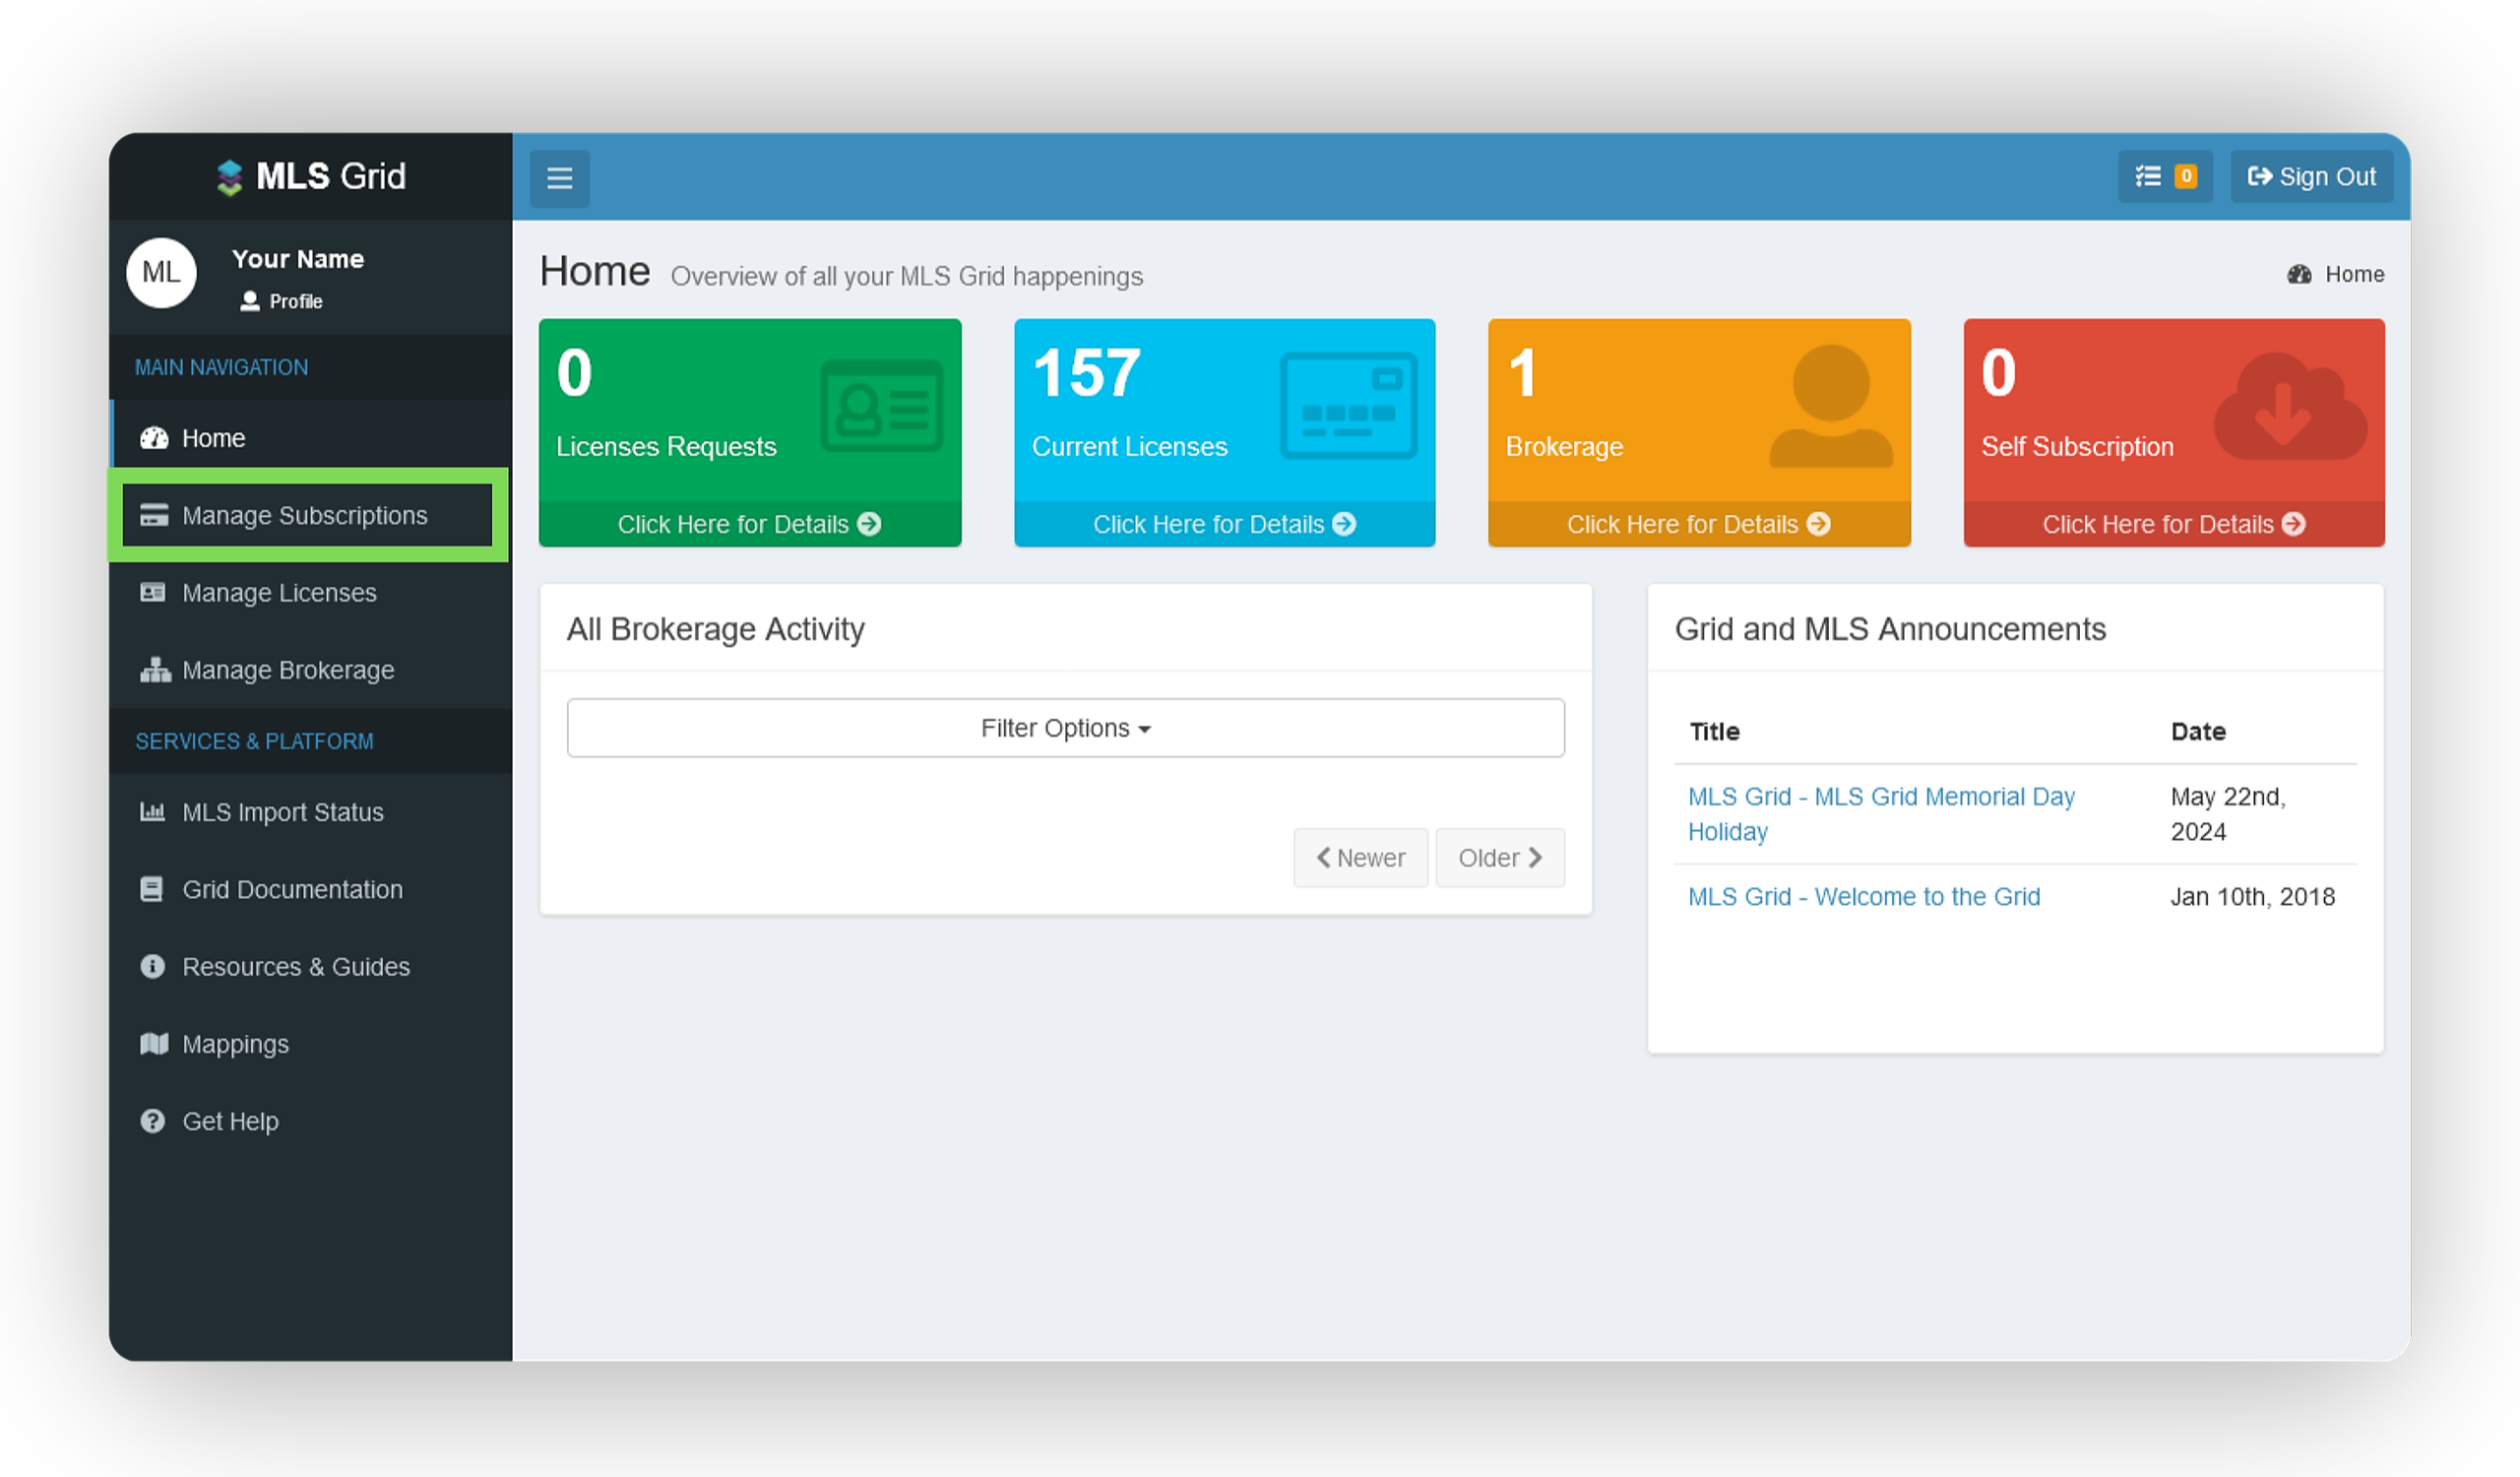
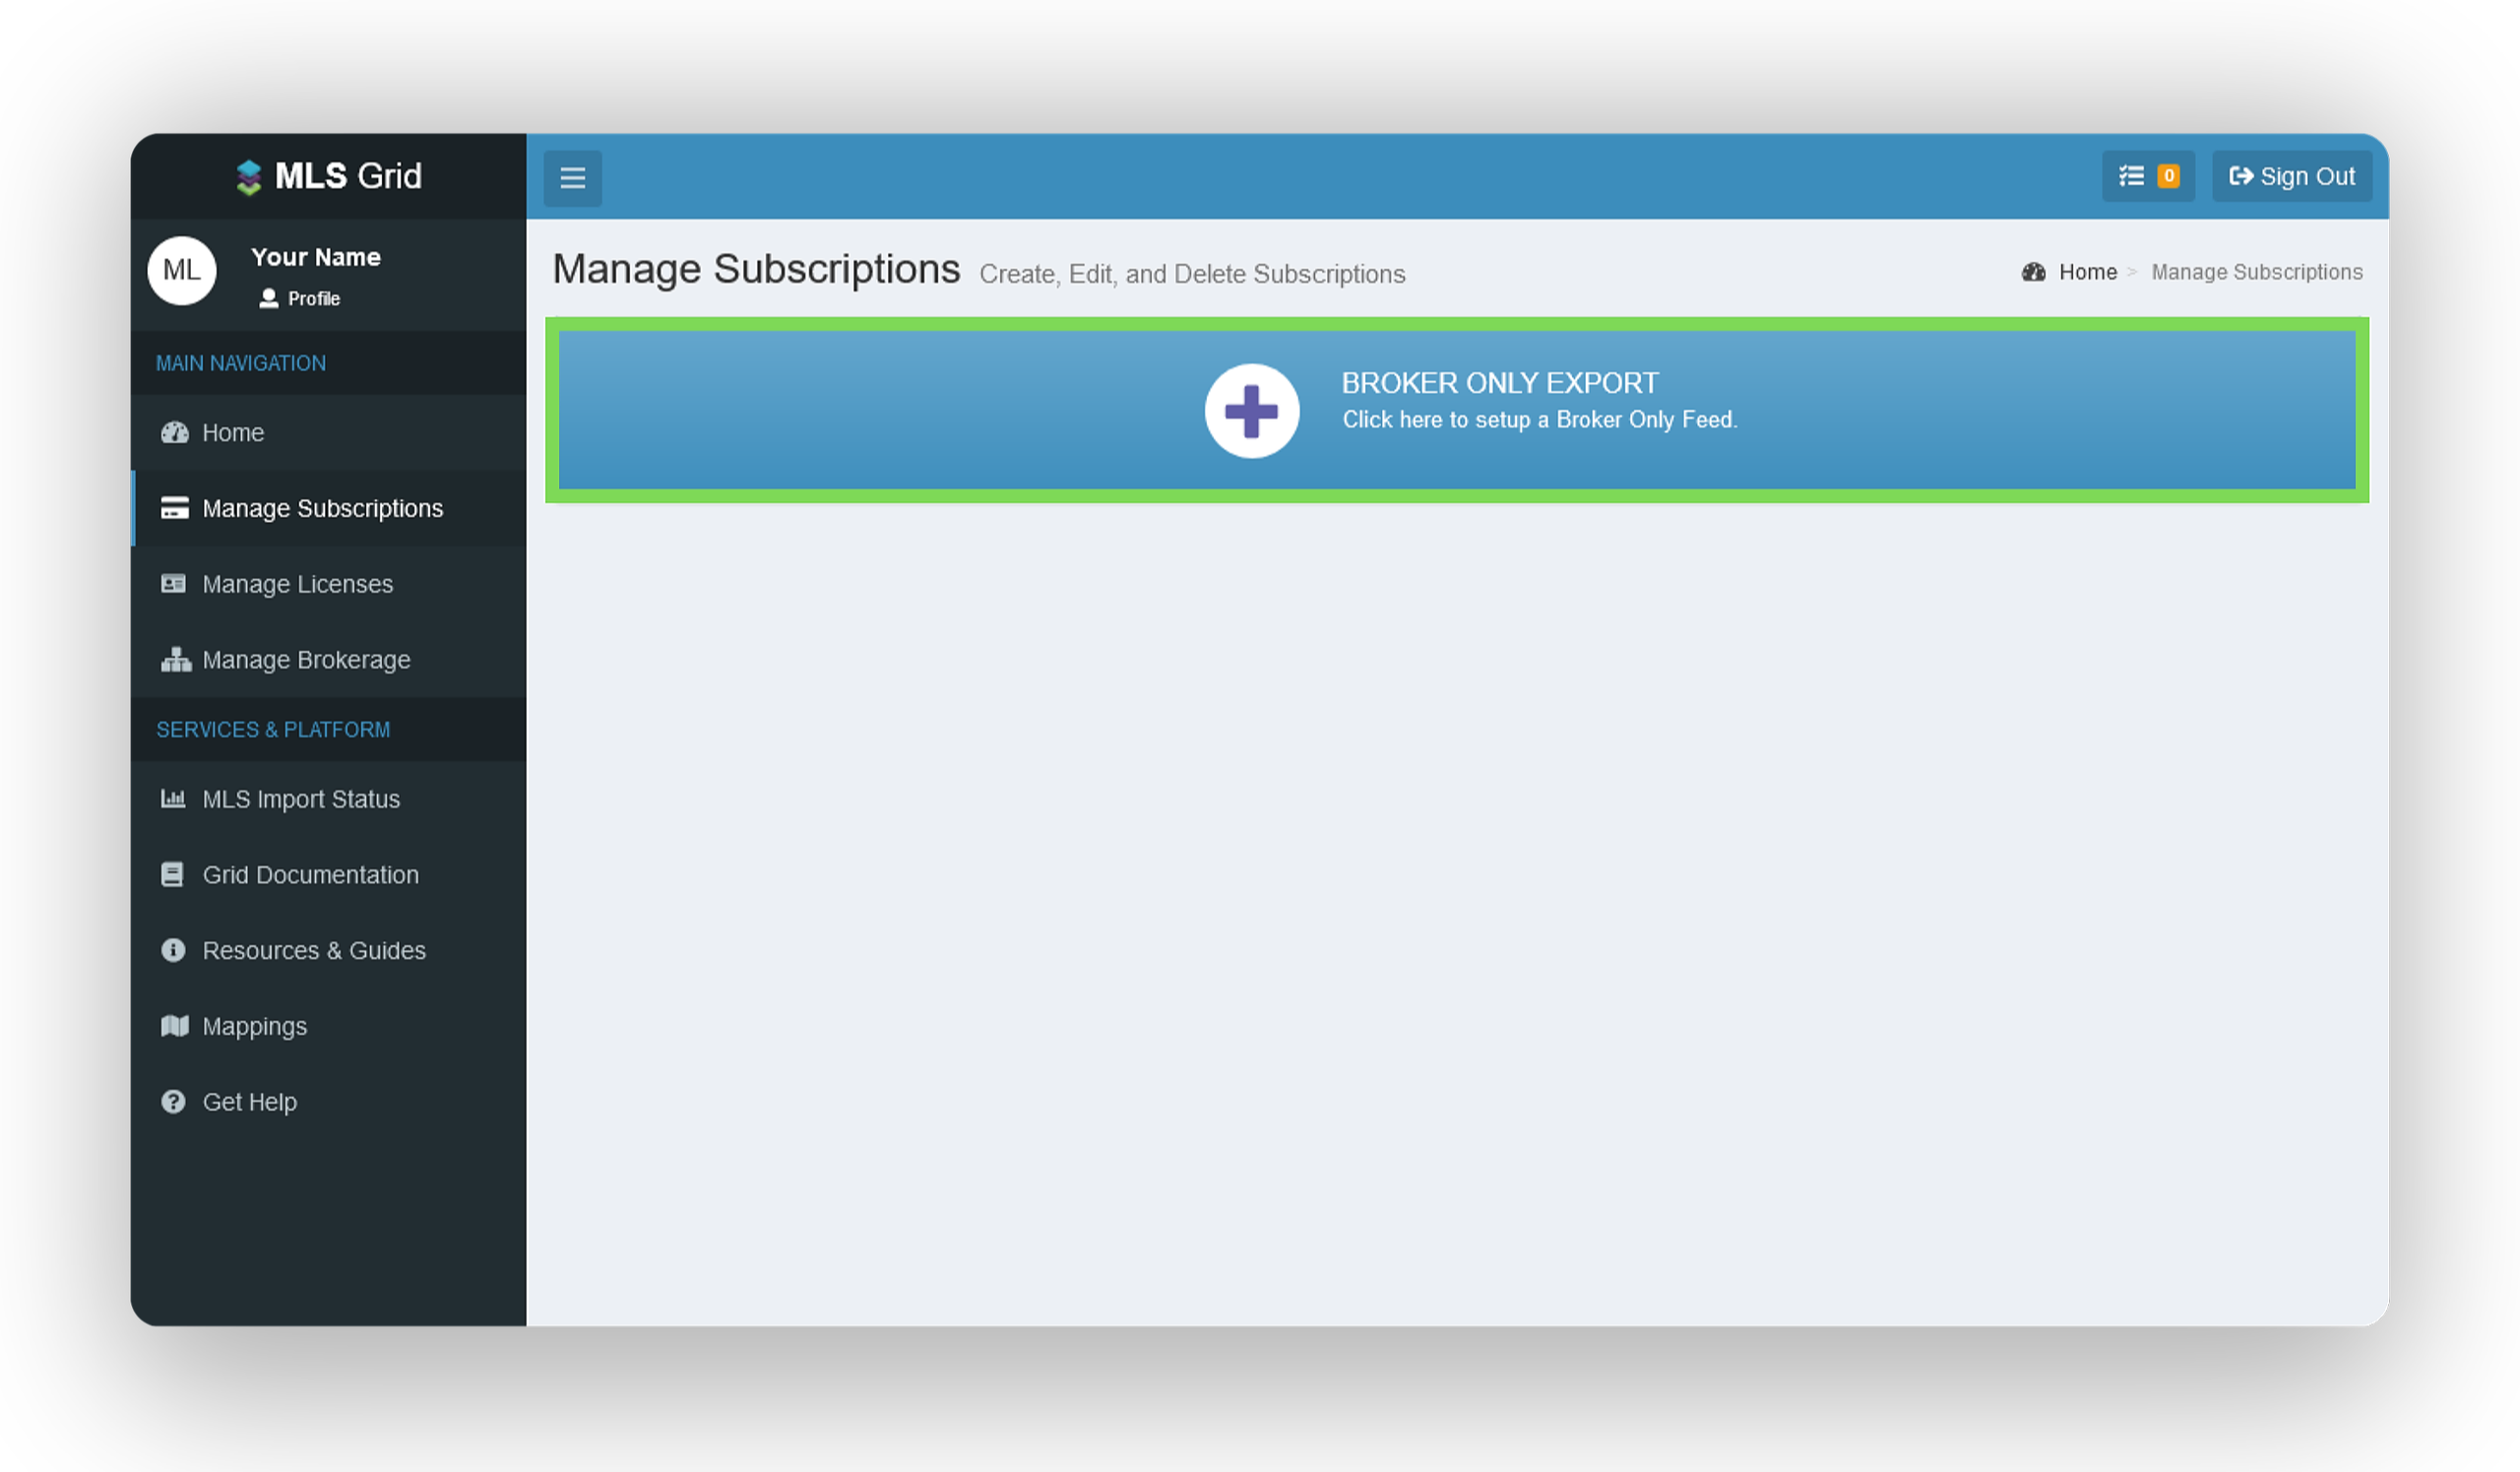
- On the left-hand side, select Manage Subscriptions.
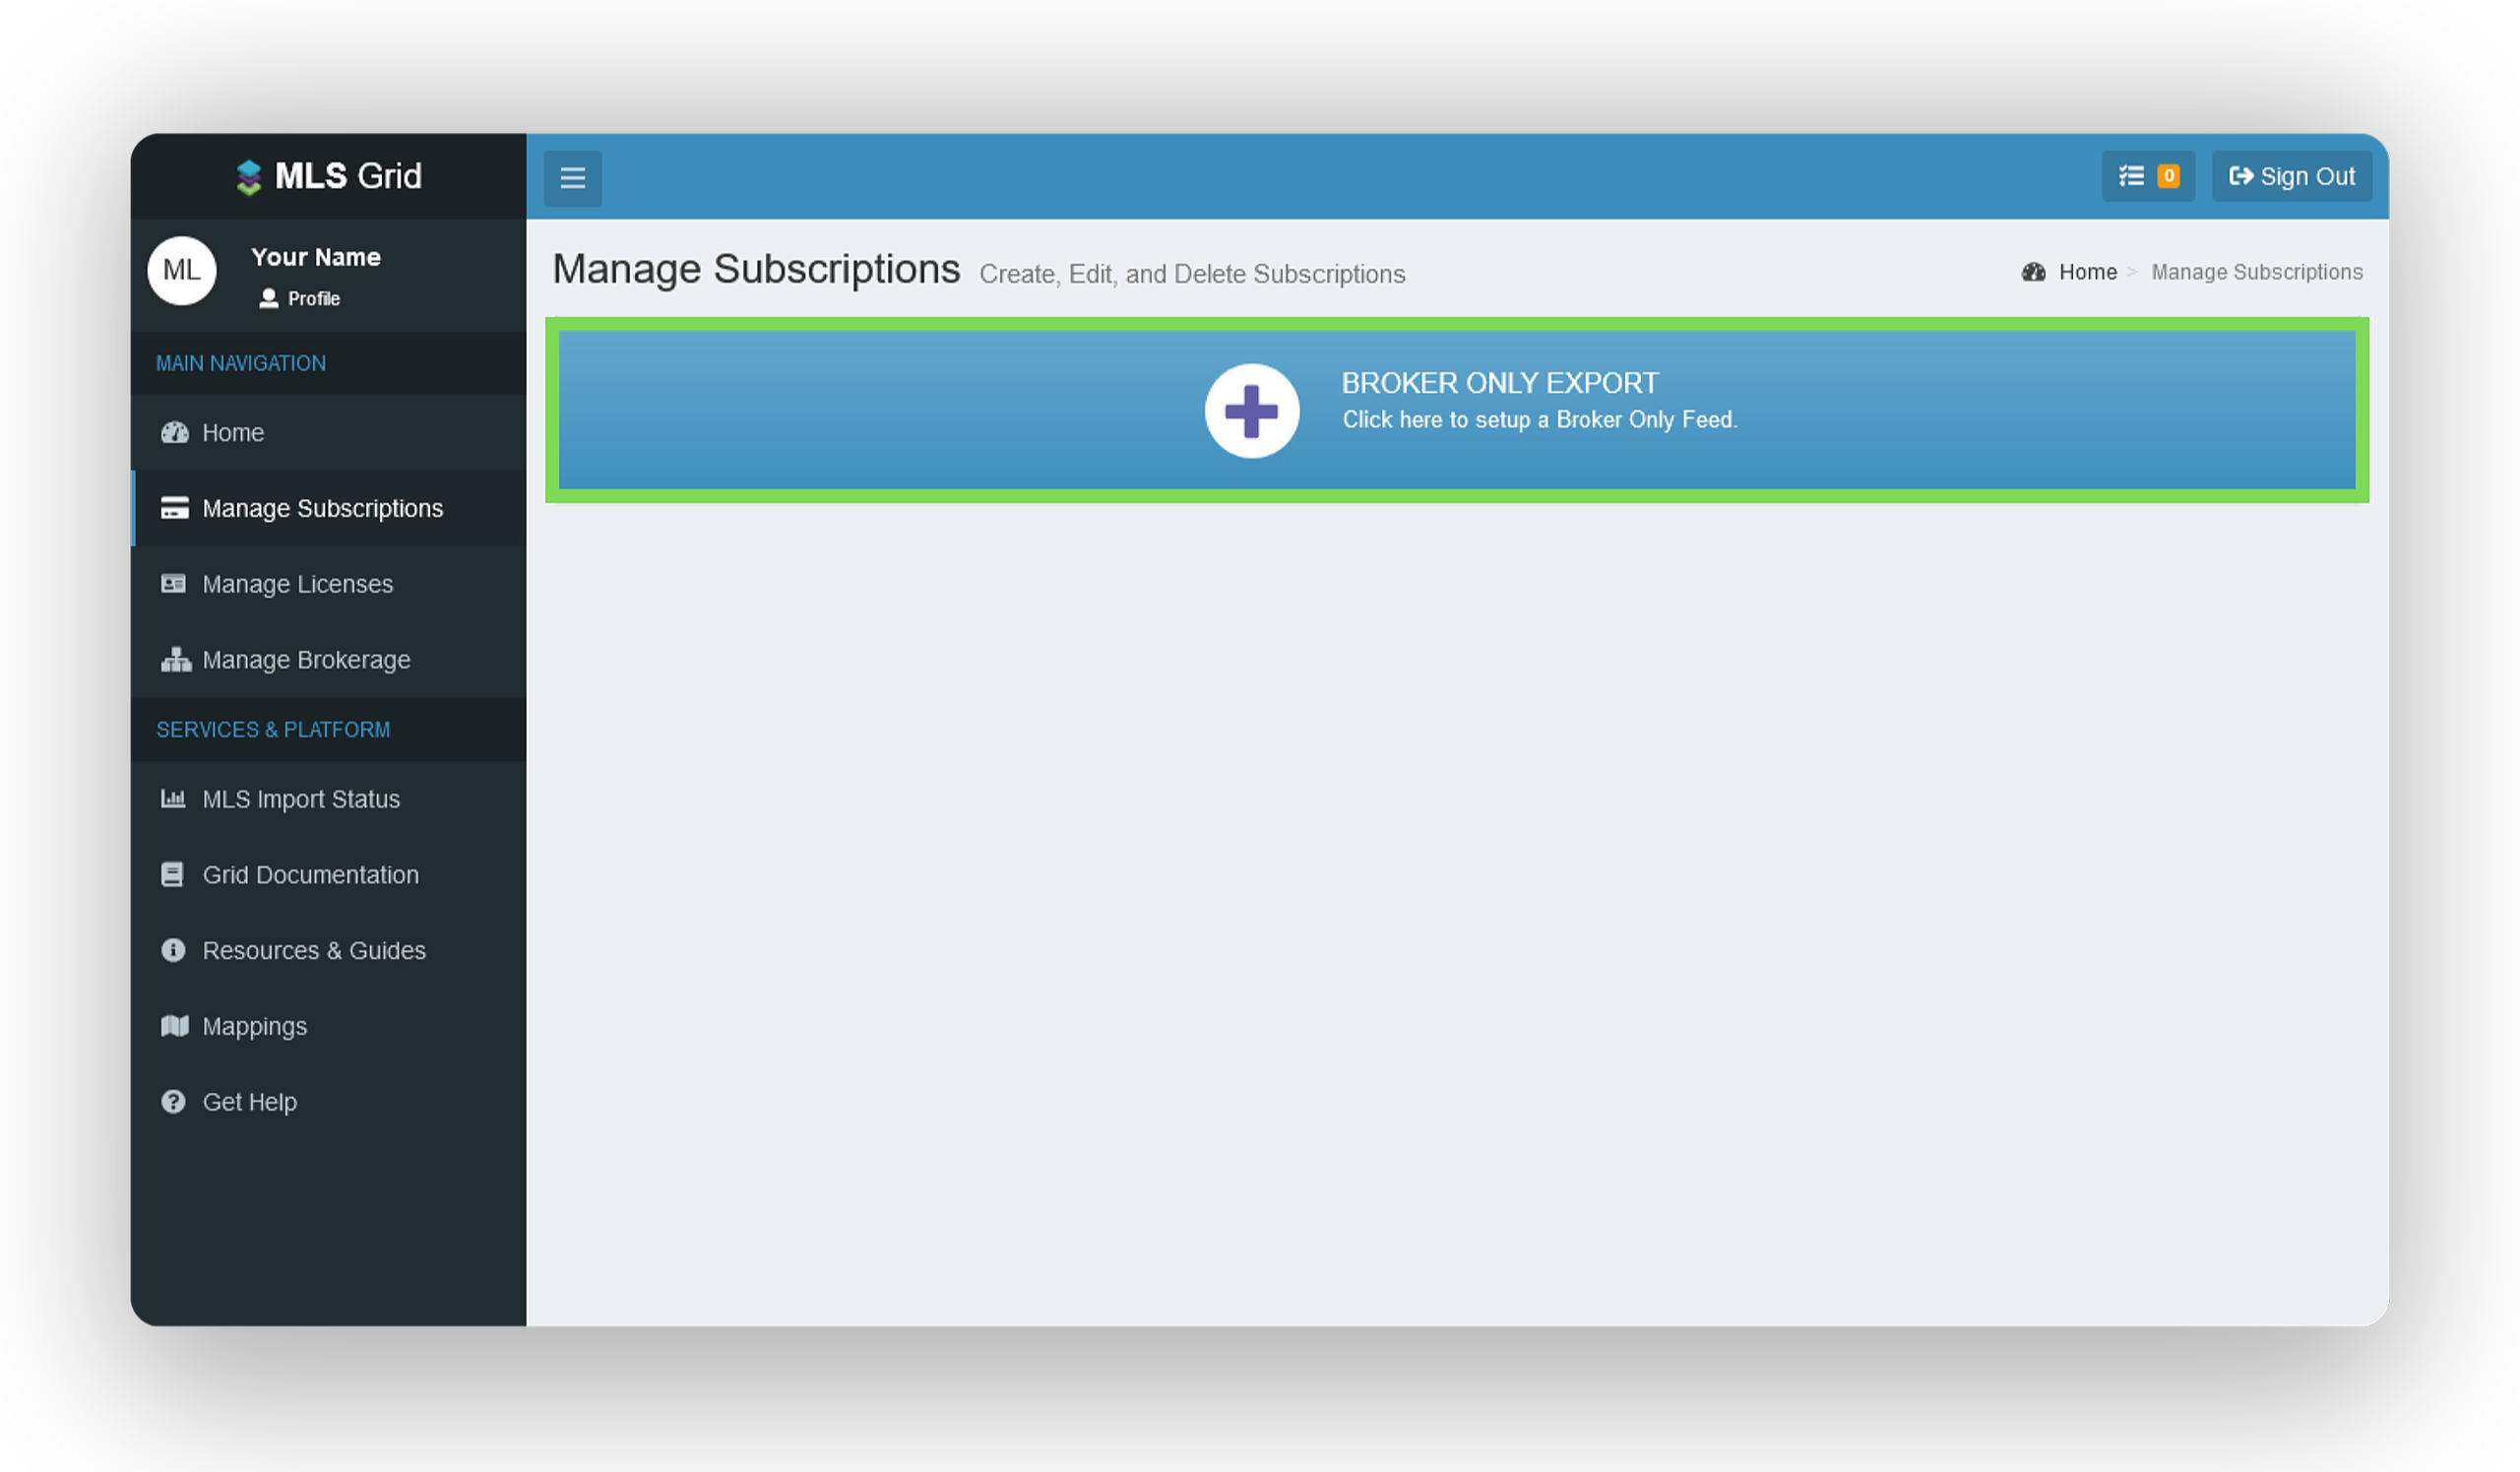
- On the Manage Subscriptions page, select Broker Only Export as the data subscription type.
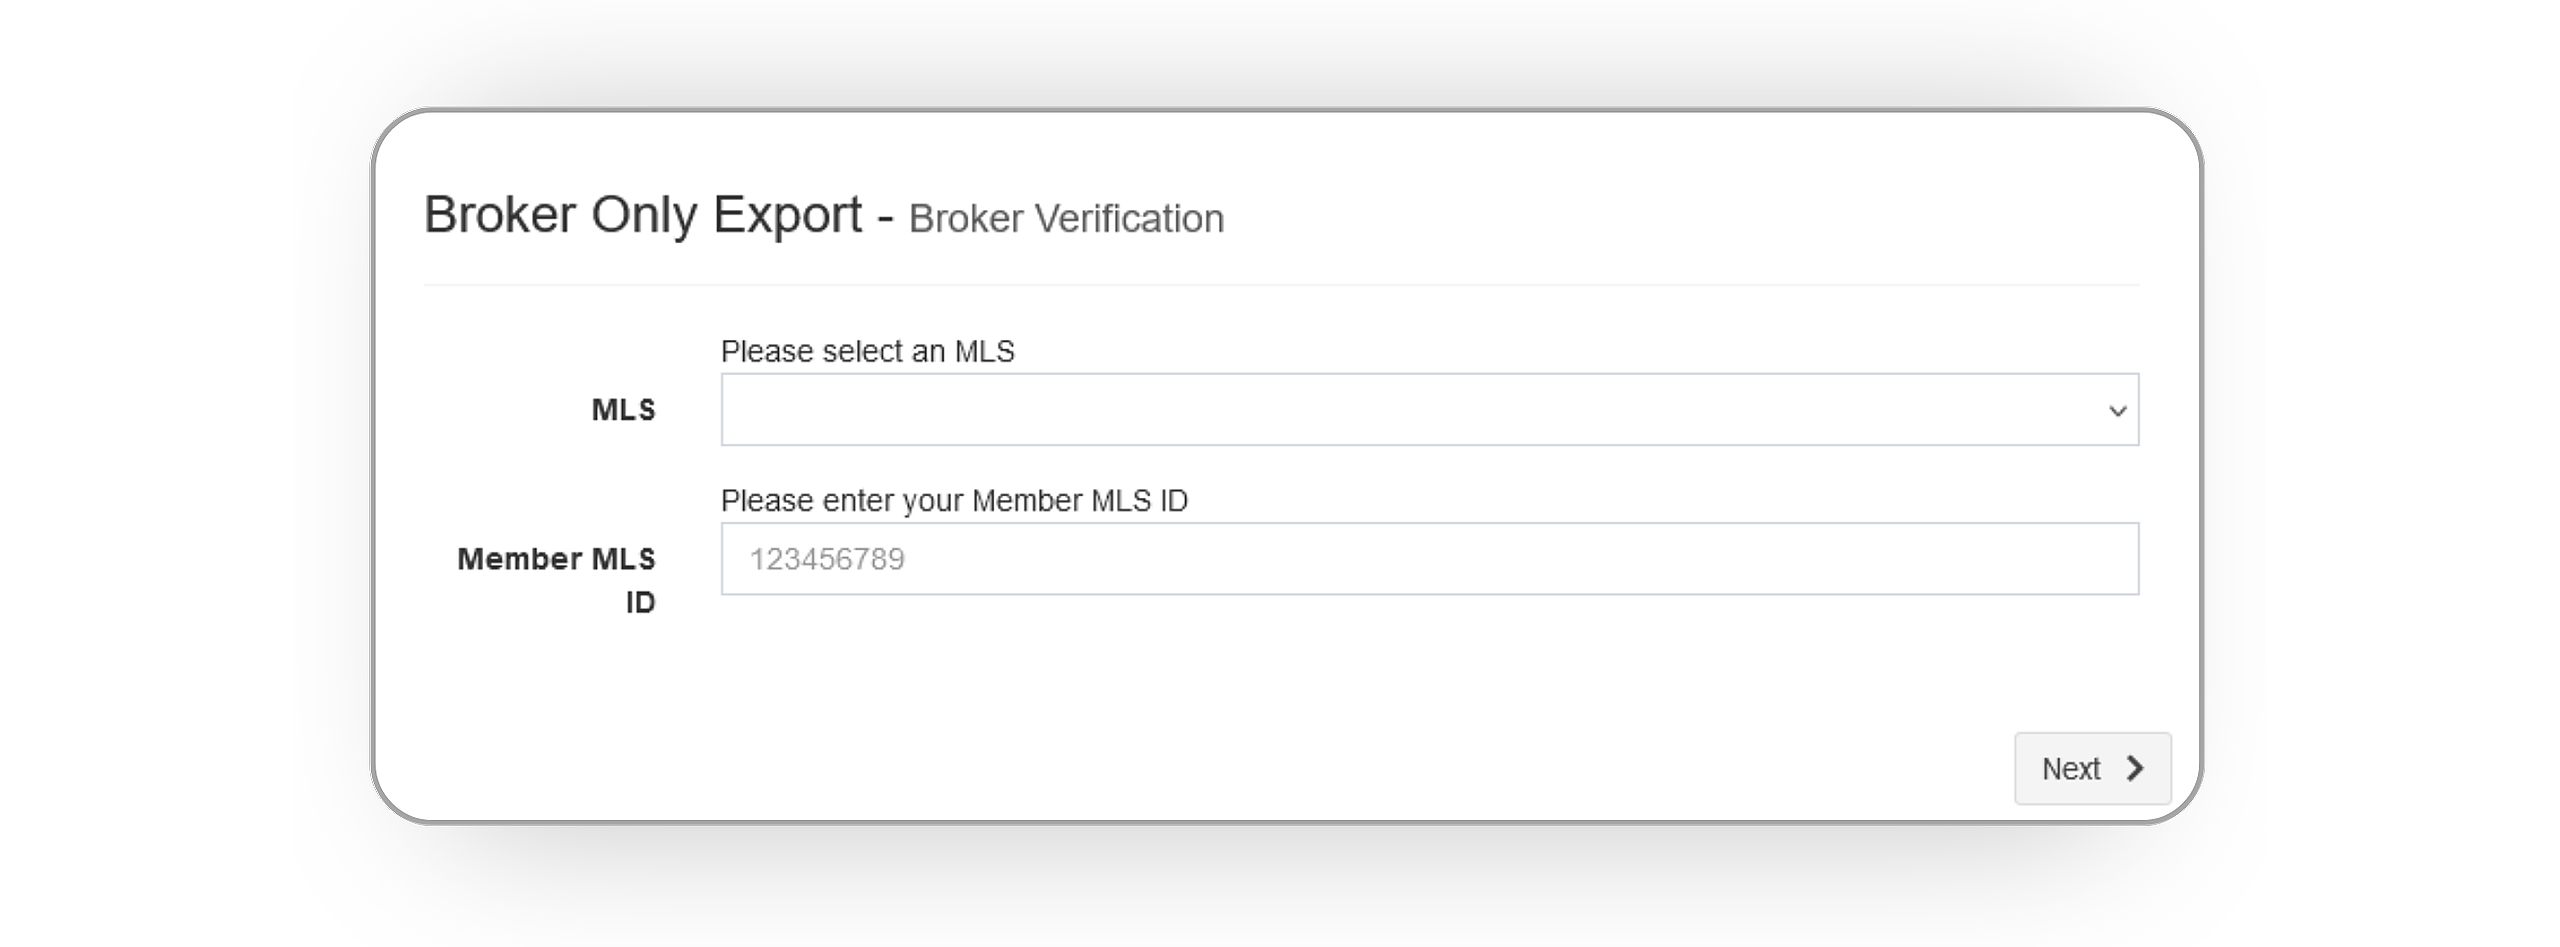
- As you create your Broker Only Export subscription, you will be prompted to confirm details of your MLS membership by selecting the MLS you belong to and providing your Member MLS ID. Once entered, click Next.
- Upon receiving the brokerage information from your MLS, confirm its accuracy. If correct, click Send Email. If incorrect, contact your MLS before proceeding.
- A confirmation email from notify@mlsgrid.com will be sent to the email address associated with your MLS membership. Click Complete Verification in the email upon receipt.
- Once confirmed, add yourself (your brokerage) as the recipient and finalize your data access license request, as outlined in this guide.
Step 2: Add Wise Agent As A Vendor
- Login to your MLSGrid dashboard.
- On the left-hand side, select Manage Subscriptions.
- On the Manage Subscriptions page, select Broker Only Export as the data subscription type.
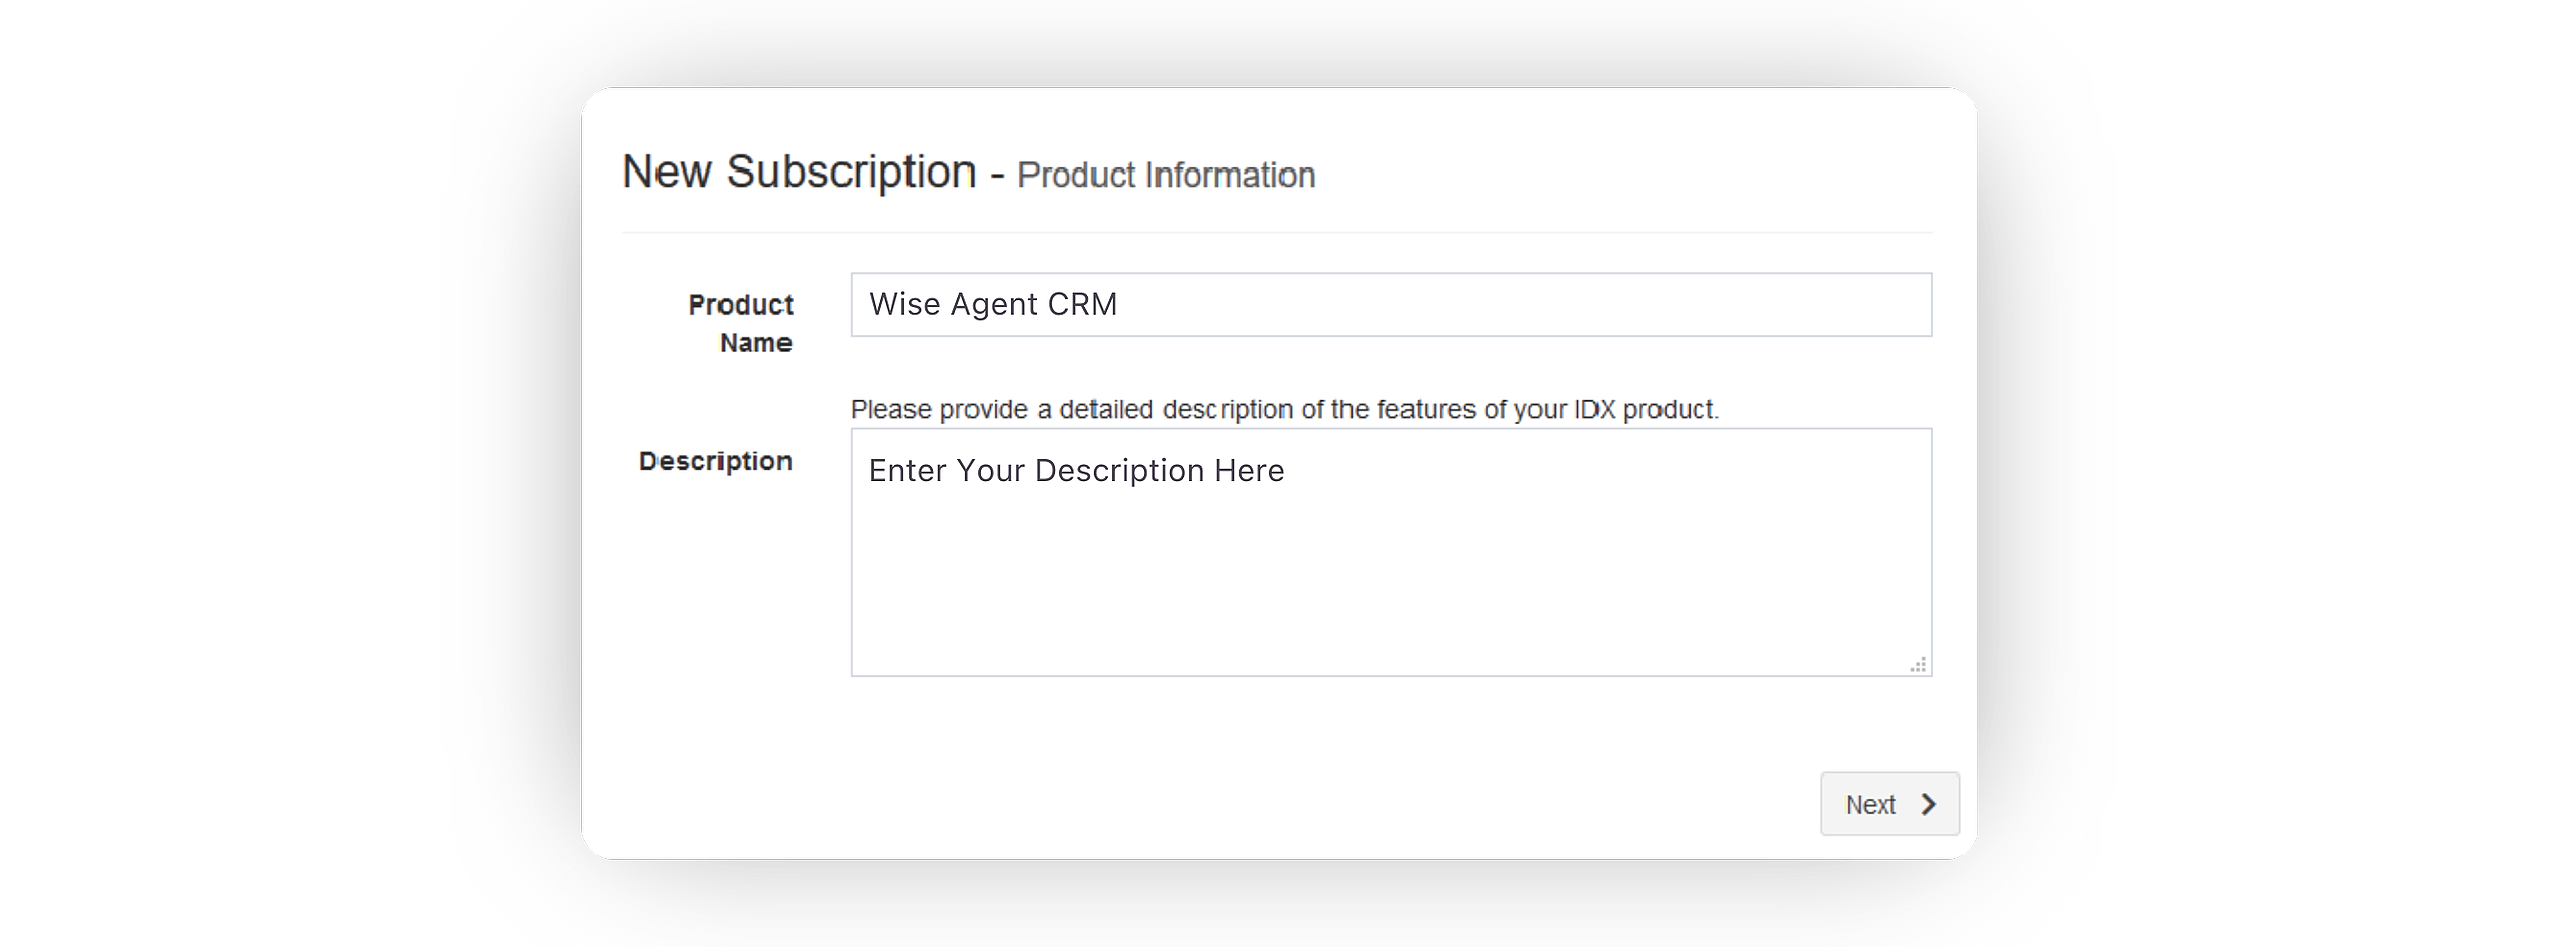
- On the New Subscription form, enter Wise Agent as the name and fill in a description of your choice, then click Next.
- On the New Subscription - MLS Sources page, toggle 'on' Northstar MLS, then click Next.
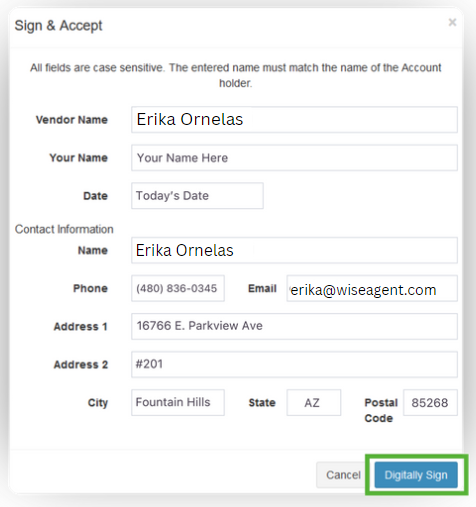
- On the License Agreement, click Sign & Accept.
- Once selected, a form will appear where you will need to add Wise Agent as the vendor using the following details:
Vendor and Contact Info Name: Erika Ornelas
Phone: 480-836-0345
Email: erika@wiseagent.com
Address 1: 16766 E. Parkview Ave
Address 2: #201
City: Fountain Hills
State: AZ
Postal Code: 85268 - Once entered, click on Digitally Sign.
- On the Add Broker or Agent Customers form, enter your broker information, then click Add Customer.
- Once your request is submitted; Wise Agent will review your request and process a one-time non refundable fee of $100.
- After MLS approval; Wise Agent will then grant access to the Northstar MLS integration for the approved brokerage.
If the license agreement is not approved within 5 business days, please contact Wise Agent support.
Once these steps have been completed agents from the available can then follow the instructions in this article for connecting their Northstar account to Wise Agent.


