First, in MailChimp, Obtain Your API Key...
- Login to your MailChimp account
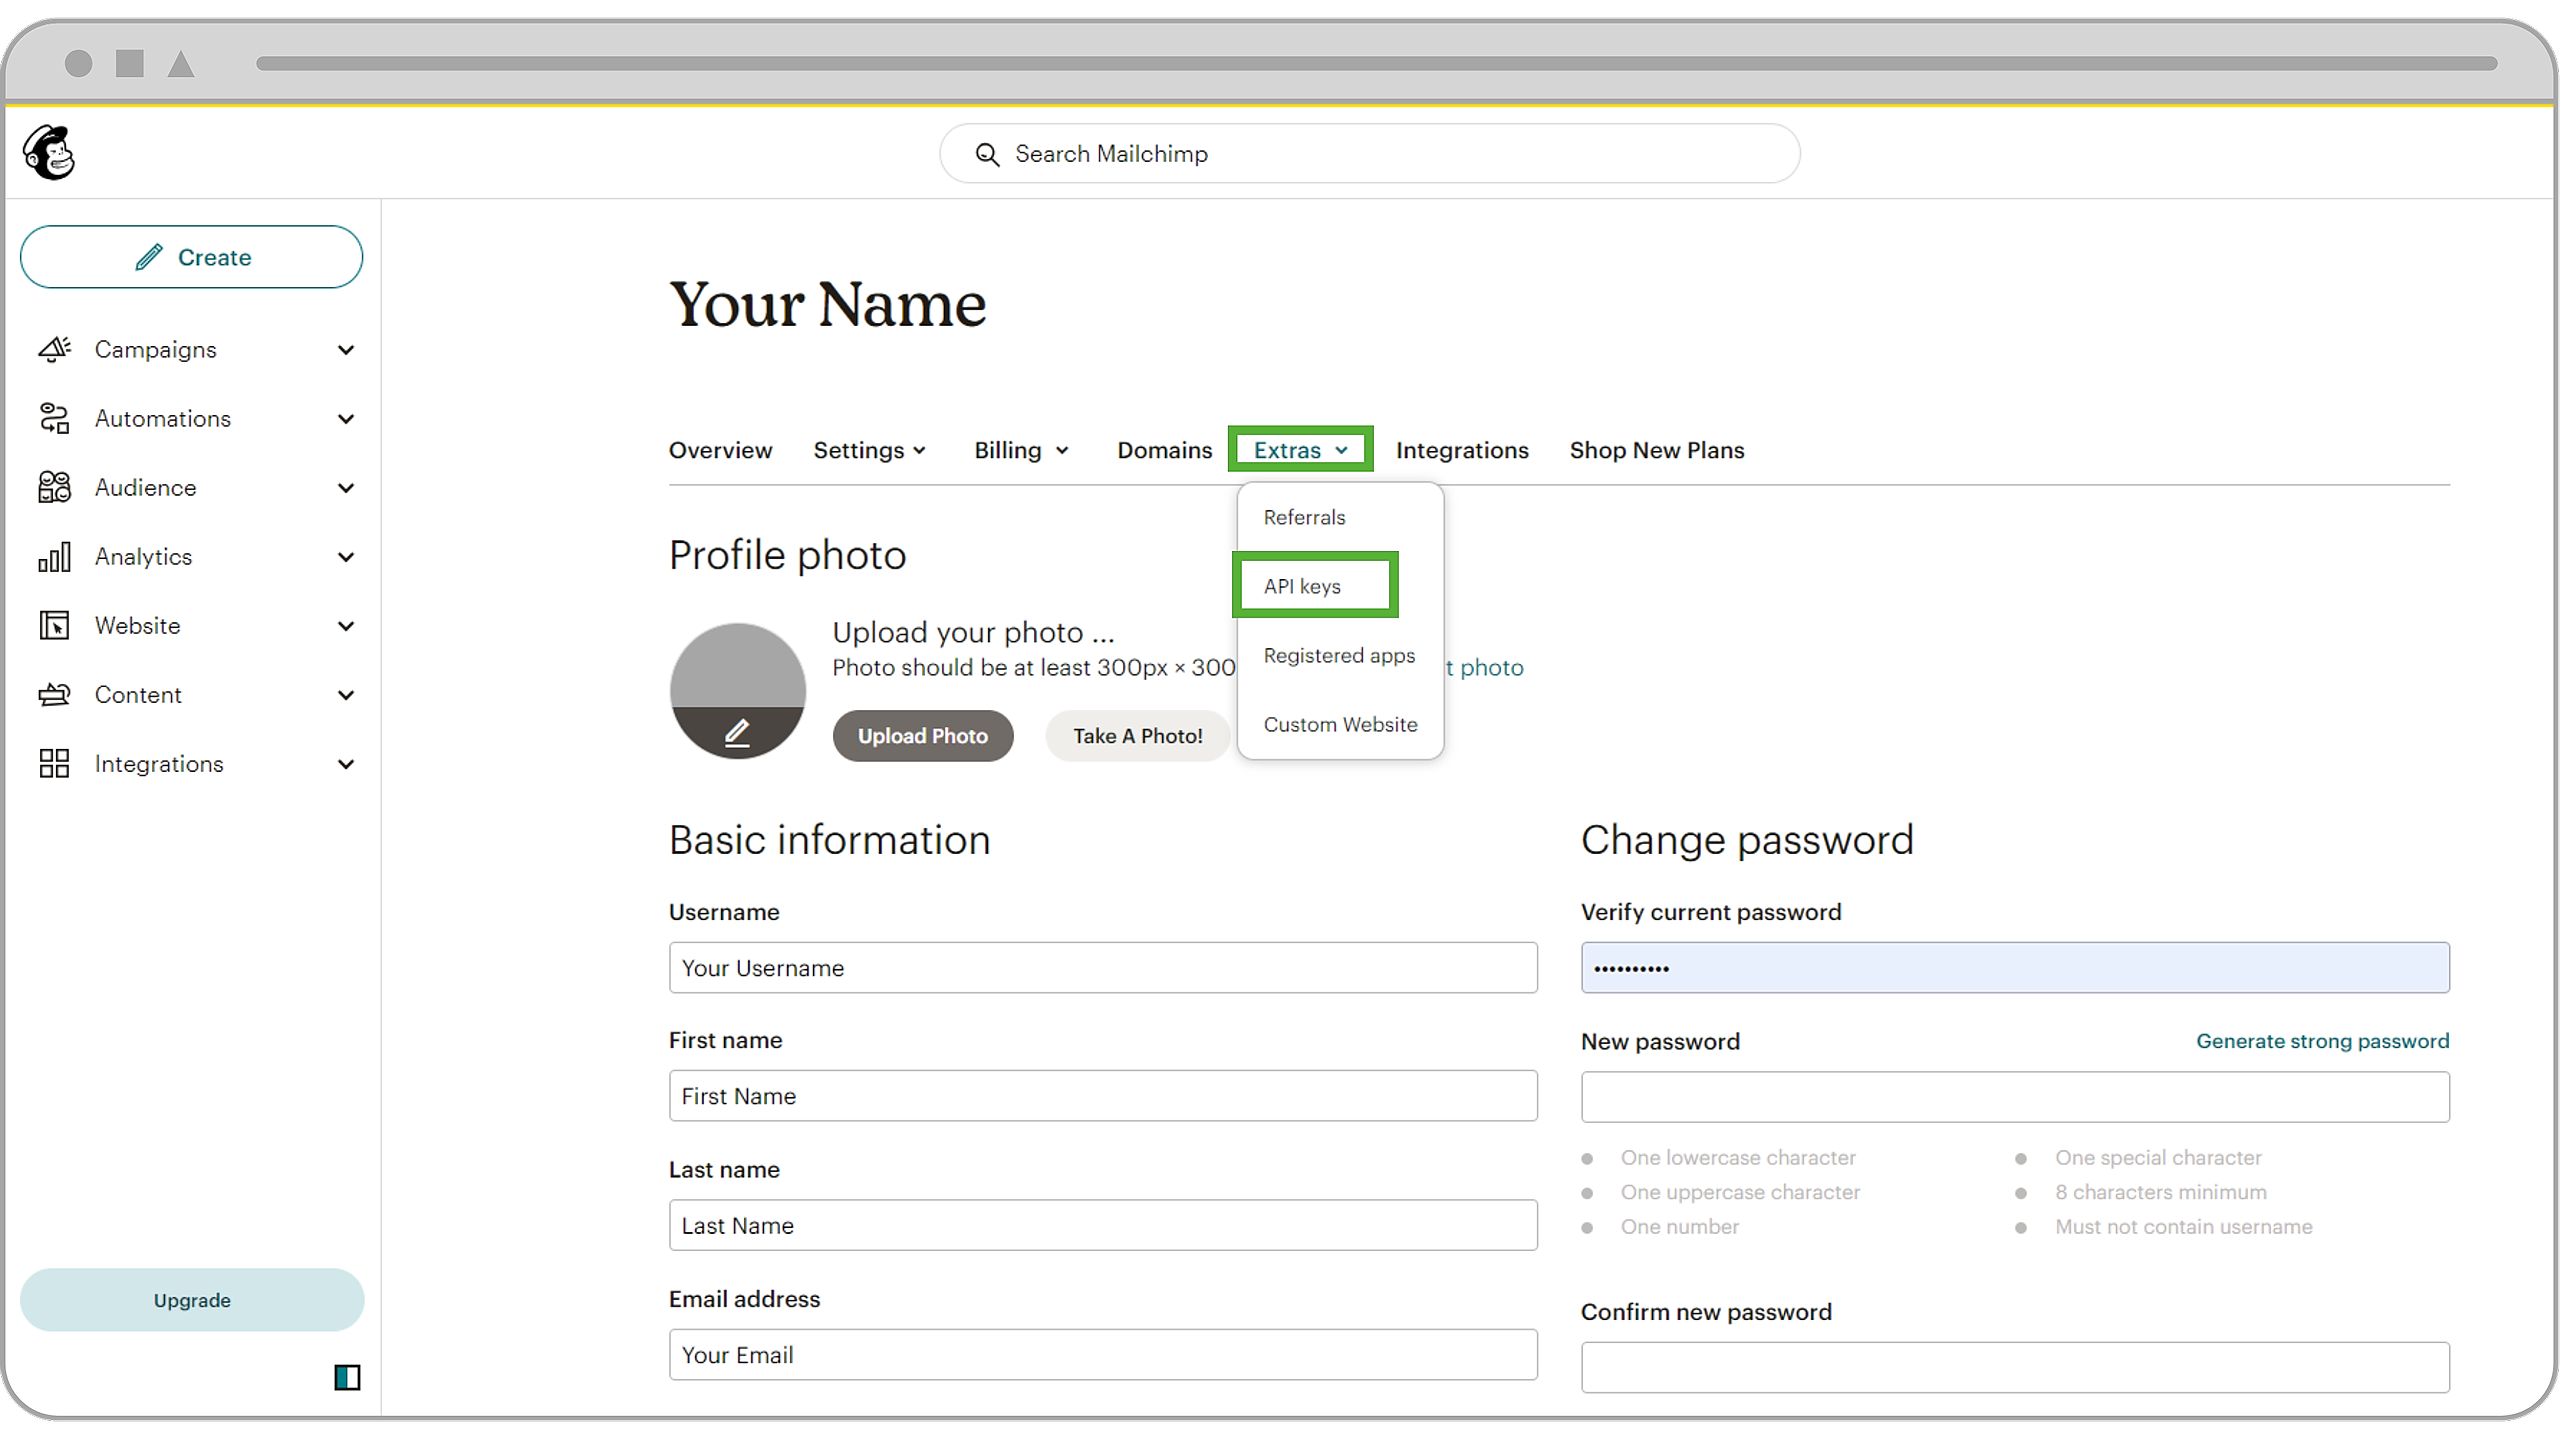
- In the upper right-hand corner, select your profile icon and choose Profile.
- Click the Extras drop-down then choose API keys.
- In the Your API Keys section, click Create A Key.
- Name your key. Be descriptive, so you know what app uses that key. Keep in mind that you’ll see only this name and the first 4 key digits on your list of API keys.
- Click Generate Key.
- Once we generate your key, click Copy Key to Clipboard. Save your key someplace secure–you won’t be able to see or copy it again. If you lose this key, you’ll need to generate a new key and update any integration that uses it.
- Click Done
Next, in Wise Agent...
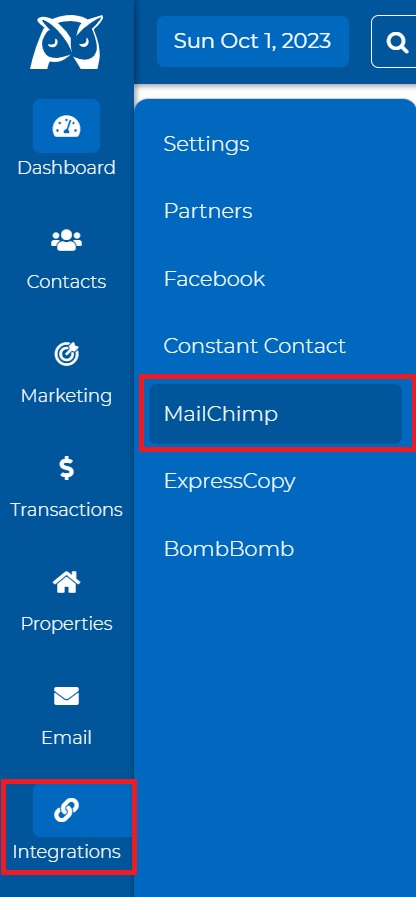
- Click on Integrations from the sidebar, then select Settings.
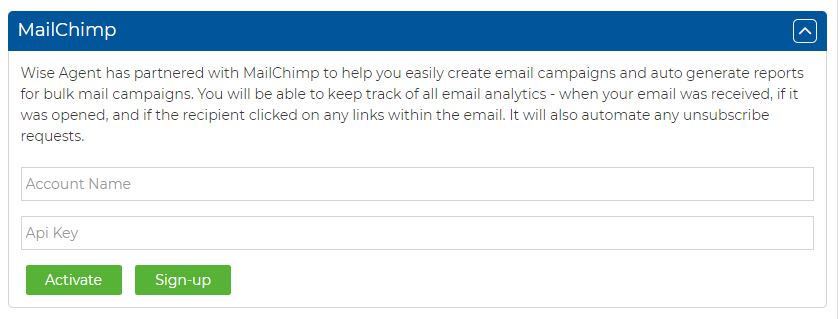
- Once on the Integration Settings page, click on MailChimp. Paste your MailChimp API key into the space provided and click Save.
- Click on Contacts to go to your Contacts List.
- You are now going to add your contacts to MailChimp. You may choose a specific category if you wish. Click Select All to place checkmarks in front of each contact’s name.
- From the Actions drop-down menu at the top of the page, select “Add to MailChimp.”
- Type in a “segment” name if desired (Note: a segment is like a category)
- Click Add to List and wait until you receive a notification that it has finished adding. It may take several moments.
- Repeat steps 3 – 6 for any other groups, and that’s it!
To go to the MailChimp Integration page:
Click on Integrations from the sidebar, then select MailChimp. Once on the page, you can see various sections.
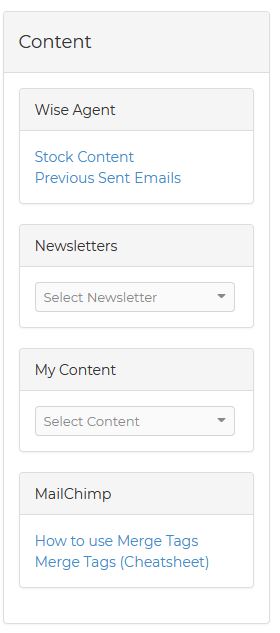
Stock Content
In this section, you can see different stock templates that you can use, whether for buyers, sellers, US and Canadian holidays, and many more. These are also customizable so that you can add your personal touches.
Previously sent emails
In this section, you can view and use the emails that you have sent in the past. Select the email you want to use and it will take you to a page where you can edit it and choose contacts to send it to.
Newsletters
You can use any newsletters that you saved in your account.
My Content
These are your letter/email content that you saved in your Content Library.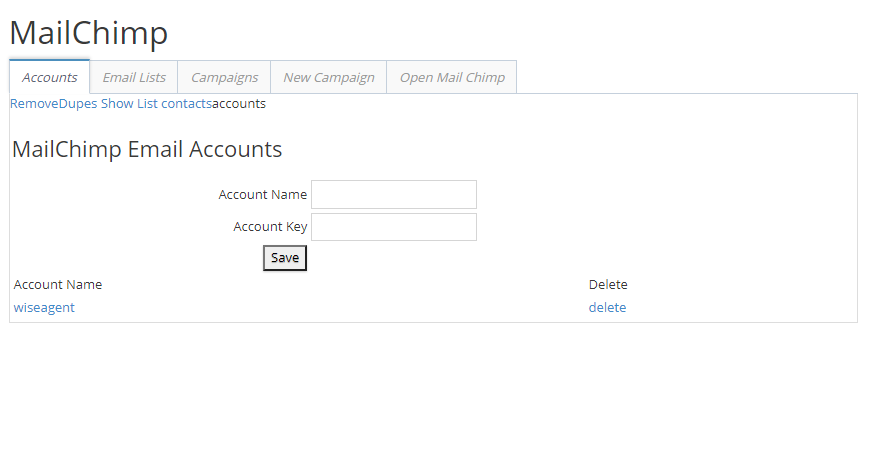
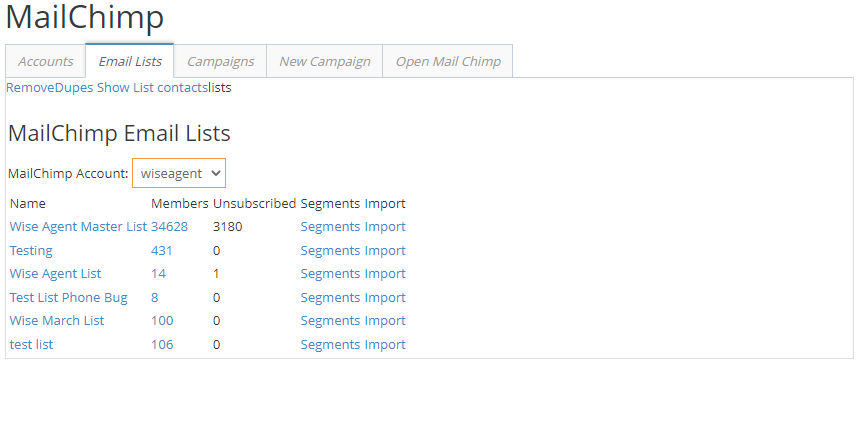
On the Email List section, you can see your lists, the number of members, unsubscribed members, and the segments under each list, and allows you to import an entire list to your Wise Agent.
You can also remove duplicate contacts by clicking on the RemoveDupes option above.
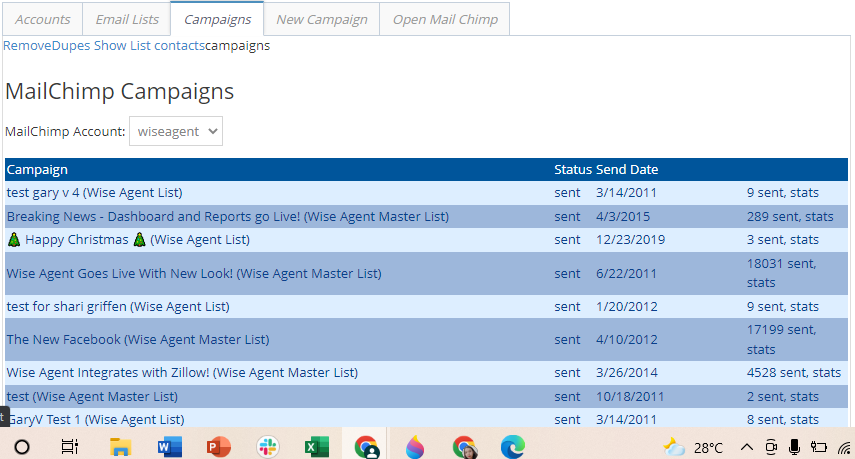
The campaign tab lets you see all the campaigns you have created, and the Status will show you if it is sent or not and the date it was sent. It will also show on the right-hand side of the screen how many contacts the campaign was sent to.
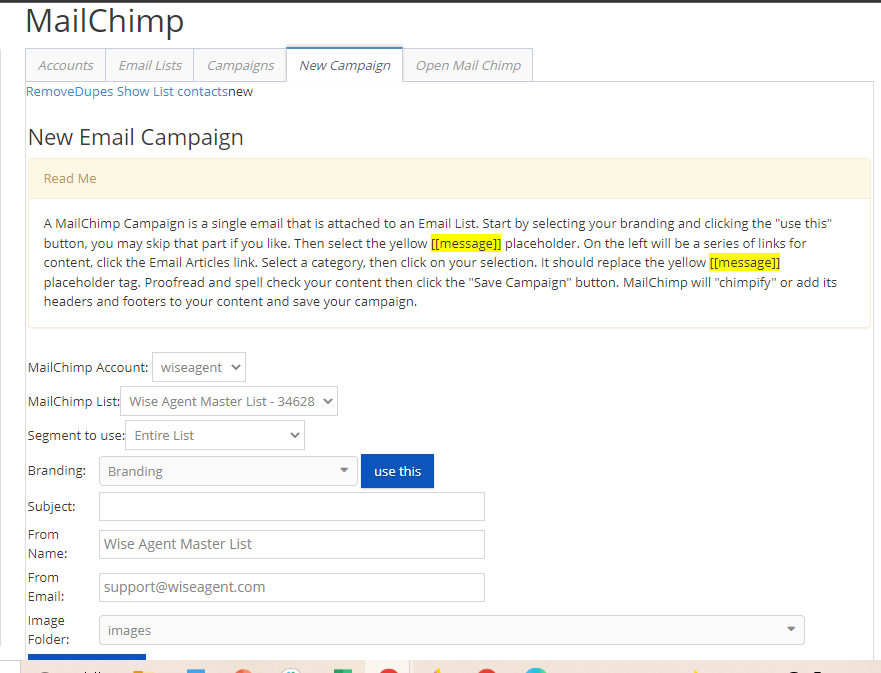
The New Campaign section will let you create a new campaign that you can attach to an Email List. Read the instructions under "Read Me" for more information.
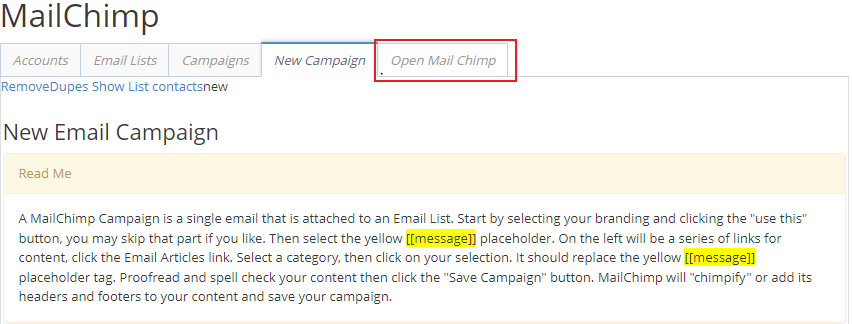
MailChimpLastly, when you click on "Open MailChimp", this will open up a new tab routing you to a page where you can log in to your MailChimp account.
Wise Agent Blog: Supercharge Your Email Marketing with MailChimp


