Connecting The Facebook Integration
- From the sidebar, select Integrations ➜ Settings.
- Locate and select Facebook from the left-hand column to expand the section.
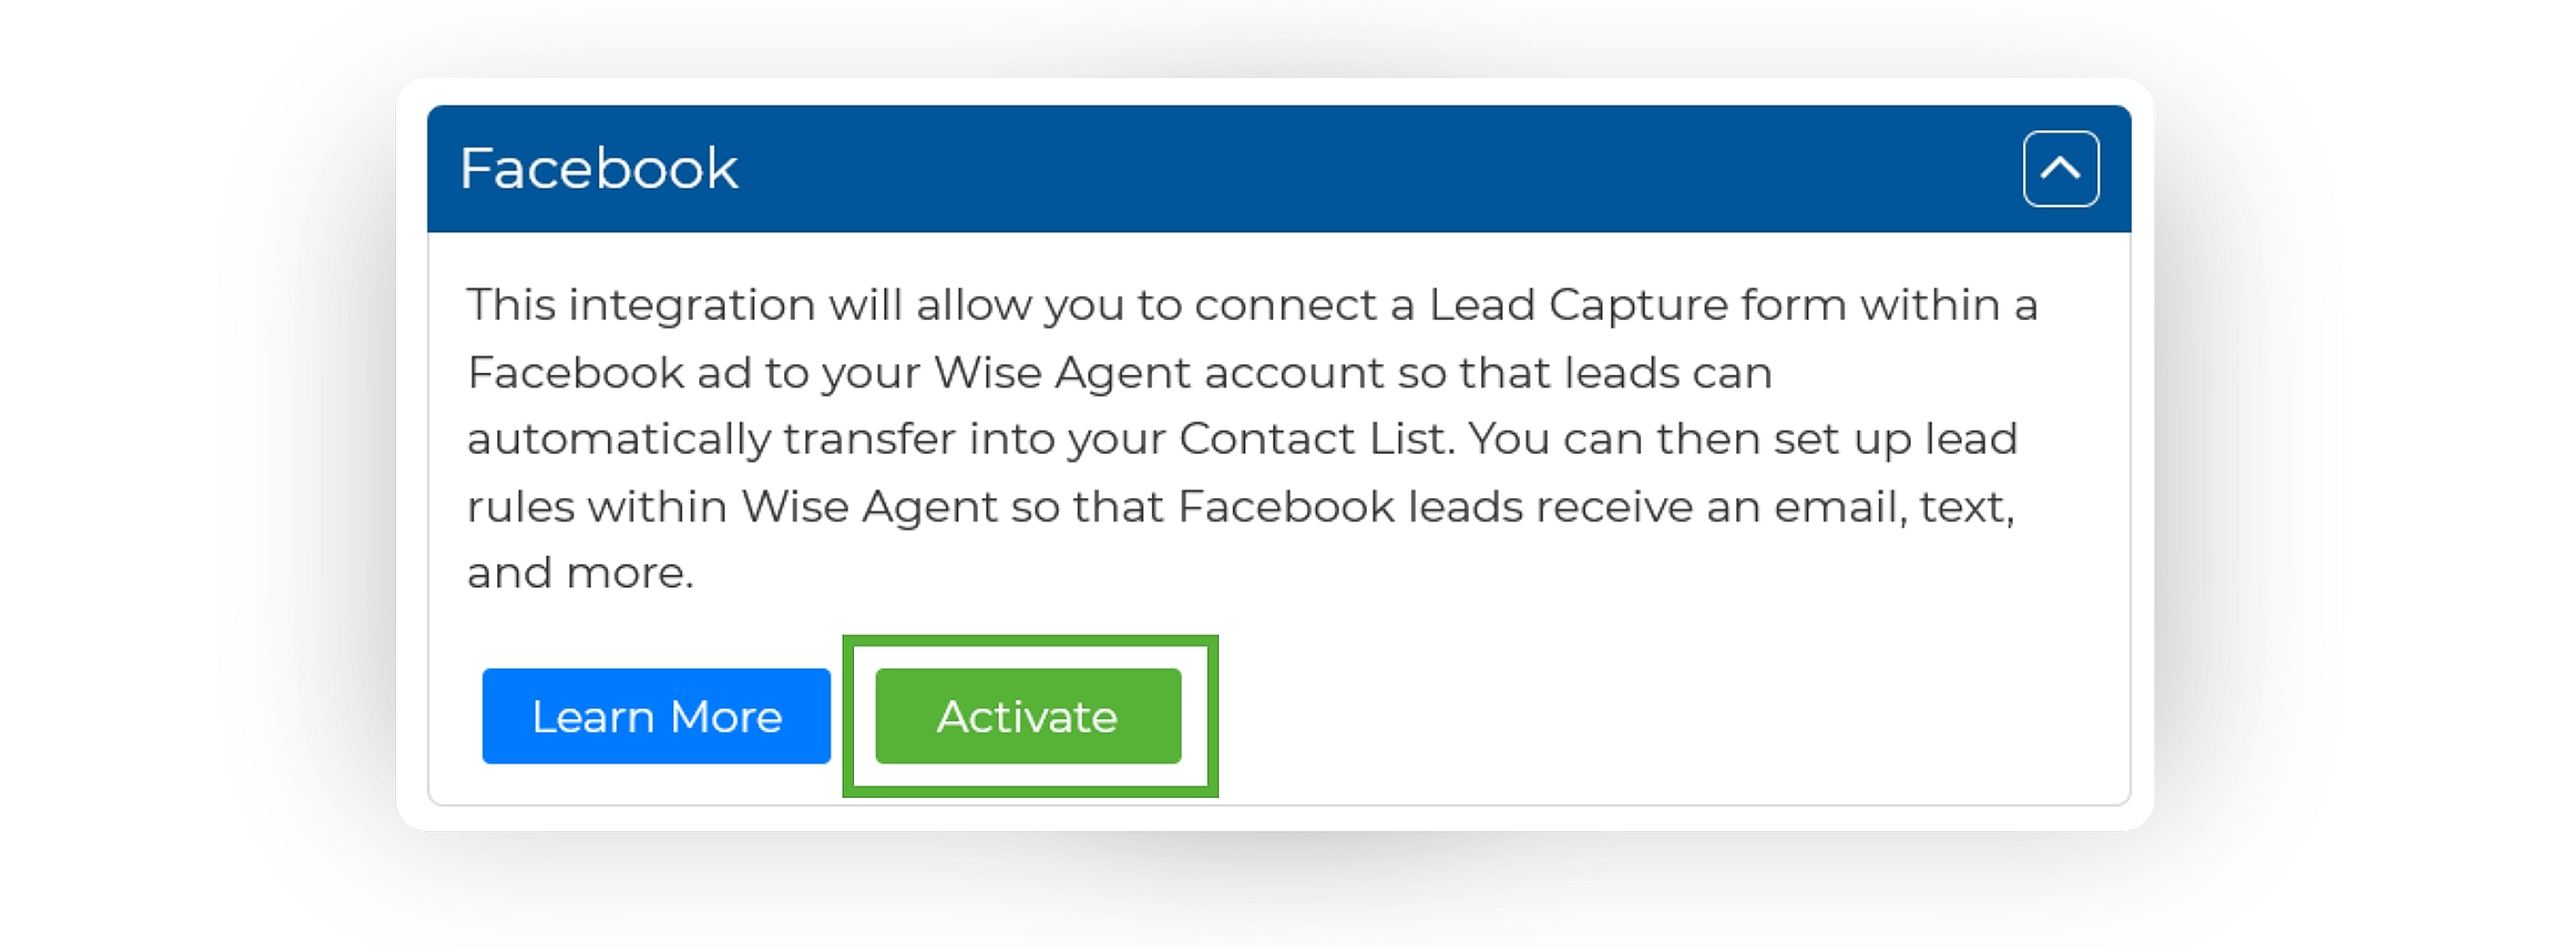
- Once expanded, click on Activate.
- Within the pop-up window, enter your Facebook login credentials, then click Login.
- If applicable, check the boxes next to all the business pages you wish to integrate with your Wise Agent account, then click Next.
Syncing New Leads
From the sidebar, select Integrations ➜ Facebook.
- On the Facebook Integration page, you will see your active ad pages, as well as your connected business pages.
- If you've already authorized Facebook integration, you'll see Disconnect FB Account at the top-right corner, indicating a successful connection.
- Once Facebook is connected, leads from ads will automatically transfer to Wise Agent. View these leads in Recent Leads on your Homepage or on your Contacts List with Facebook as the source.
Importing Your Past Leads
After establishing the connection, our Facebook integration seamlessly imports incoming leads directly into your CRM. If you have leads acquired before the integration, follow the steps below to export them from Facebook and import them into Wise Agent!
Exporting From Facebook Ads Manager:
- Go to Ads Manager.
- Click on the Ads tab.
- Find the lead ad that you’d like to download leads data from.
- In the results column, click On-Facebook leads. If you can’t see a link in the results column, make sure you’re looking in the Ads tab and not the Campaign or Ad Set tabs.
- A Download leads window will pop up. Click the This month dropdown menu to select the date range of the lead data you’d like to download.
- Once you’ve selected the date range, click Download.
- A new Download leads window will pop up, showing the ad name, number of leads and the download links. Click CSV to download the lead data in your preferred file type.
-
Note: Lead information is only available on Meta for 90 days, so older leads cannot be downloaded. We recommend you download your leads regularly.
Importing Your Leads Into Wise Agent CRM:
Once you have exported your contacts from Facebook, you can import them using one of the options on the Import/Export page (steps below), or email the file to help@wiseagent.com and we will format and import them for you!
Wise Agent allows you to import more information than several other CRMs as we include categories, birthdays, anniversaries, spouse and child names, and notes. HERE is an example file to use for acceptable column header fields in your CSV file.
-
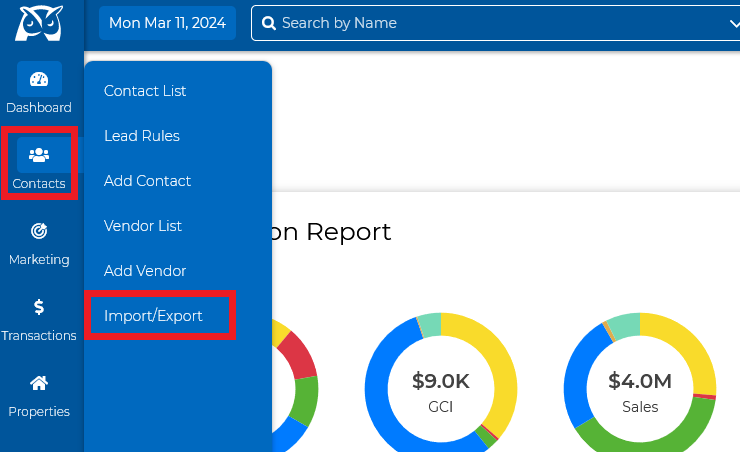
From the sidebar, select Contacts ➜ Import/Export
-
Once on the Import/Export page, under Import, select the Wise Agent option, then click the blue "Upload” button. Select your CSV file from your computer, and click Upload
-
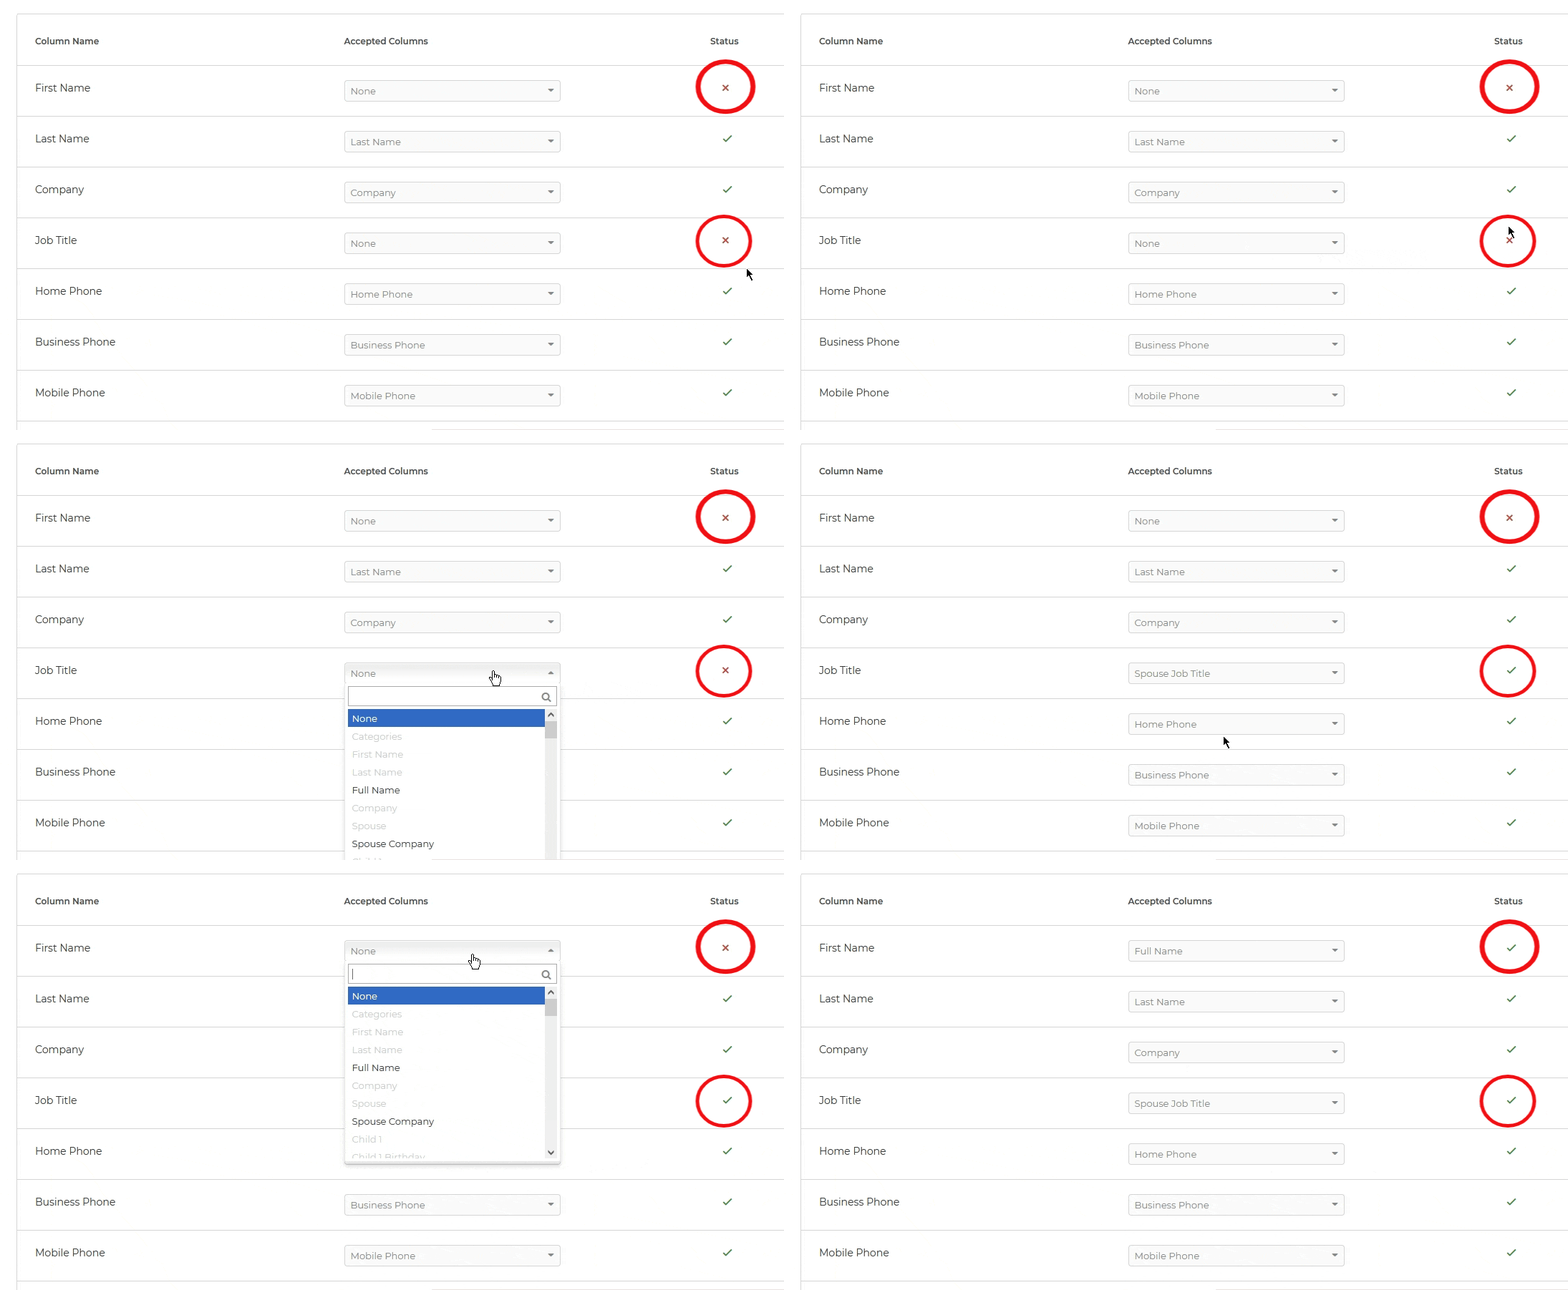
Next, the system will then read the column headers in your file & those accepted will show a green checkmark under Status. If you have a red X under Status for any of your columns, make sure to select an accepted field to import into, using the dropdown menu beneath Accepted Columns.
- Next, you will want to select an Import Method:
-
Only insert new
-
Insert new/update existing - you have contacts in your Wise Agent account. It's recommended to insert new/update existing ones to avoid duplicate contacts.
-
Allow duplicates
-
-
Next, you can assign a contact list to an inside team member and import them under a specific category/source. You can add a new category and source by entering the new title in the appropriate field and then clicking the Green plus sign to add It to your list.
- Lastly, checkbox Format Names and Address to reformat these sections, then click Import & that is it!


