


Obtain Your Unique Wise Agent Lead Capture Email
- From the sidebar, select Integrations, then click Settings from the menu.
- On the Integrations Settings page, locate and click on the API Keys and Lead Email tab and click to expand.
- From this section, locate and copy your Lead Capture Email. This email address is specific to your Wise Agent account and is used to capture leads from various sources.

Activating The Integration
- Log in to your Eventbrite account.
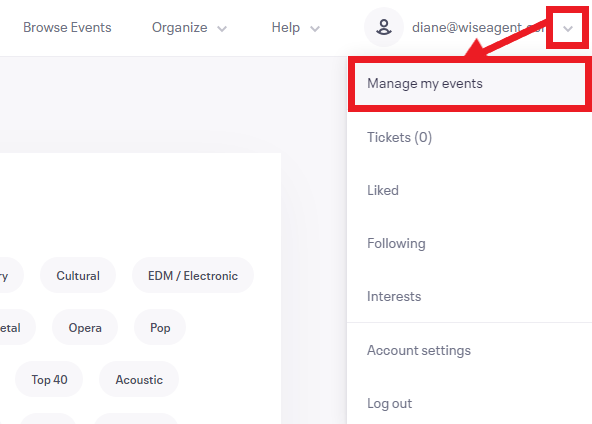
- In the upper right corner, click on your profile, then click on Manage my events.
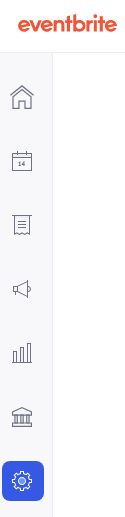
- Click on the gear icon on the left navigation bar.
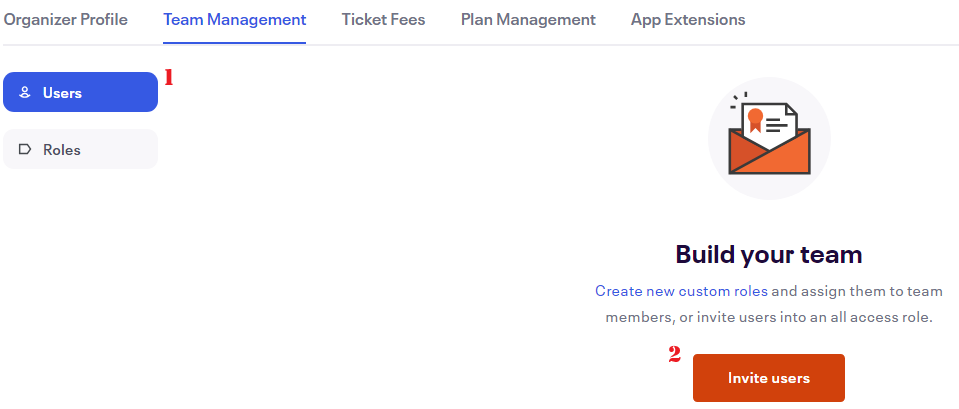
- Go to the Team Management tab, then Roles, and click on the Create new role button.
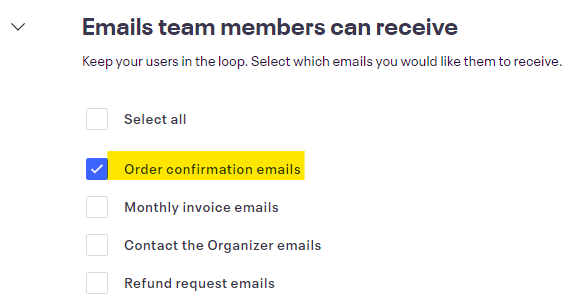
- Create a name for the role, then scroll down go to the "Emails team members can receive" section, and check off the option "Order confirmation emails", then Save it.
- Next, go to Users, then click on the Invite users button.
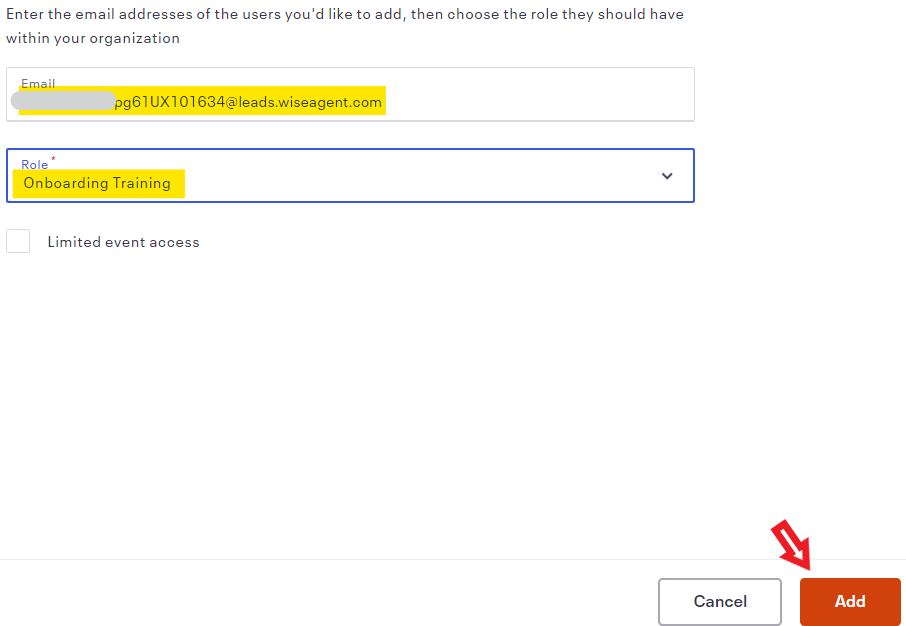
- Enter your Wise Agent lead capture email address, select the role name you set up, and then click on the Add button.
- Then an invitation will be sent to your Wise Agent account.


In Wise Agent:
- Log in to Wise Agent, go to Contacts, then Contact List.
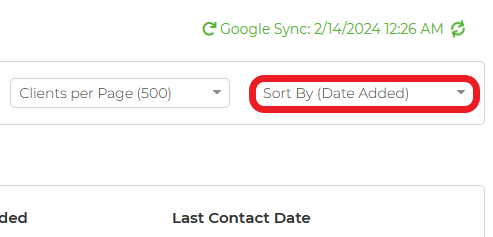
- Sort your contacts by "Date Added."
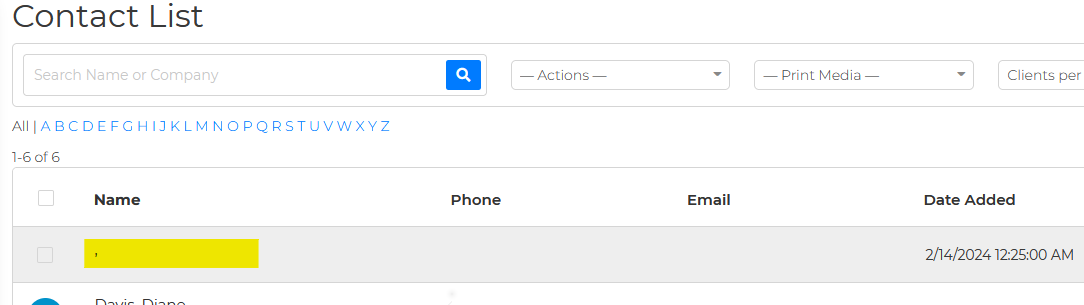
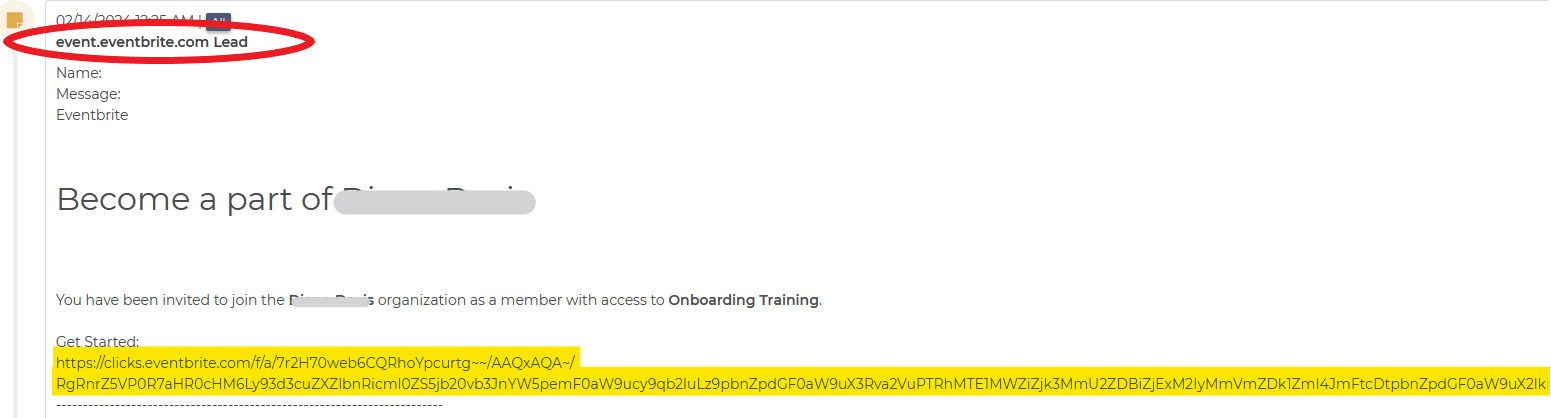
- Click on the new lead that came from the Eventbrite after you sent the "role invite.".Please note that this lead does not have a name and it will only display a comma under the name column on the contact list.
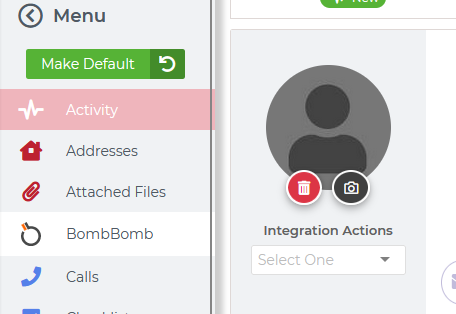
- Click on Activity on the left side, then scroll down to the notes section.
- Once you see the "Become a part of Wise Agent." find the link that says "Get Started." then copy and paste it to a new tab in your browser, then hit Enter.
In Eventbrite:
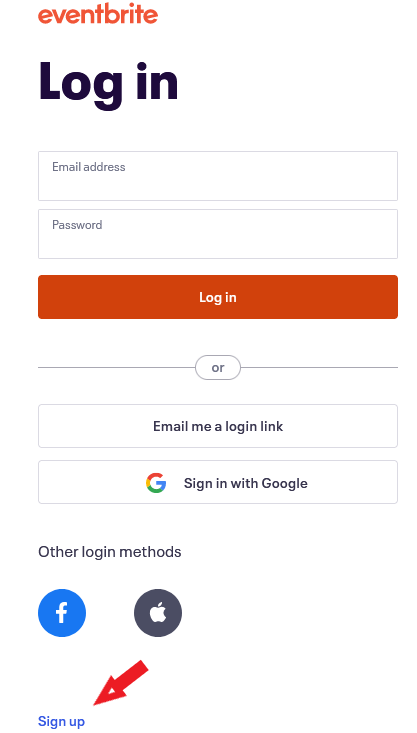
- After opening the link on a new tab, the Eventbrite dashboard will come up, then click on the Sign up button.
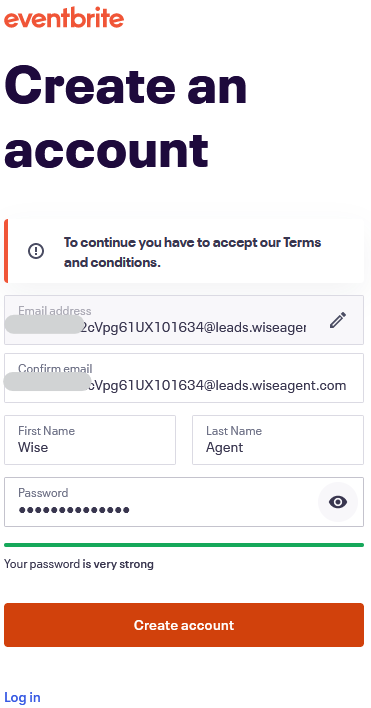
- Enter your Wise Agent lead capture email address, then click Continue.
- "Retype" your lead capture email to confirm because it does not allow you to paste it.
- Then, fill out the other fields, create a password, then hit on Create account.
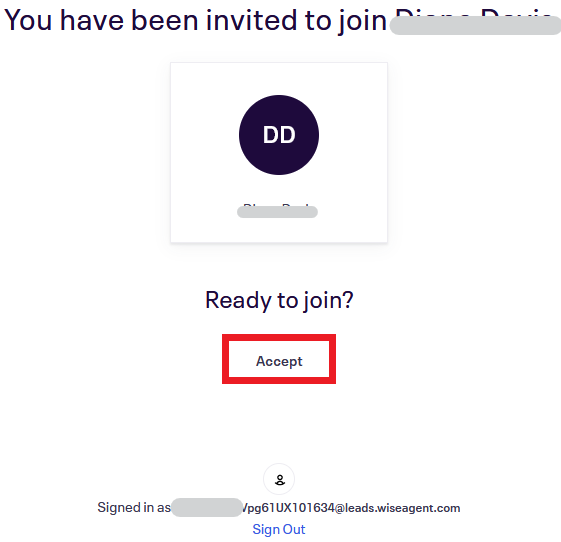
- Click on Agree.
- Next, click on Accept.
That's it! Once you receive a new lead from a specific event, you can then create your lead rules to set up automated email/text responses. The source will be the name of the specific event.