Understanding how to add contacts to drip campaigns is crucial for effective campaign management. Drip campaigns, being a vital marketing tool for lead nurturing, can only be effective if they reach your contacts. In the following sections, we will guide you through the process of adding contacts to your drip campaigns.
Adding contacts from the Drip Campaign
- From the left side navigation bar, click Marketing. Then, from the pop-out menu, select Drip Campaigns.
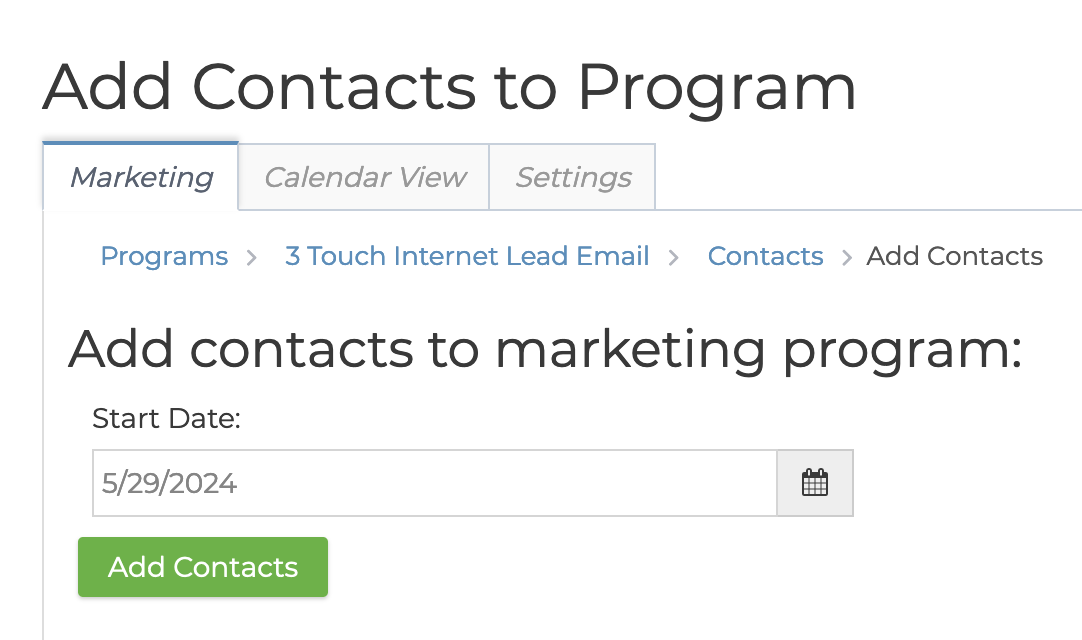
- Find your program under the Active Programs list and look to the right. Click the green "Add Contacts" icon to the right of the appropriate program.
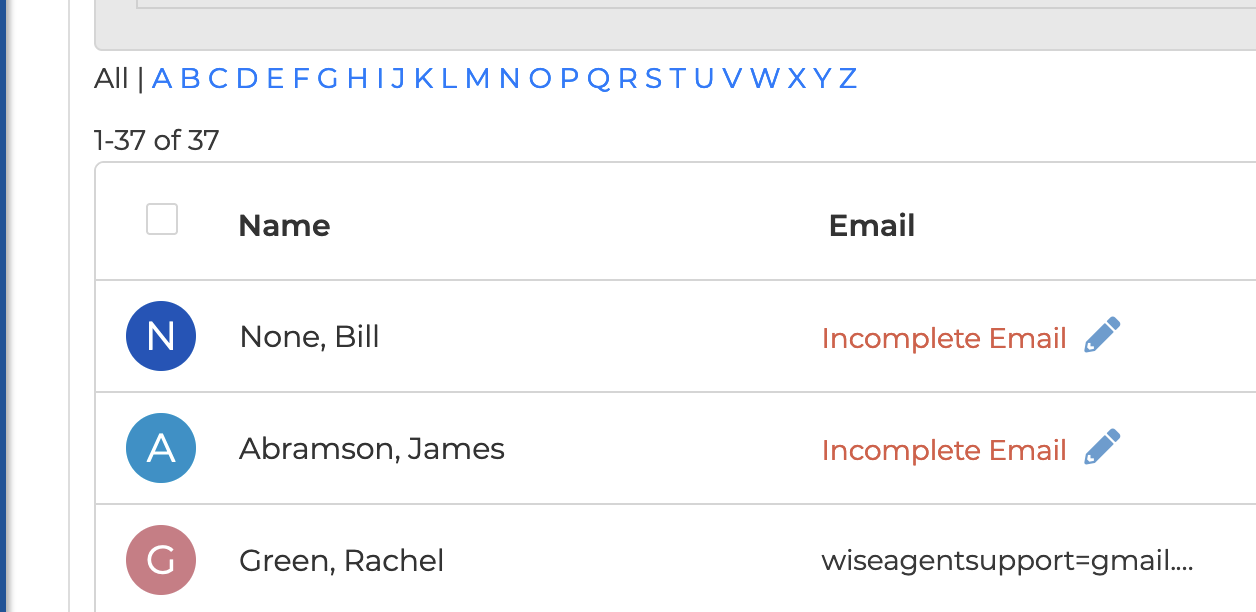
- Select the start date for the contacts and scroll down to select the checkboxes next to the names.
- To select all contacts, select the checkbox next to Name at the top. Alternatively, you can choose contacts individually by selecting the checkboxes next to the contacts you want to add.
- When done making your selection, return to the top and click on the green Add Contacts button. *Note there will only be a checkbox for contacts with an email.
Adding Contacts from the Contacts Lists Actions
- Select the side navigation bar on the left and click Contacts. Then, Contact List from the pop-out menu.
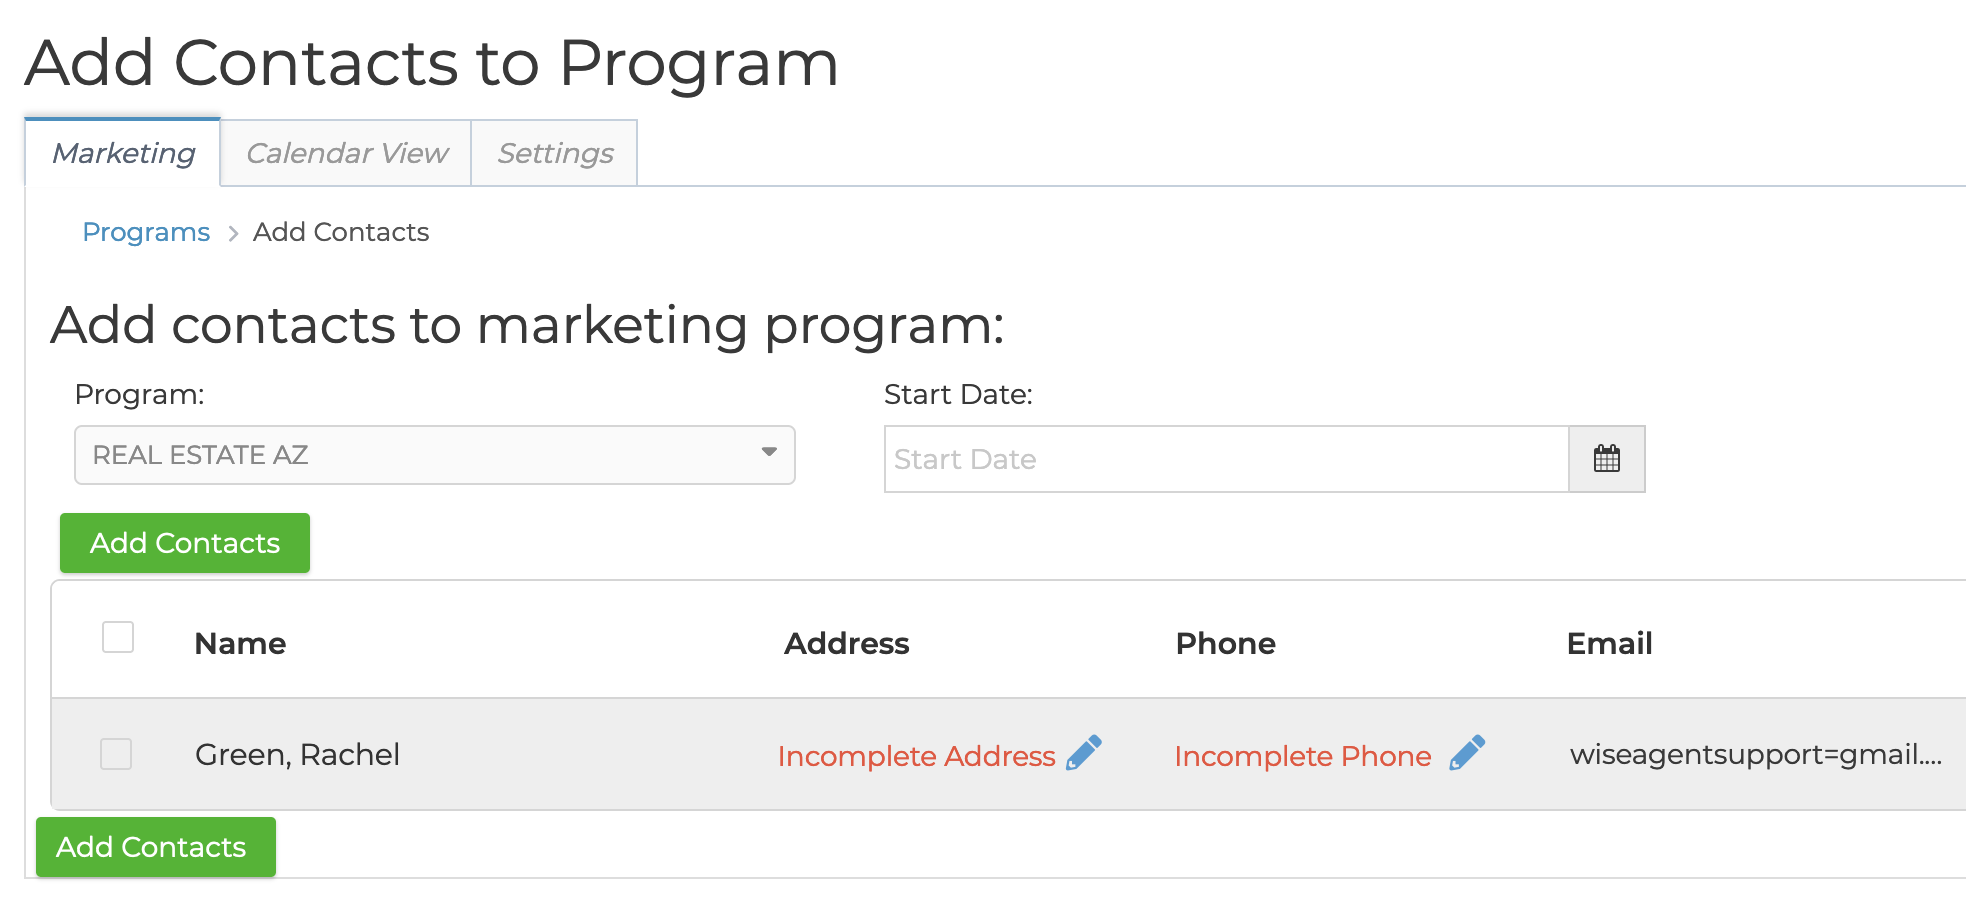
- Select the checkboxes next to the names of the contacts you would like to add.
- Select Add to a Marketing Program From the Actions drop-down box on the top left.
- Select the drip campaign from the Program drop-down menu and the start date.
- Click on the green Add Contacts button.
Adding from the Contact Summary Page
- From the left-hand menu, click on Marketing.
- Click on the green plus icon on the right side.
- Select the drip campaign from the marketing program drop-down and click Save.


