Implementing the Integration
- Log in to your Wise Agent account.
- From the sidebar, select Integrations ➜ Settings.
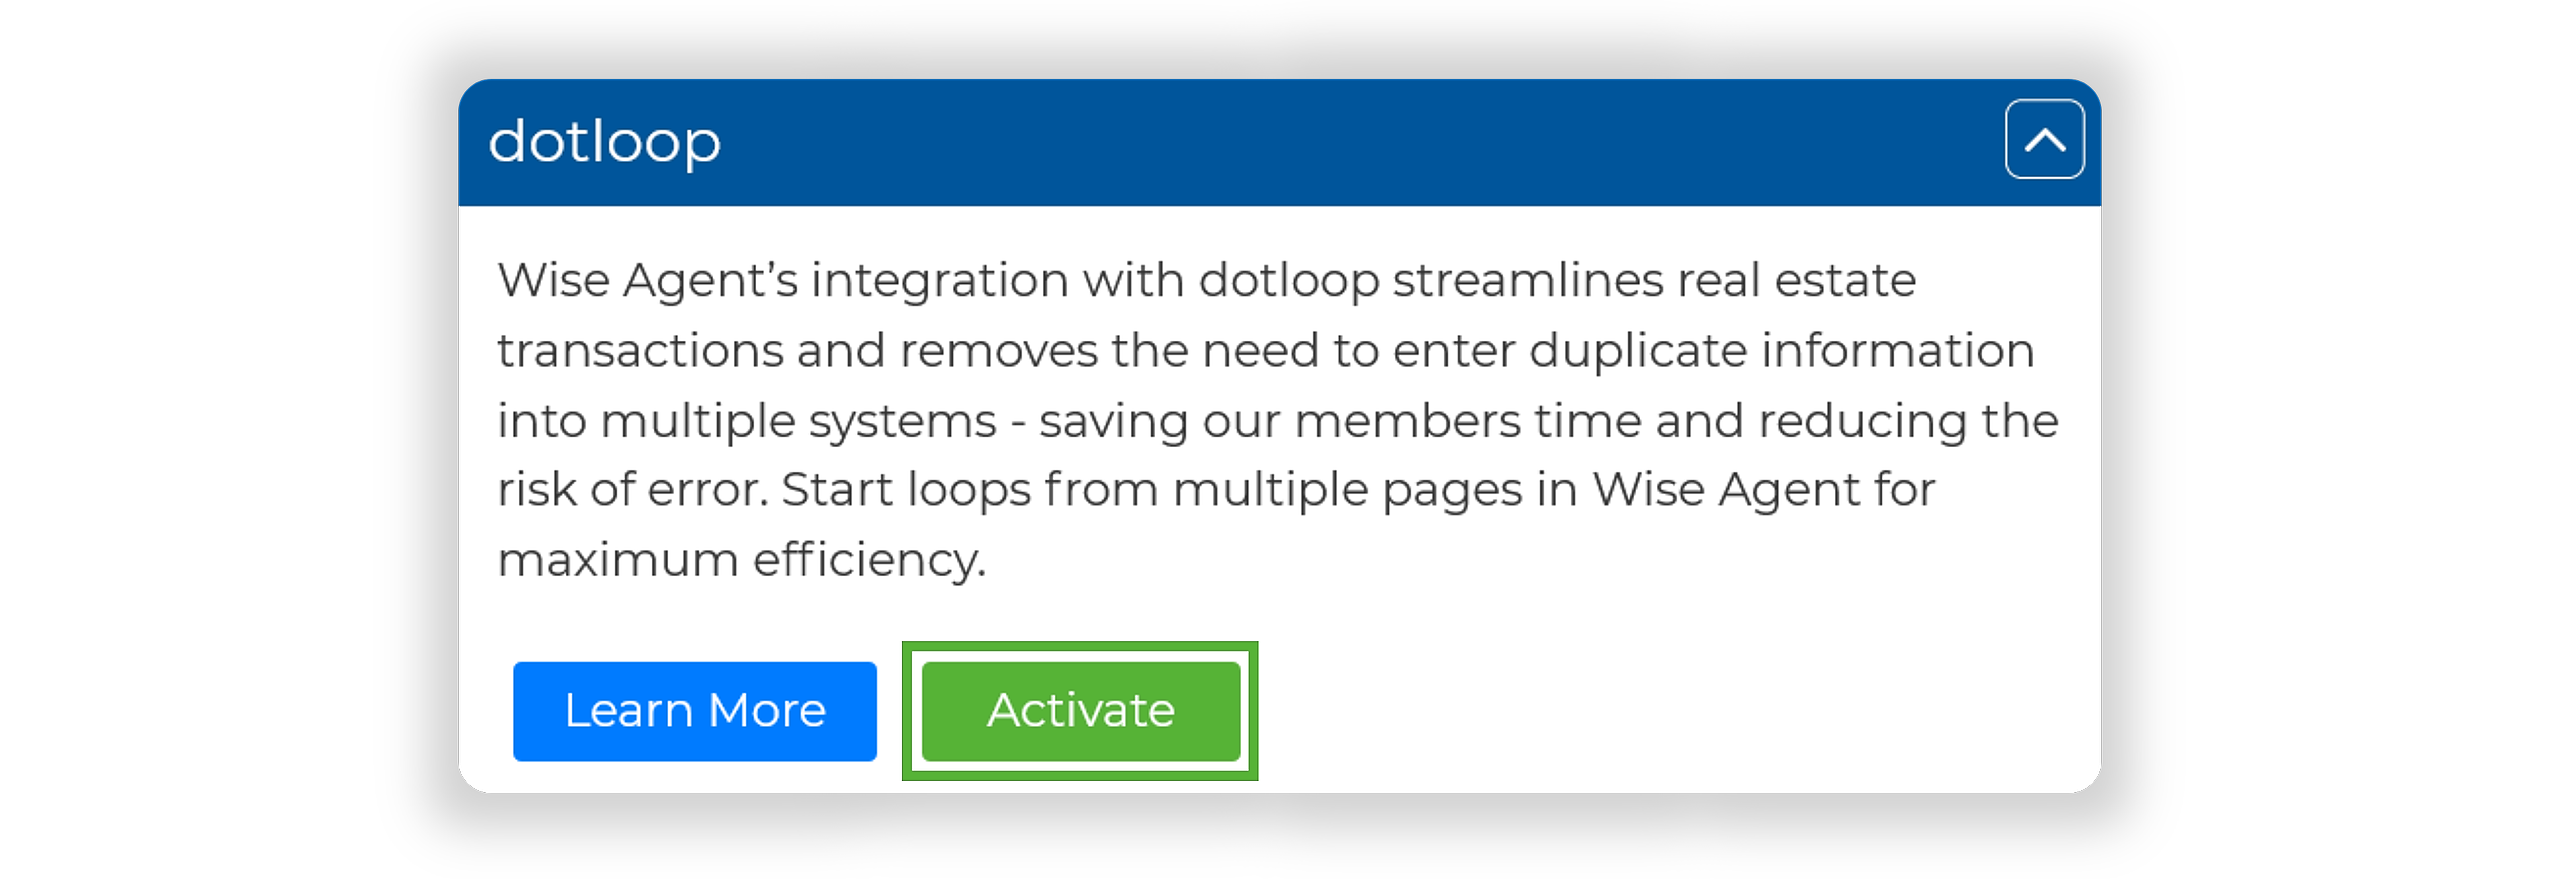
- On the Integration Settings page, locate and select DotLoop.
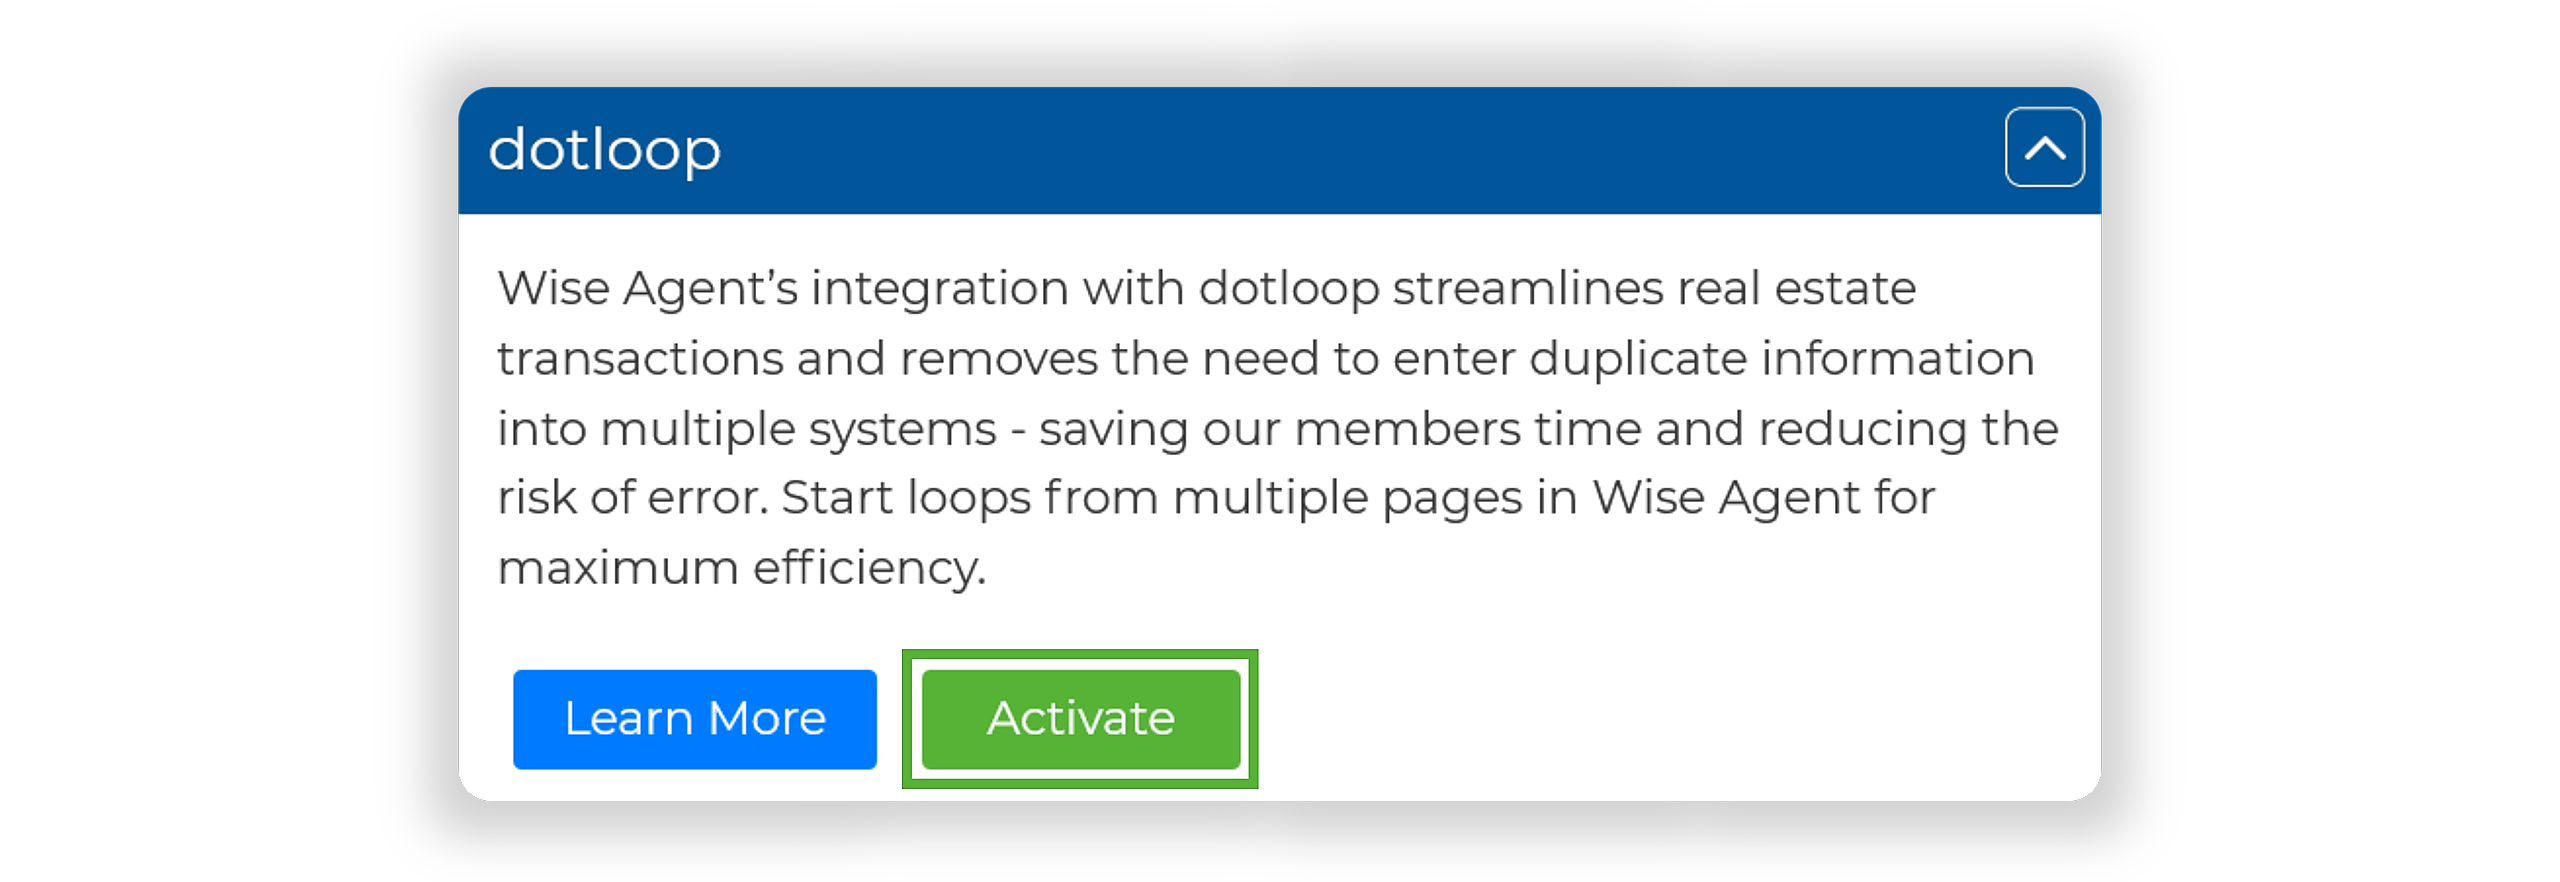
- Click Activate to proceed to the DotLoop login page.
- Enter your DotLoop login information and click Sign In.
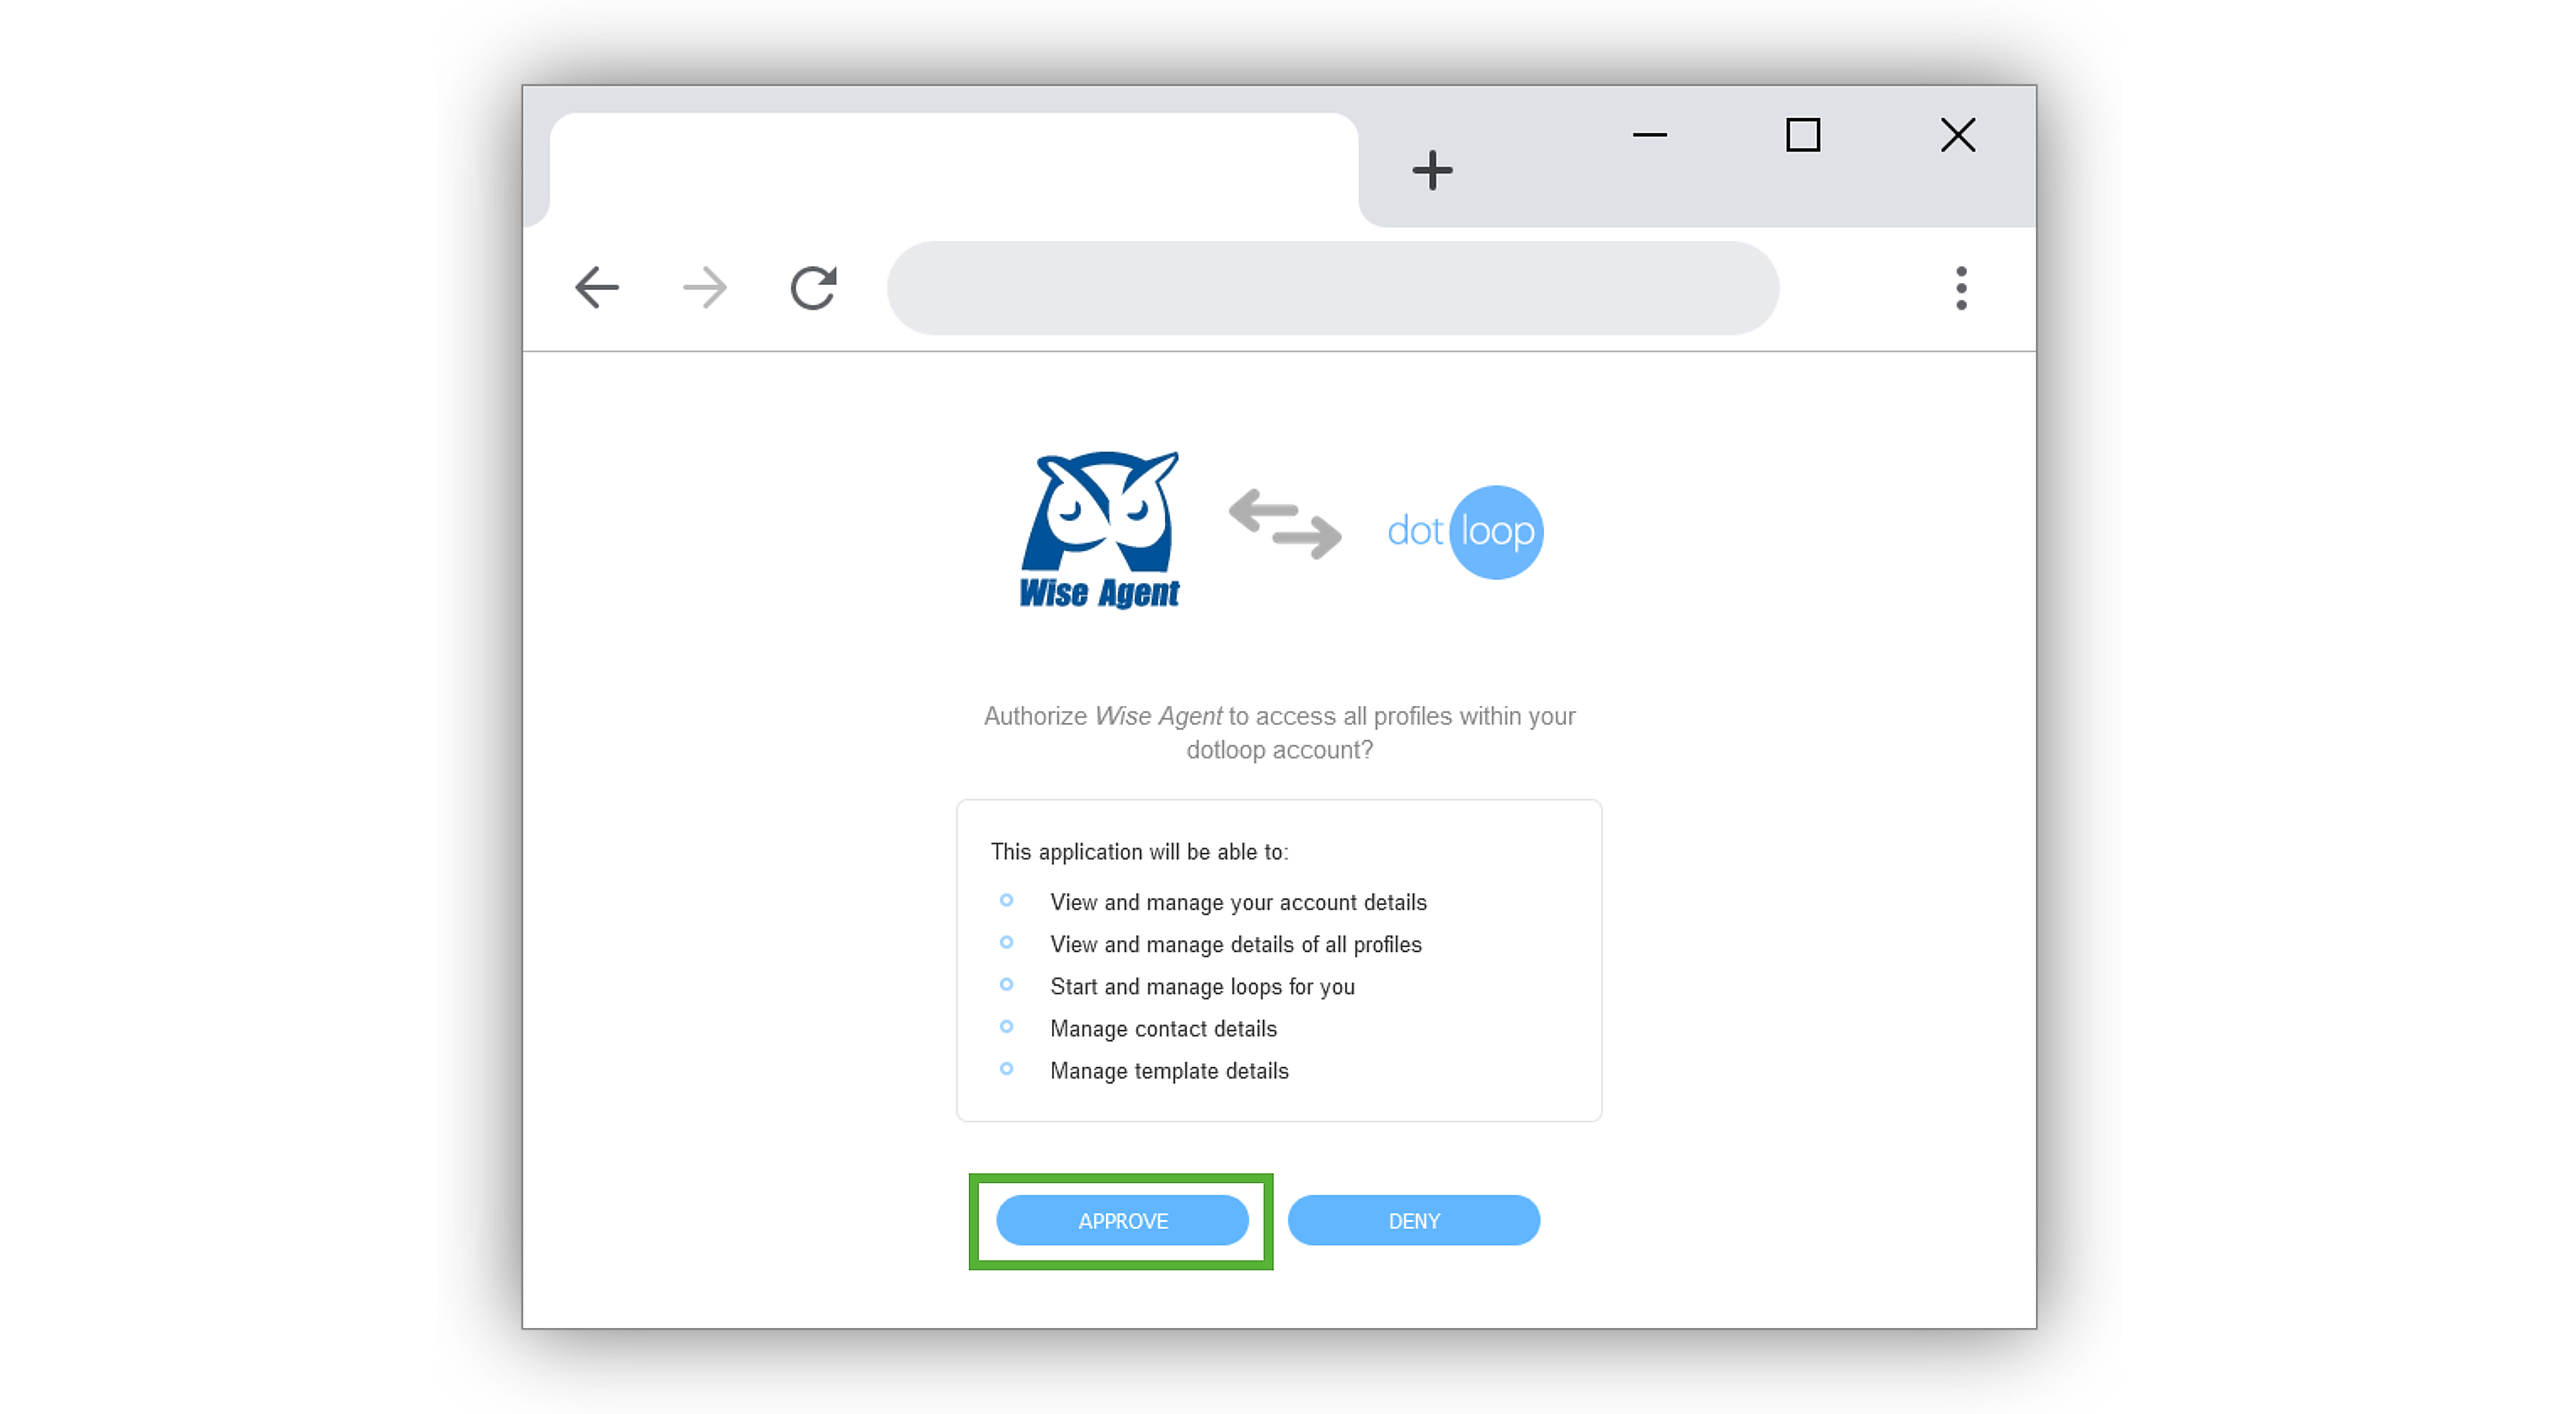
- Click APPROVE to finalize the DotLoop integration.
- After approval, you will see your DotLoop account information displayed on the Integration menu in your Wise Agent account!
Importing Your DotLoop Contacts
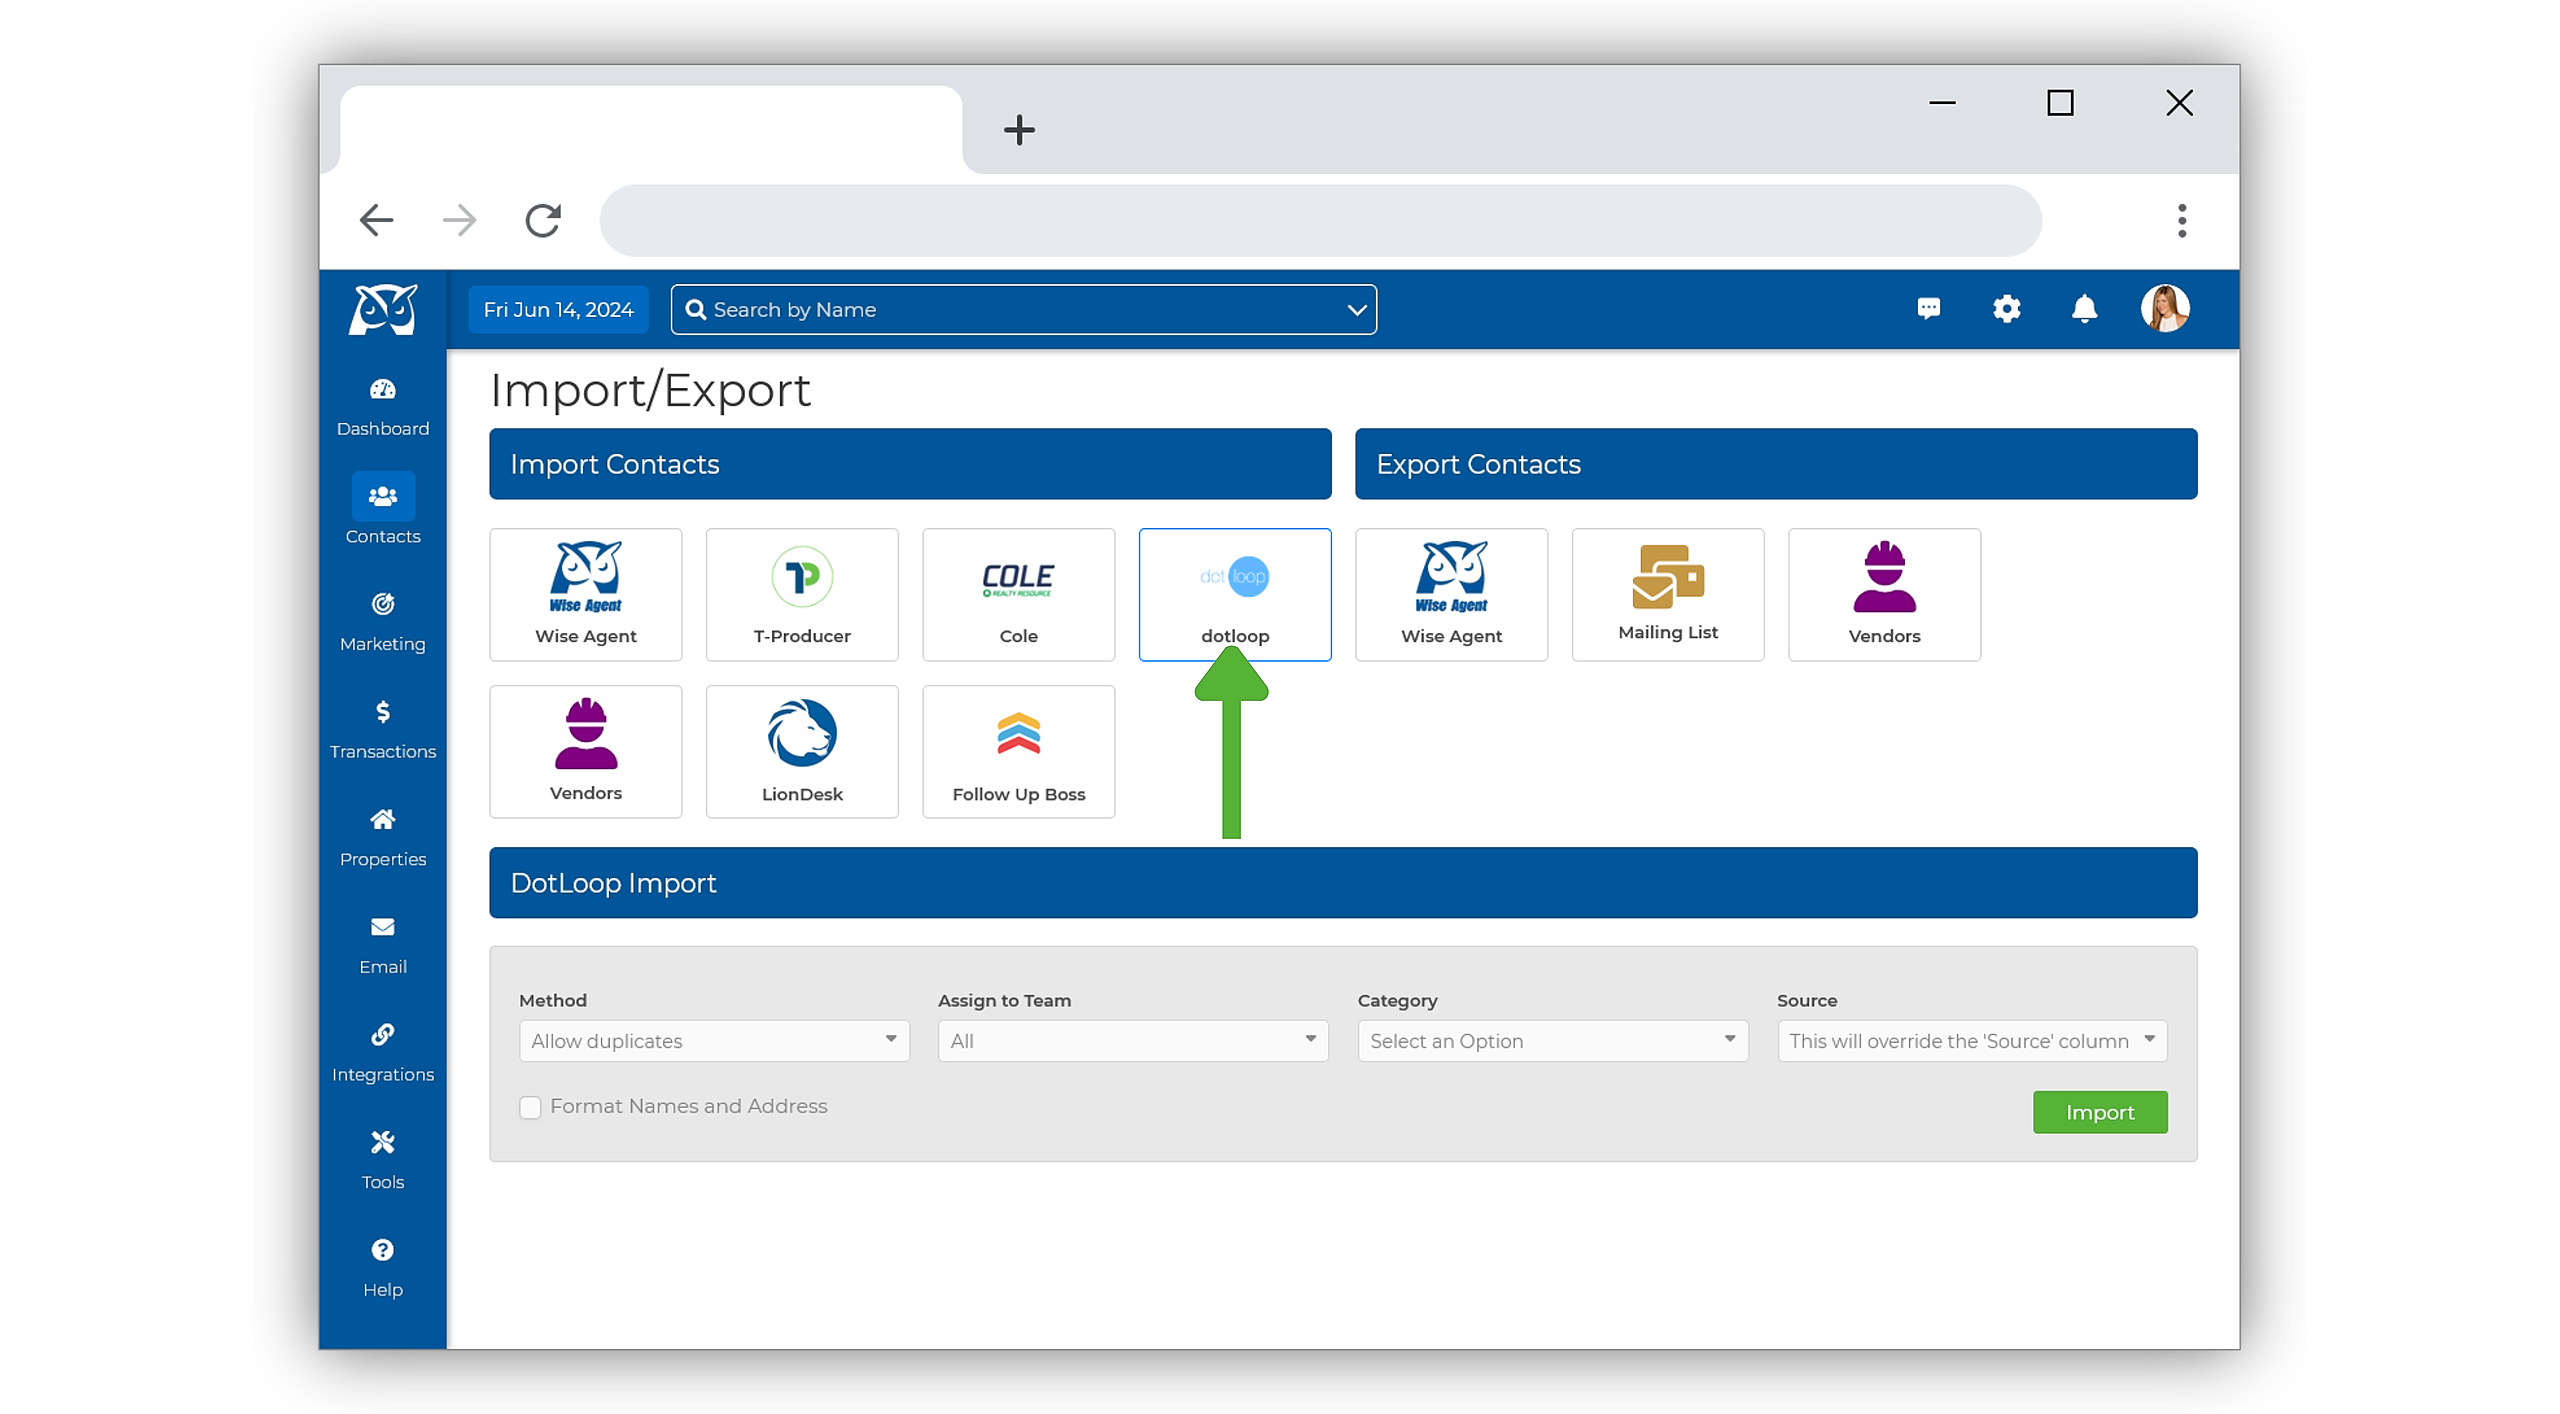
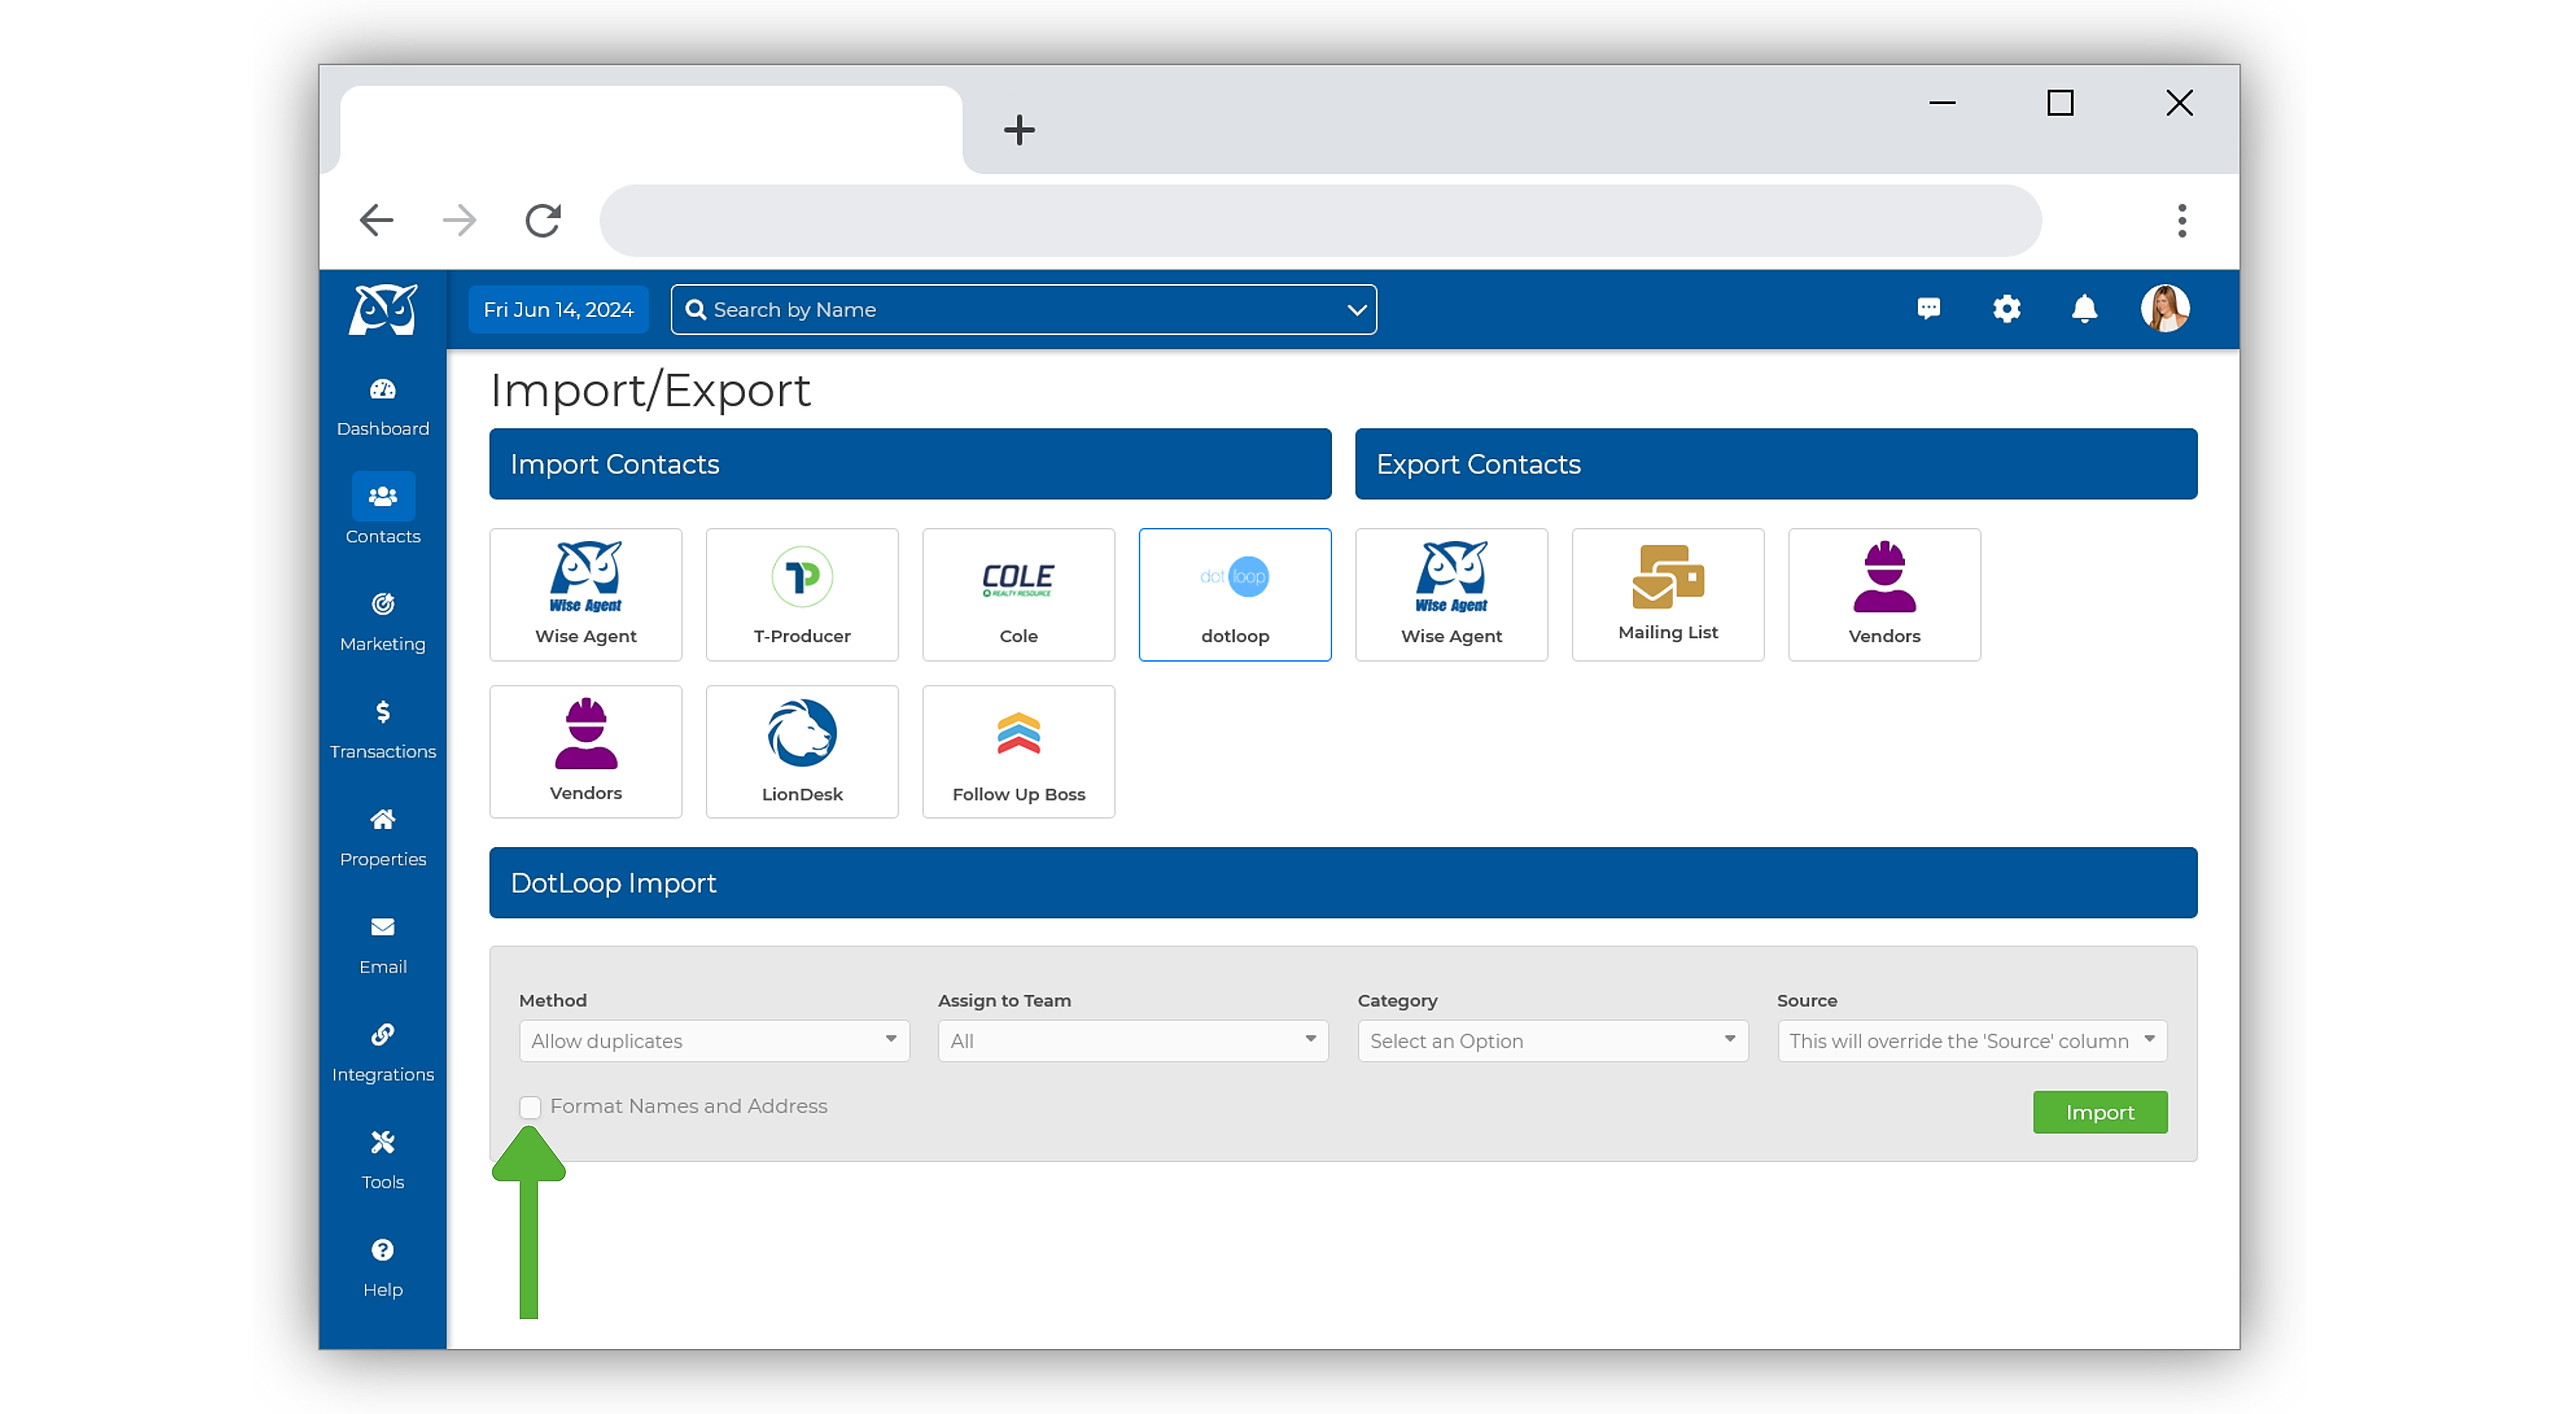
- From the sidebar, select Contacts ➜ Import/ Export.
- Under Import Contacts, select DotLoop.
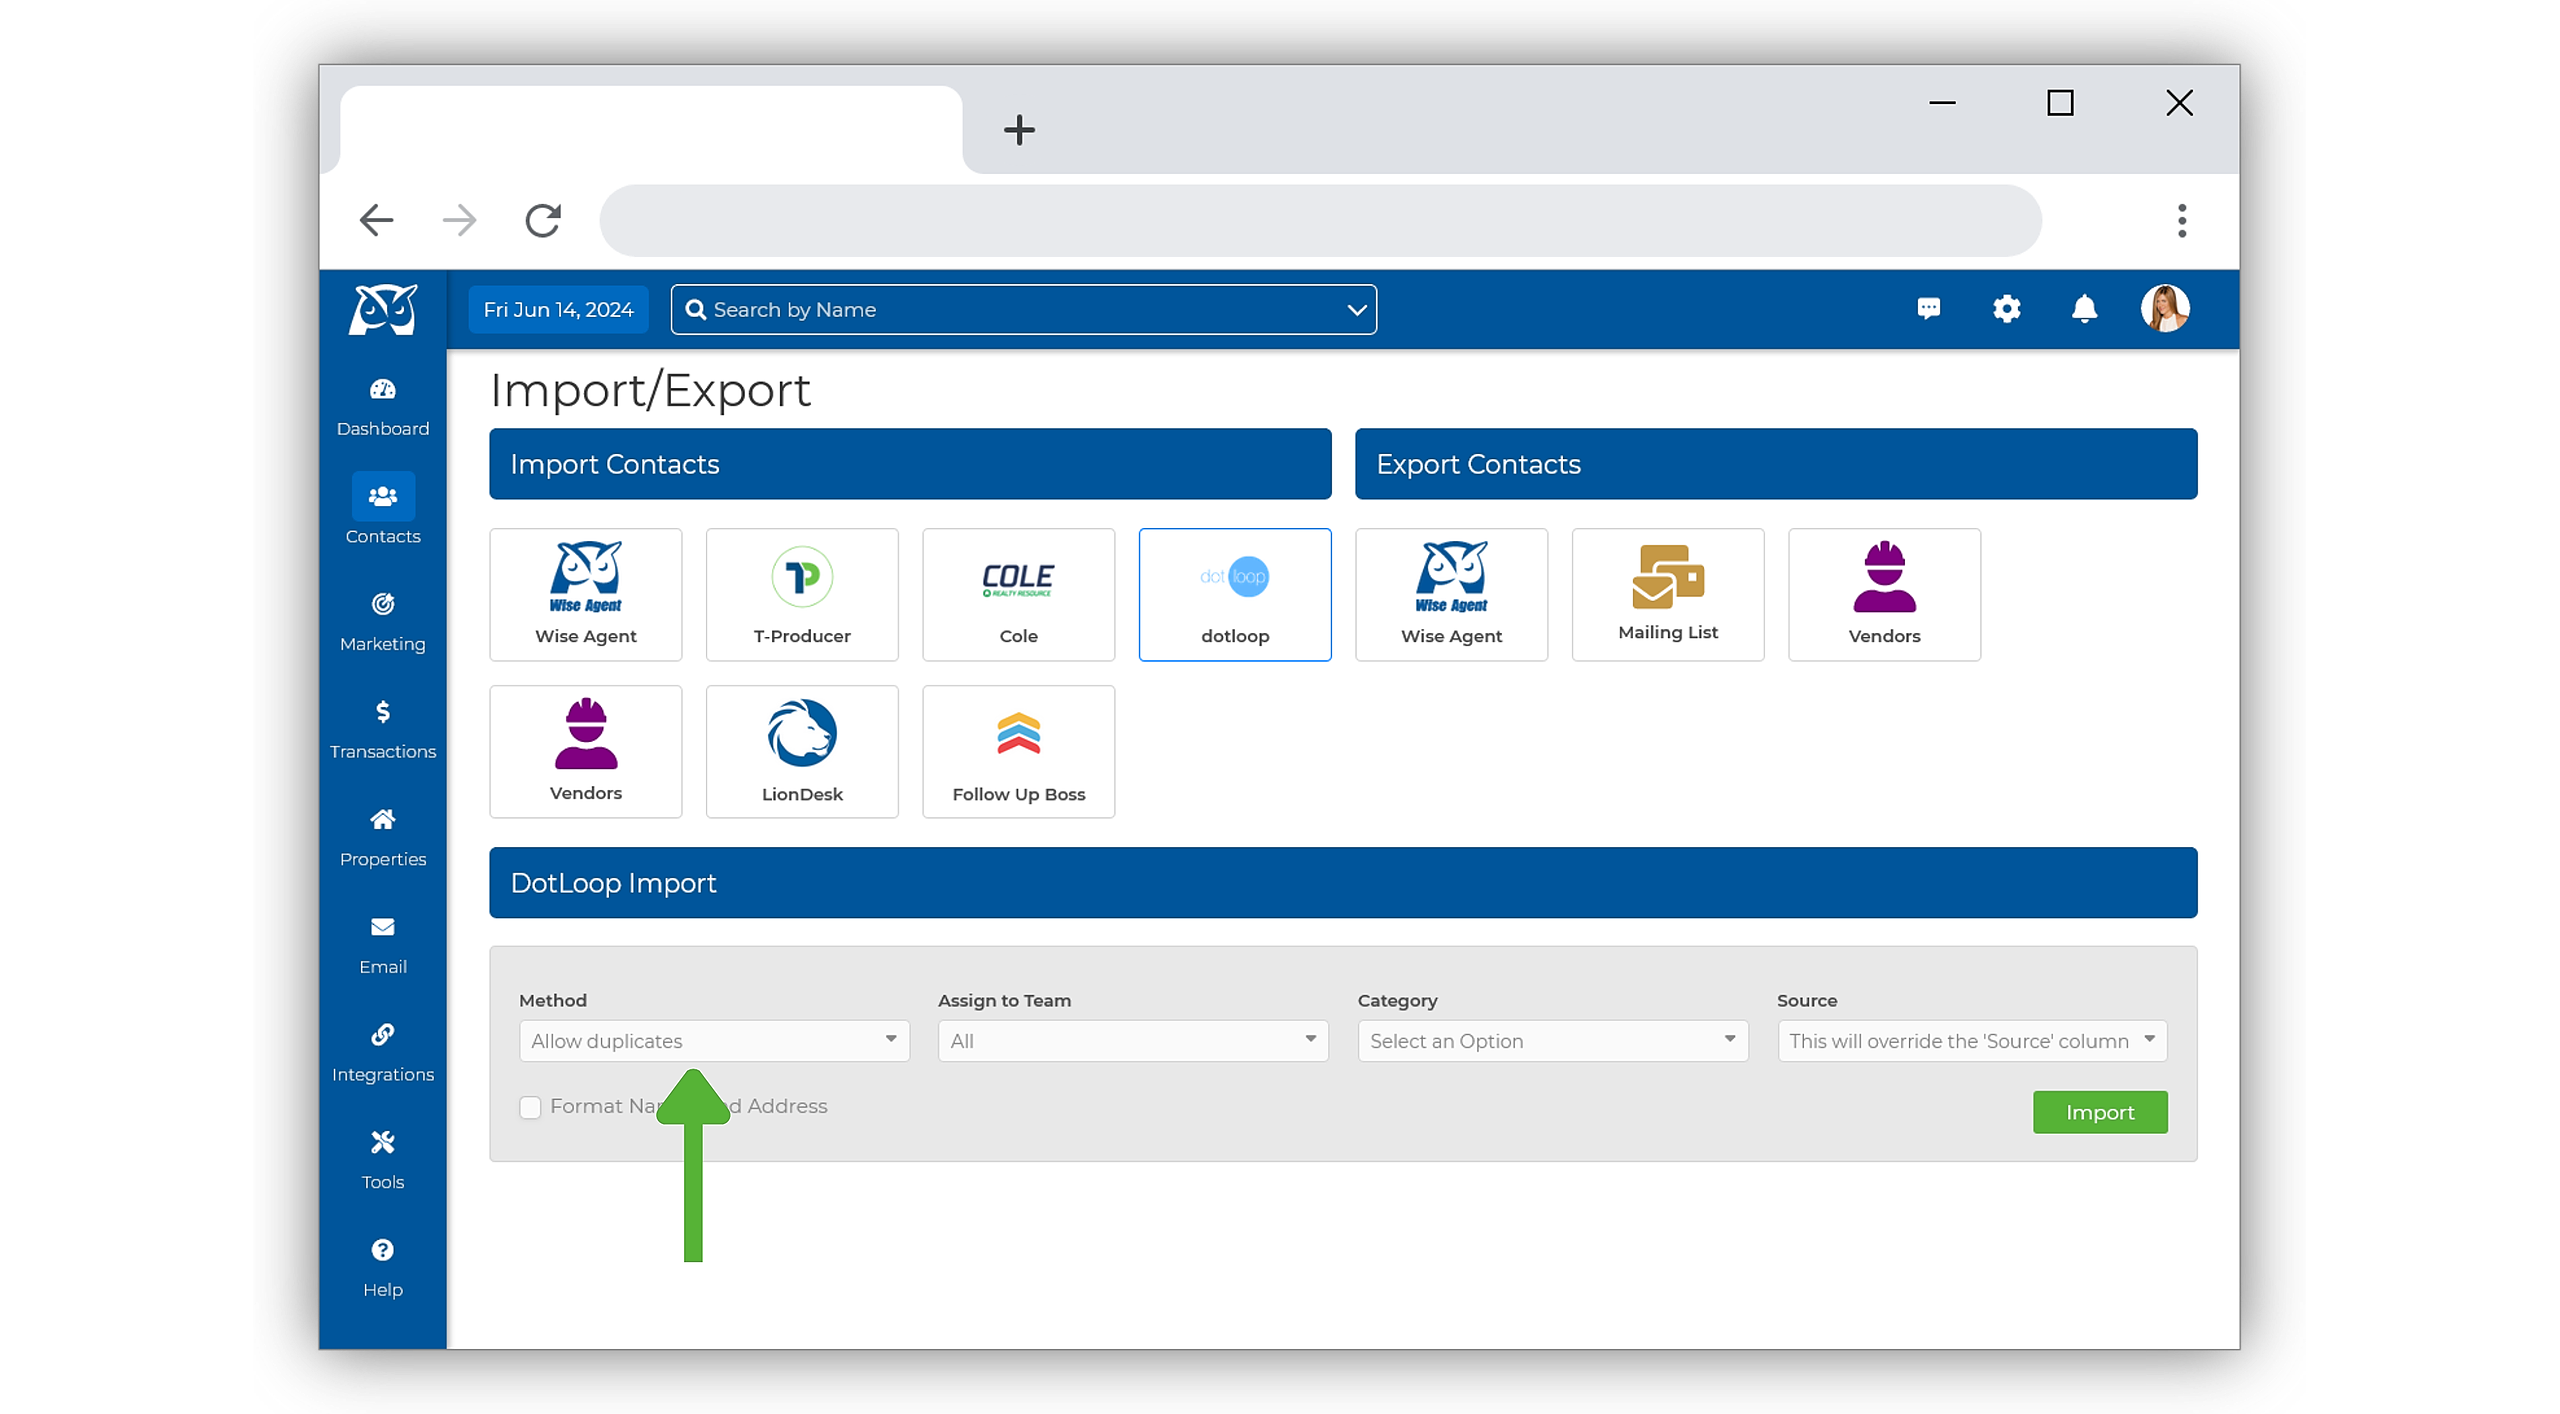
- Next, select your Method:
▸Only Insert New
This method adds only new contacts to the database. If a contact already exists in your Wise Agent contact list, it will not be updated or duplicated.
▸Insert New/ Update Existing
This method adds new contacts and updates information for existing ones already in your Wise Agent contact list. If a contact already exists, its details will be updated rather than creating a duplicate.
▸Allow Duplicates
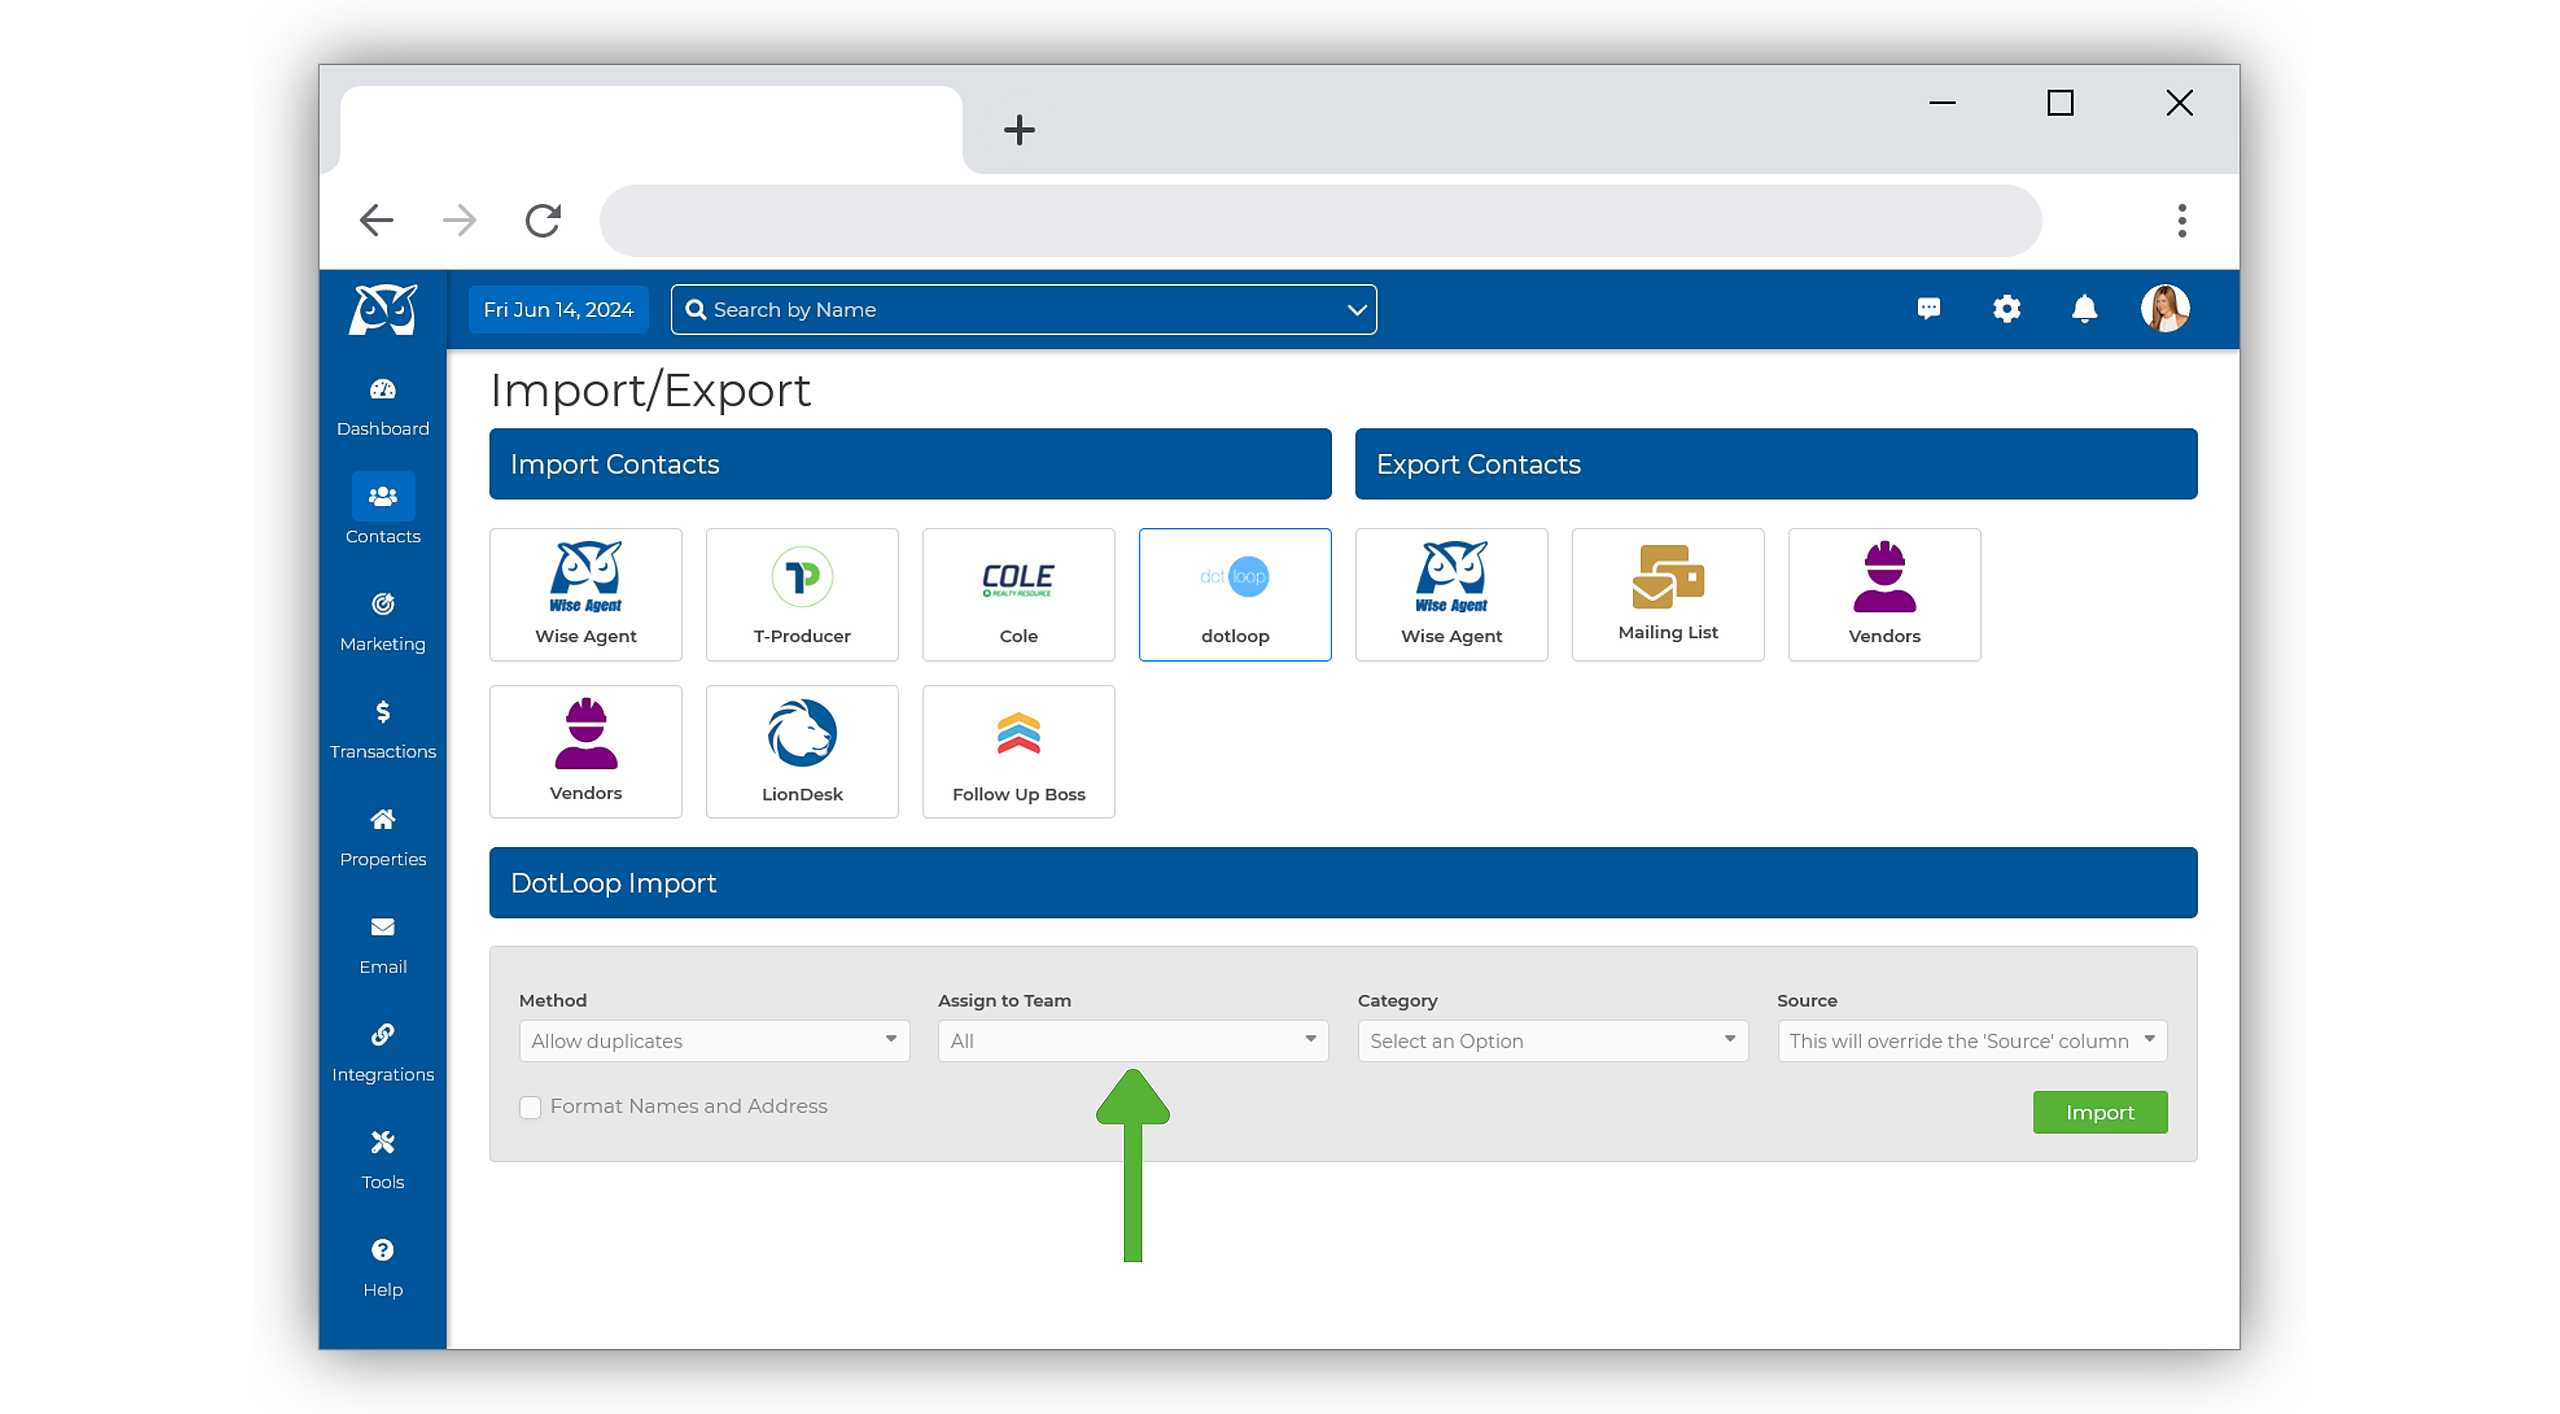
This method adds all contacts from the import, even if they already exist in your Wise Agent contact list, which may result in duplicate entries. - Next, choose an inside team member to assign the contacts. If you prefer to leave the contacts unassigned, keep the selection set to All.
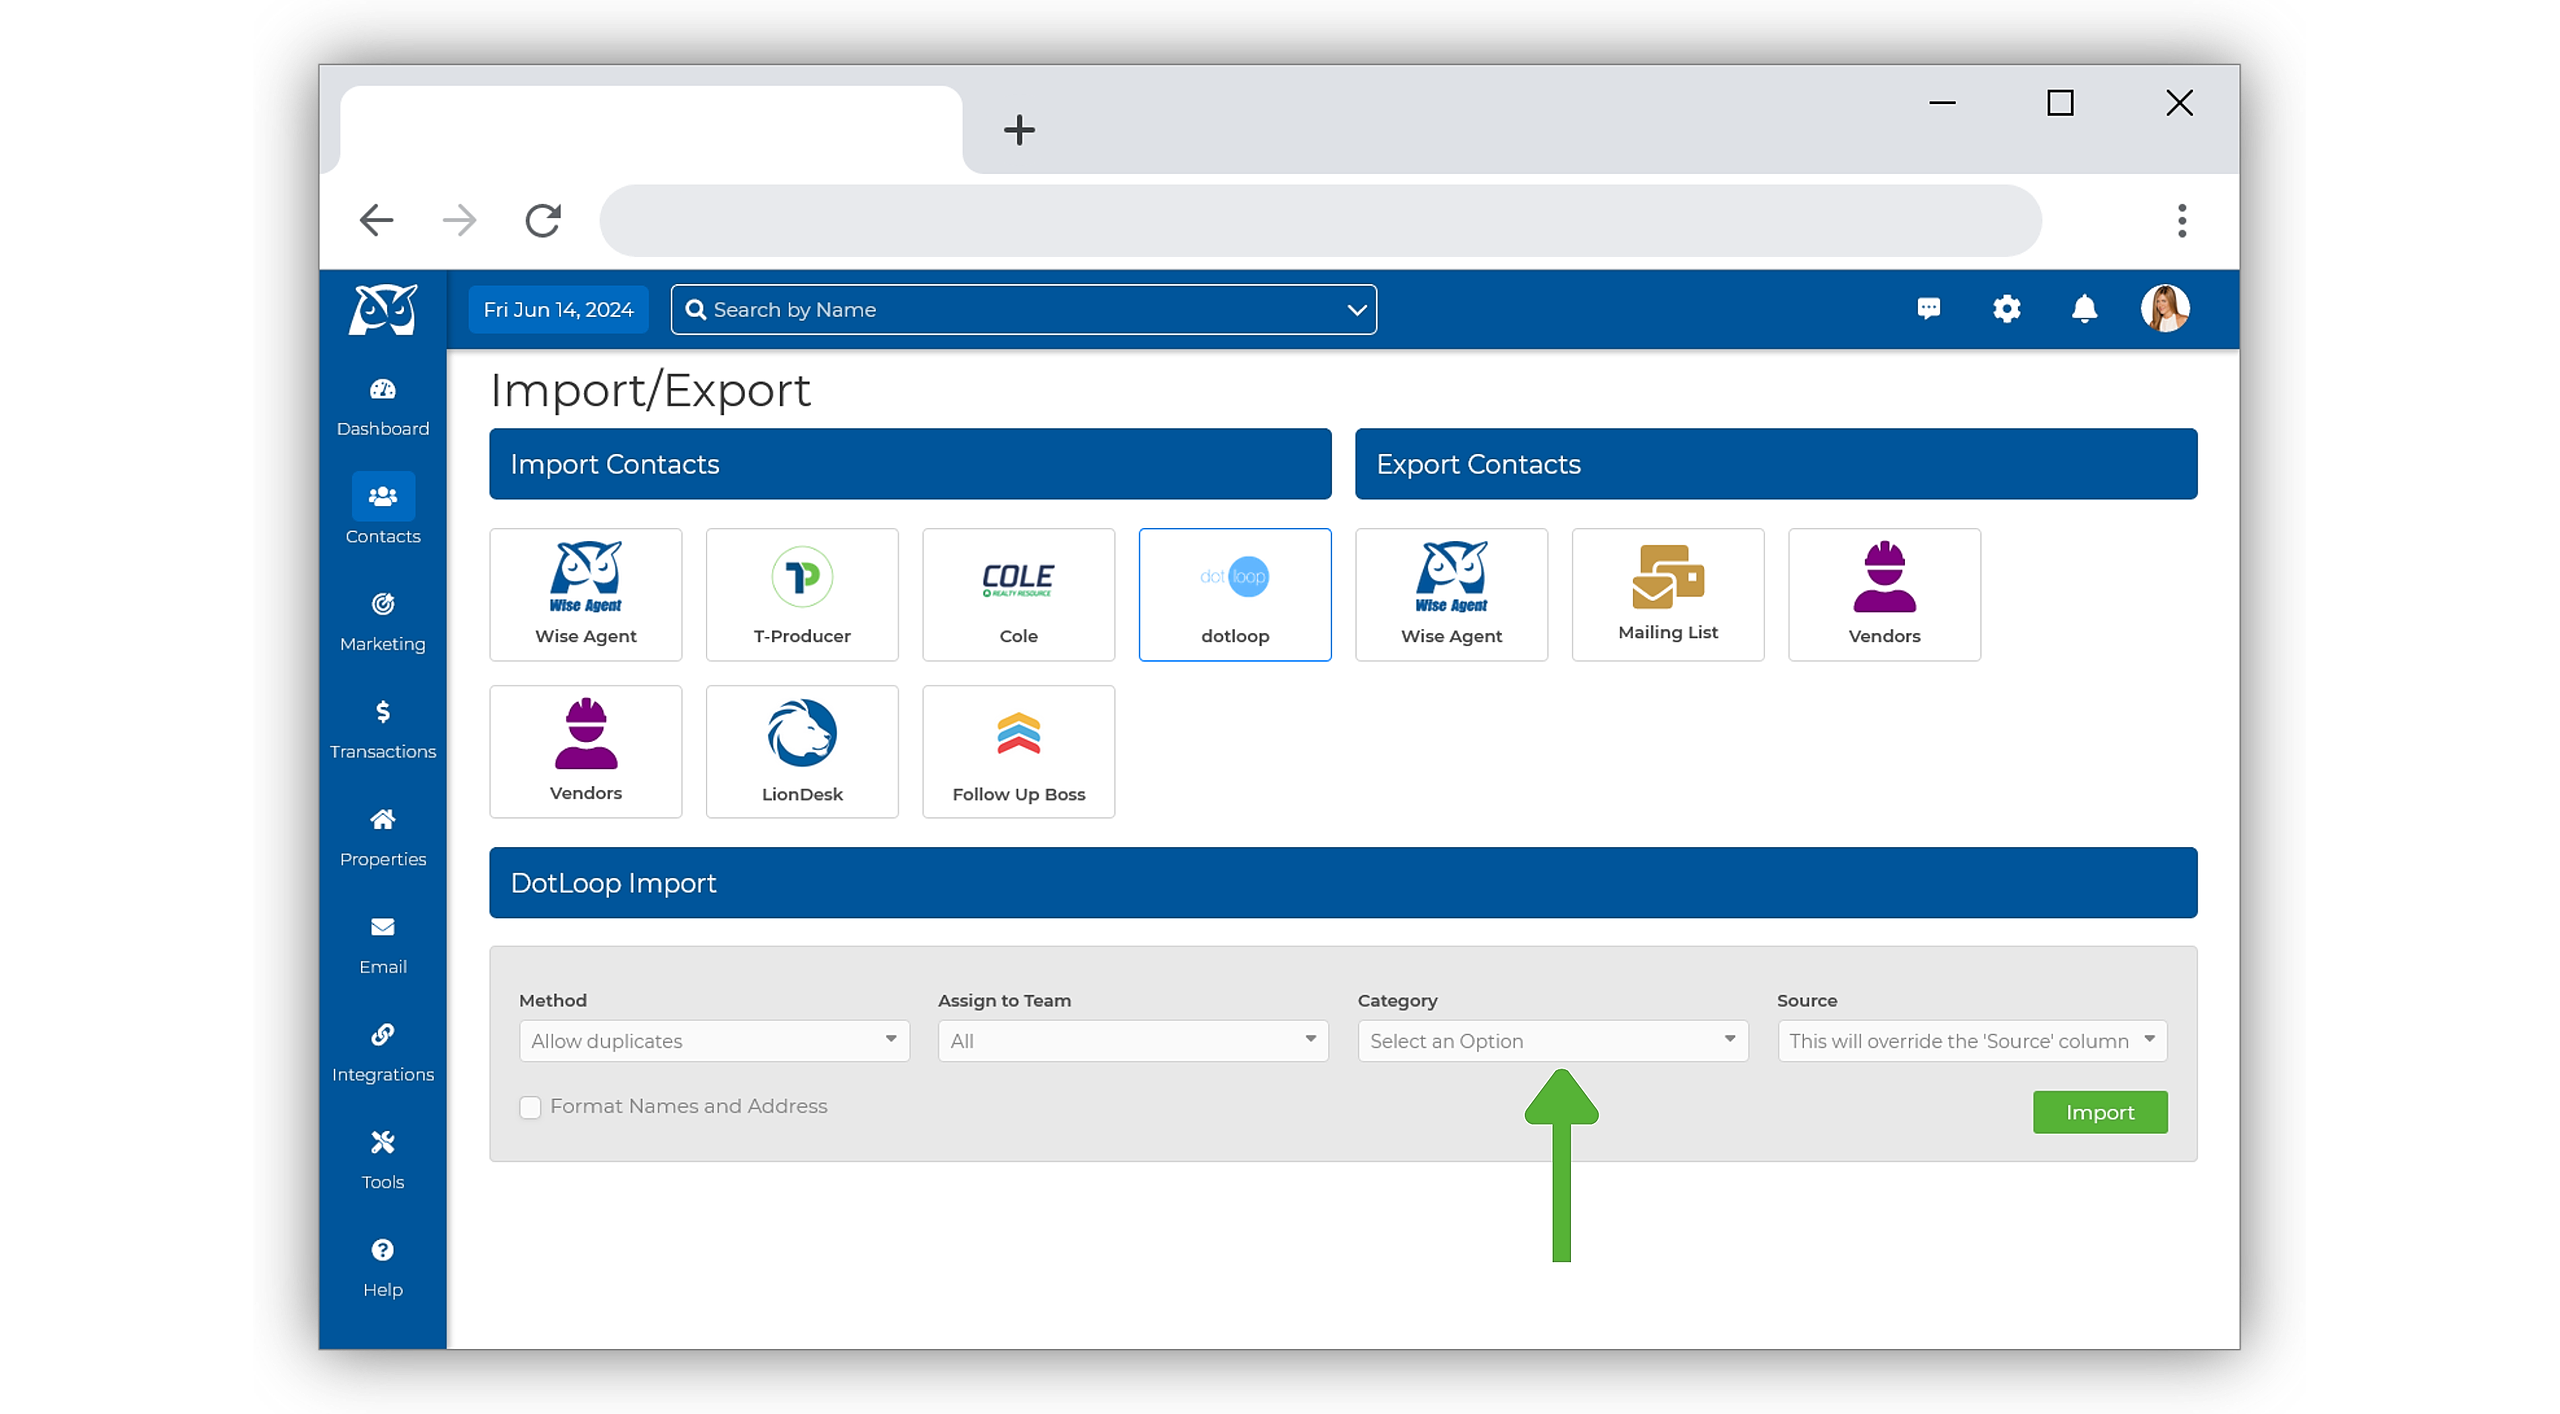
- Select a Category to add to all the contacts.
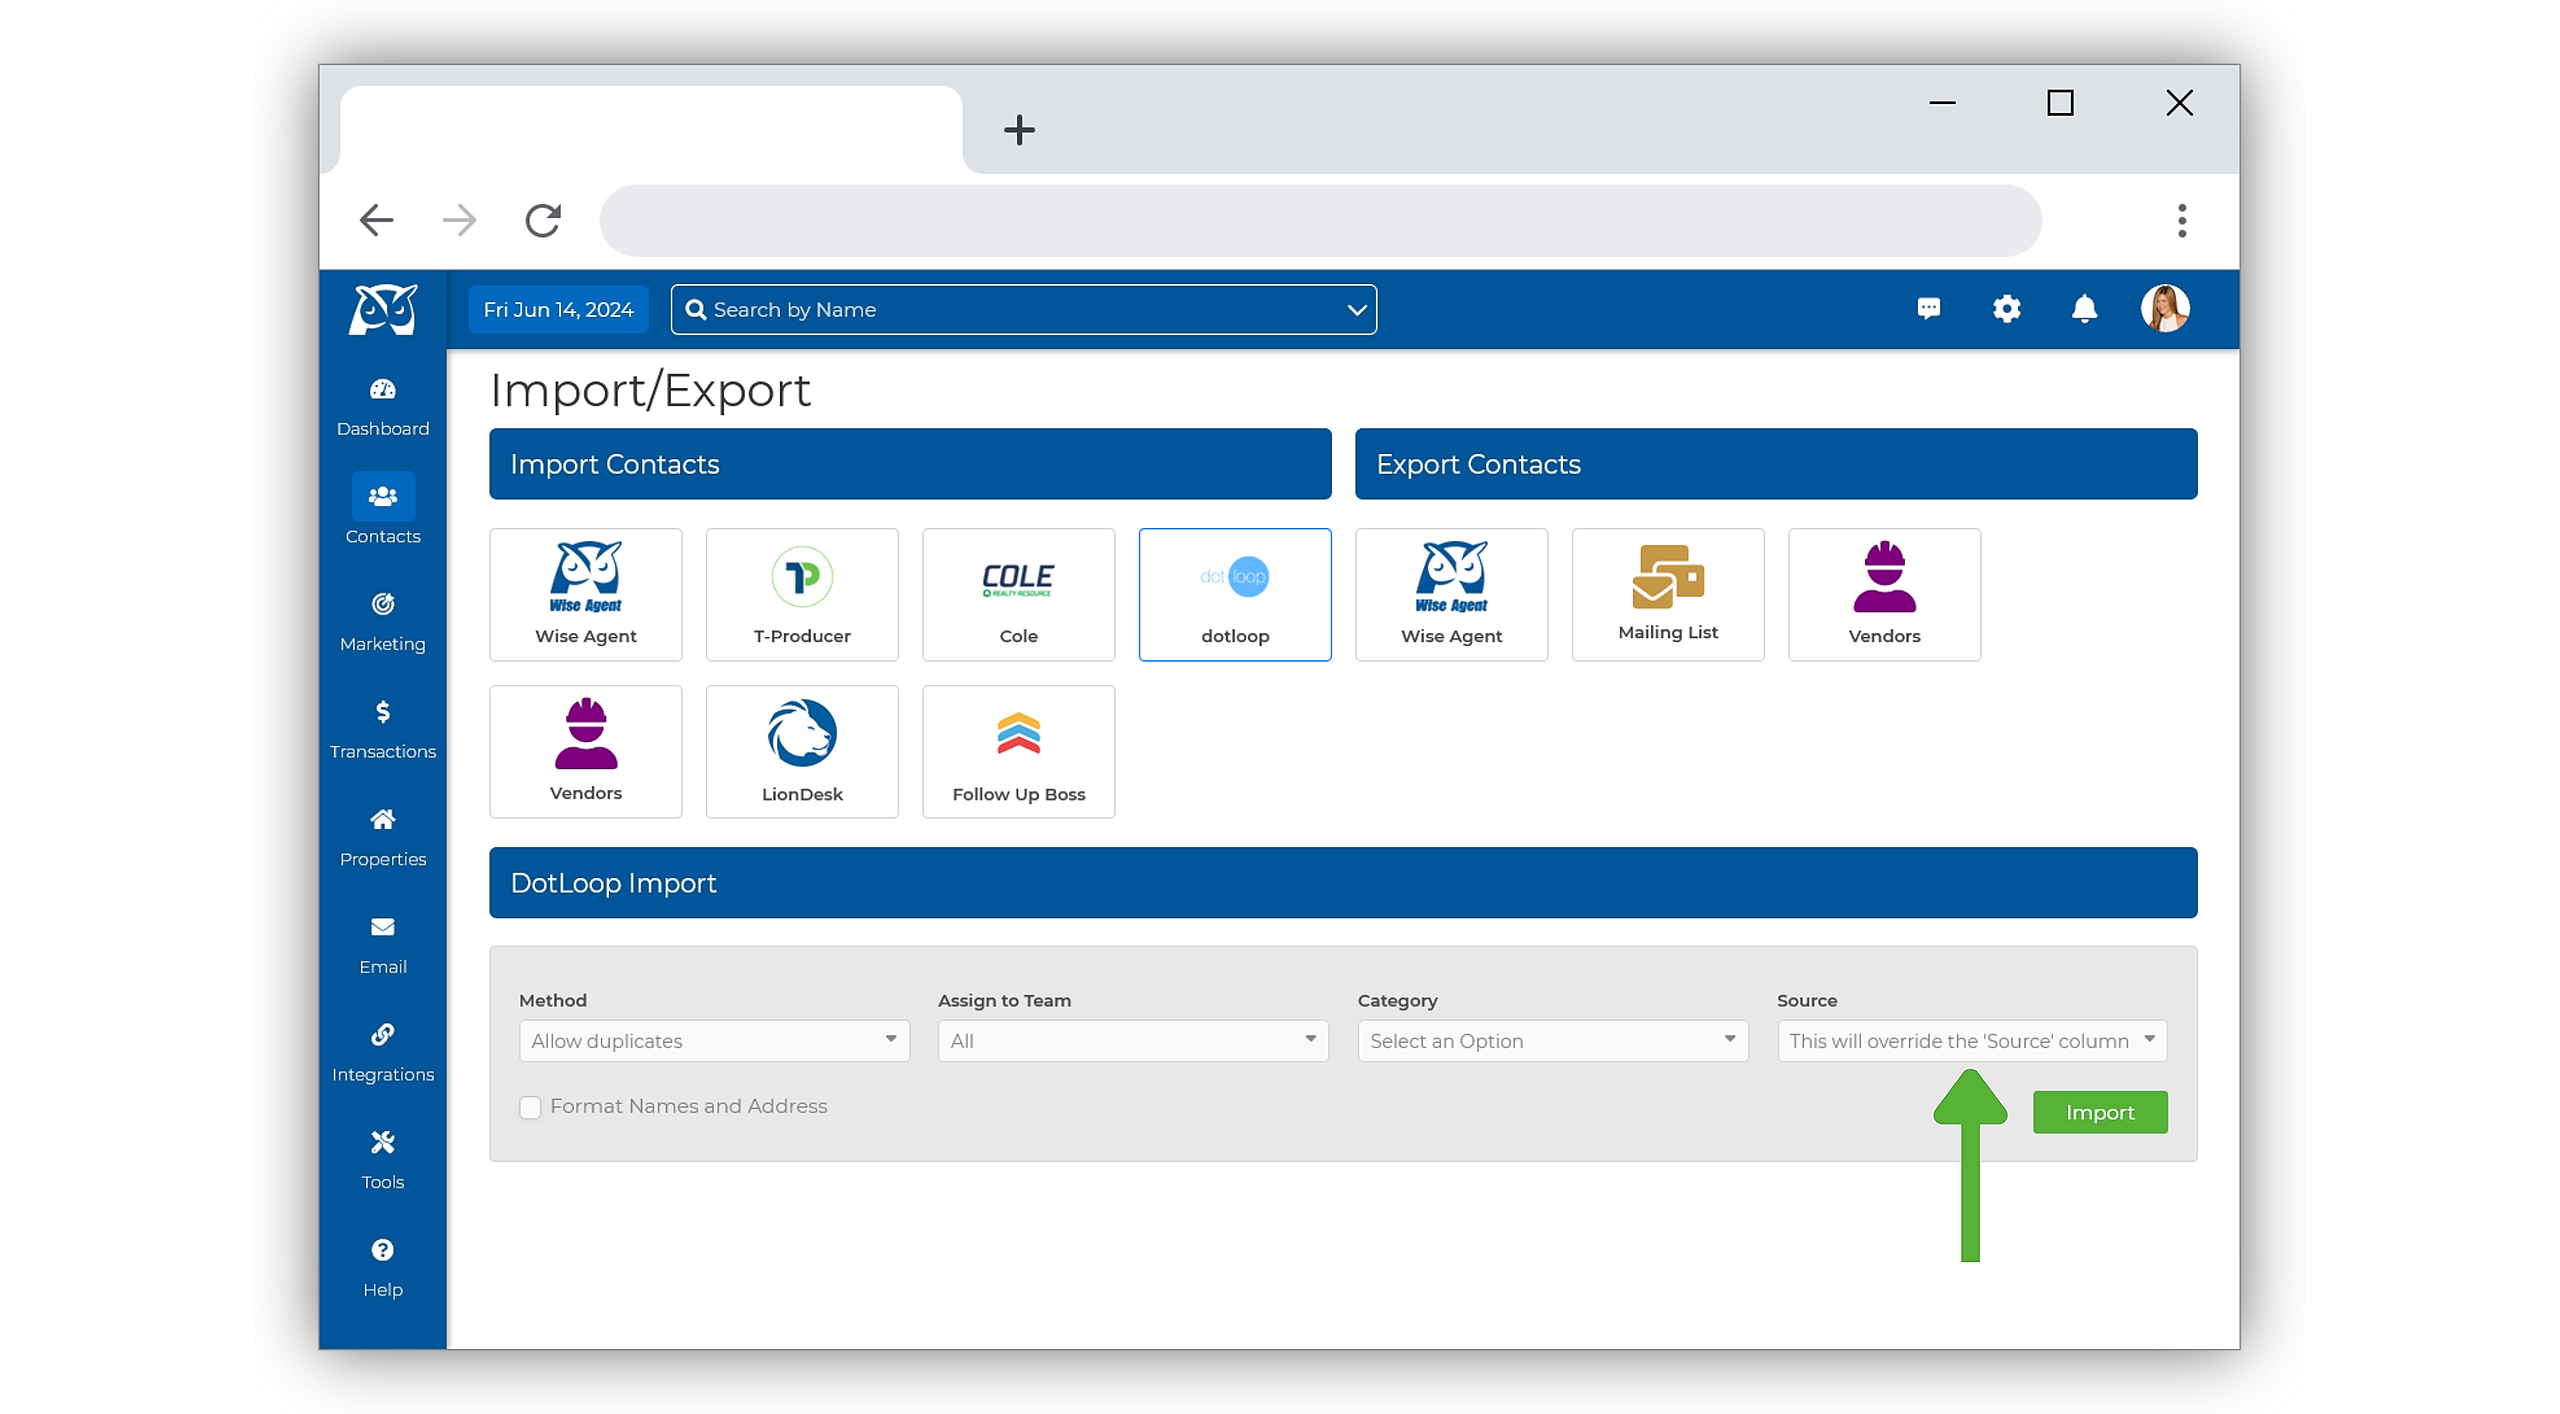
This step is optional, however, adding a category will help you segment your DotLoop audience for future marketing efforts! - Choose a Source to be added to all the contacts.
💡 Pro Tip: Label your contacts with a source named "DotLoop". This helps you easily identify contacts originating from DotLoop, keeping your database clean and organized! -
If you'd like to format your names and addresses added during the import process, check the Format Names and Addresses box. This option ensures consistency by correcting capitalization, punctuation, and common errors, making your contact information look uniform throughout your database.
-
After completing all sections, click Import. Your contacts will soon be added from DotLoop to your Wise Agent contact list. That's it!
Initiating A Loop From The Contact Summary Page
💡 Prior to initiating a loop, ensure that your contact's primary address includes both a state and country on their contact summary page.
- From the sidebar, select Contacts ➜ Contact List.
- Select the contact you want to include in a Loop, opening up their Contact Summary Page.
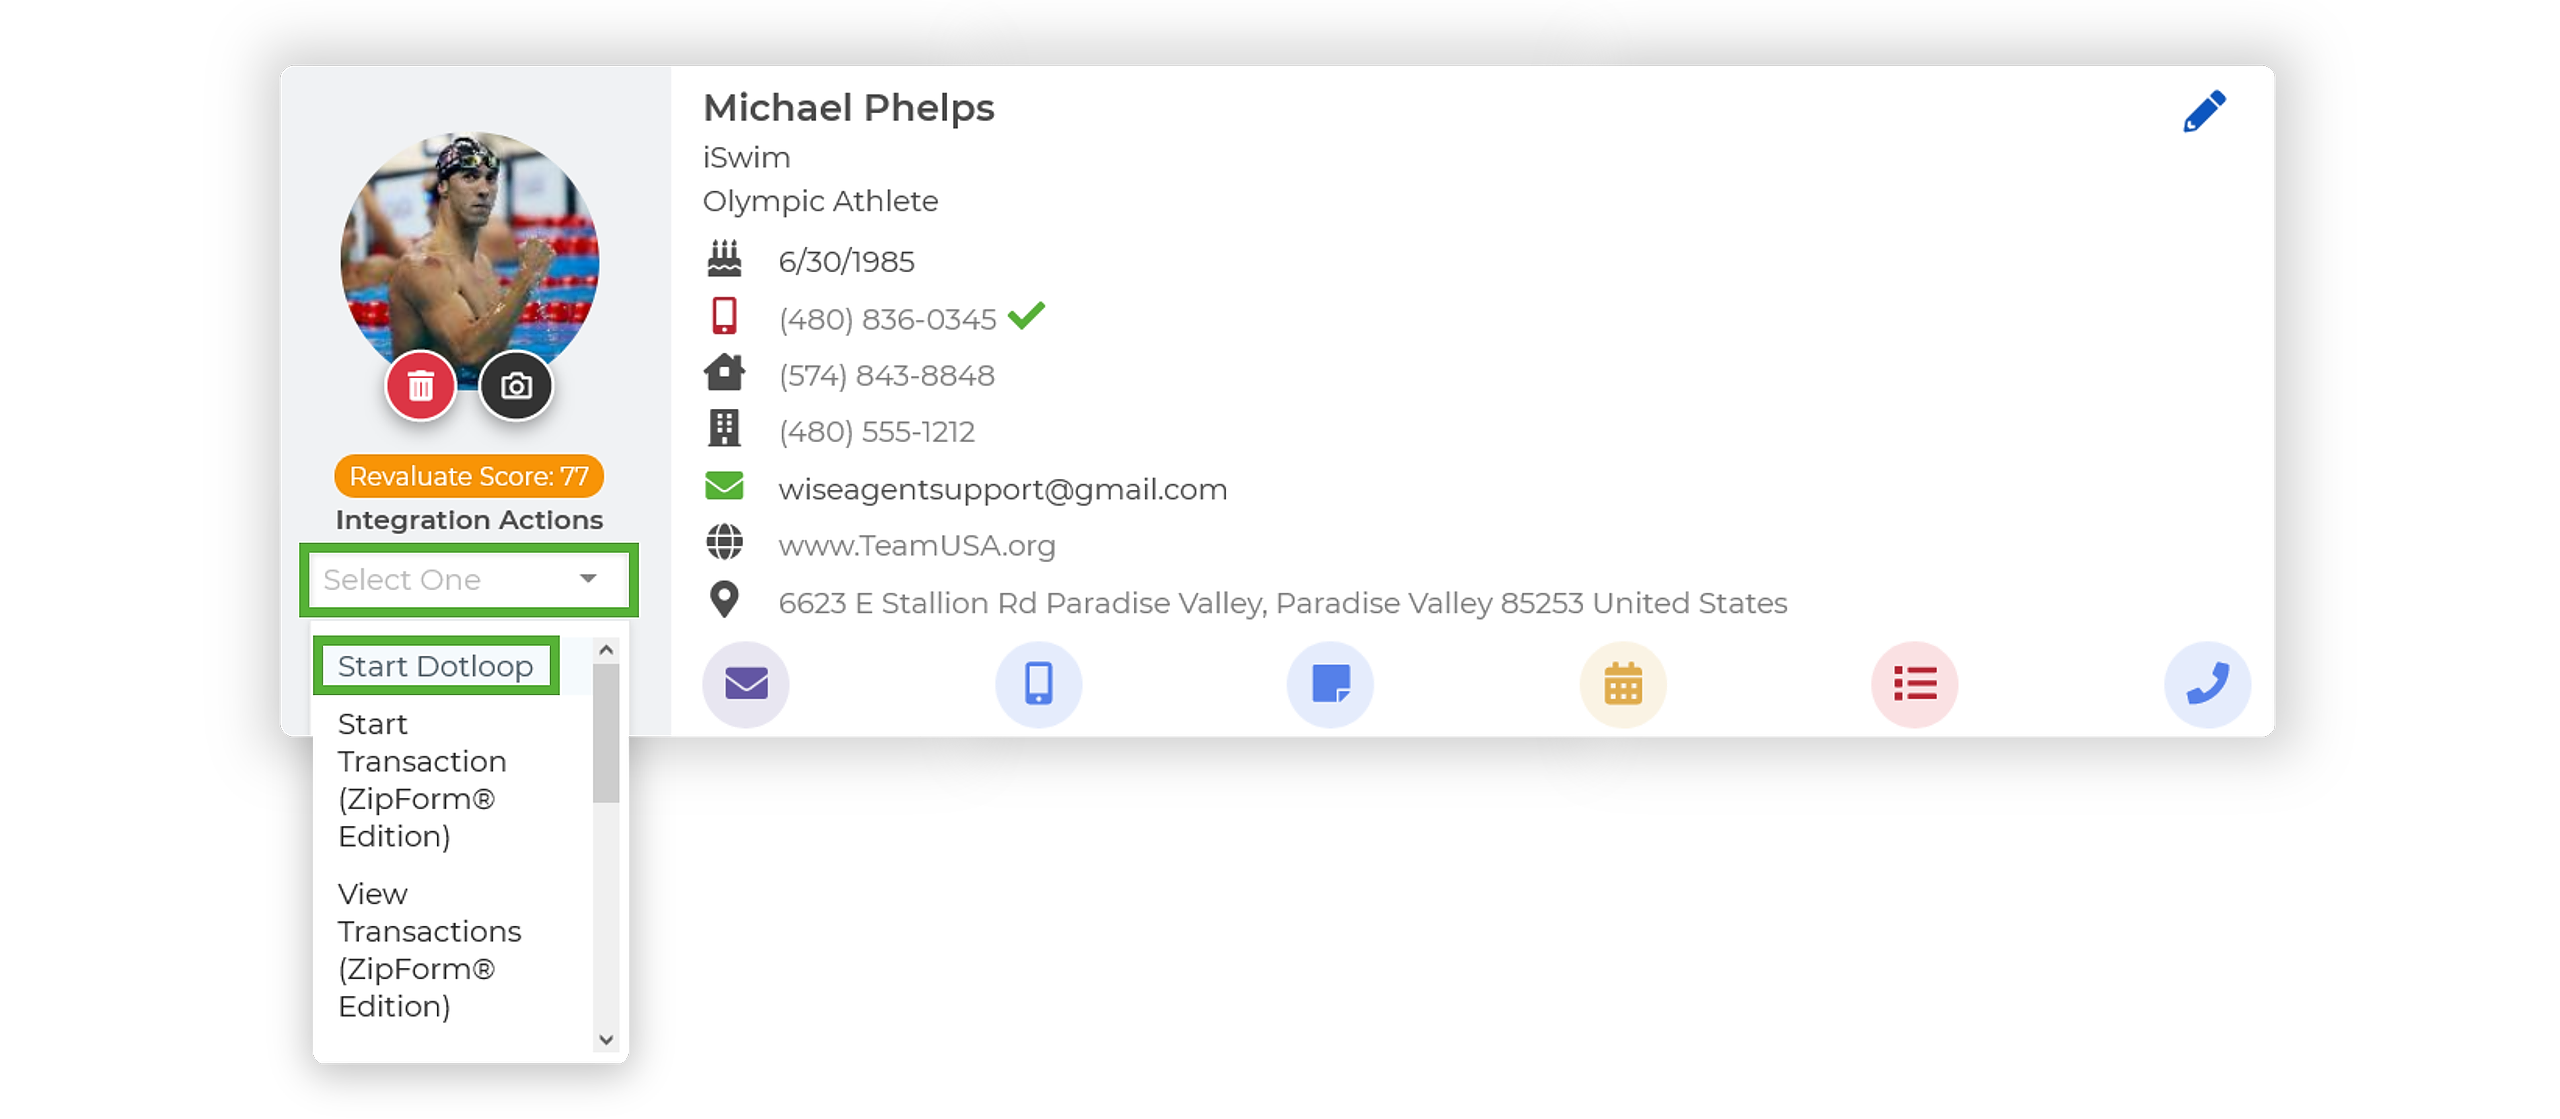
- From the Contact Summary, click on the Integration Actions drop-down menu and select Start DotLoop.
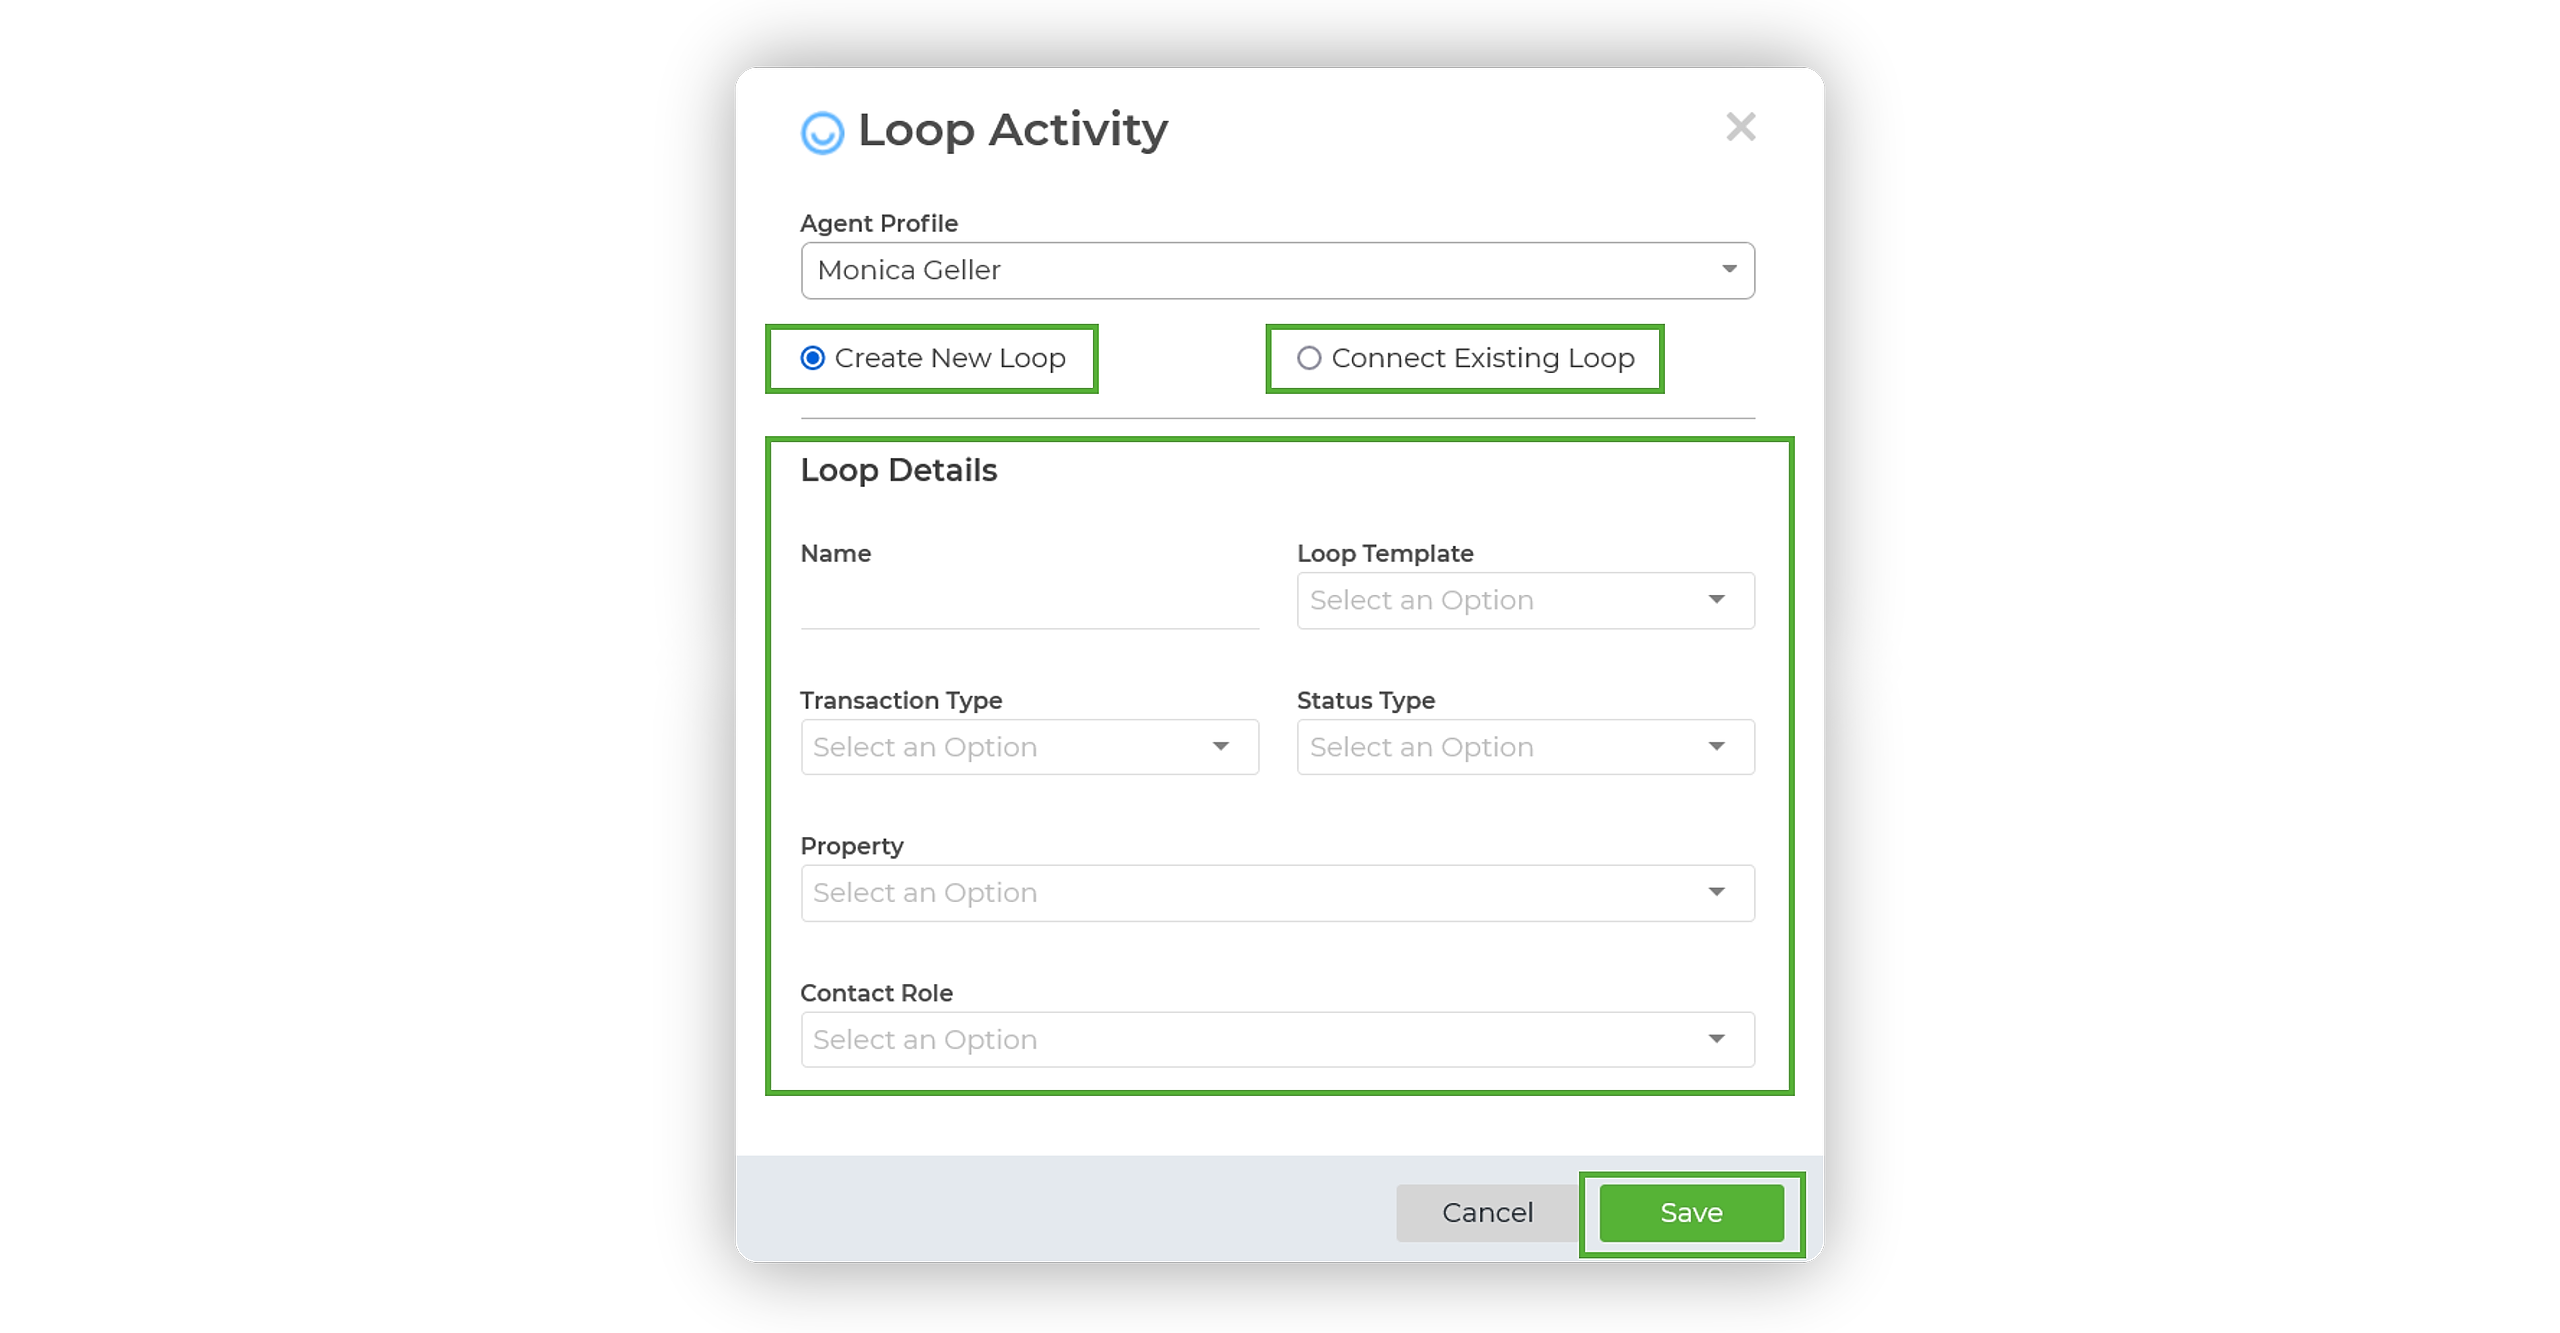
- Decide whether you wish to add this contact to an existing loop or if you want to create a new one altogether, then enter your Loop Details.
- Once completed, click Save!
Initiating A Loop From The Property List
Step 1: Adding Your Property To The Property List
- From the sidebar, navigate to Properties ➜ Add Property.
- Enter your property's address, then click Save.
Step 2: Initiating The Loop
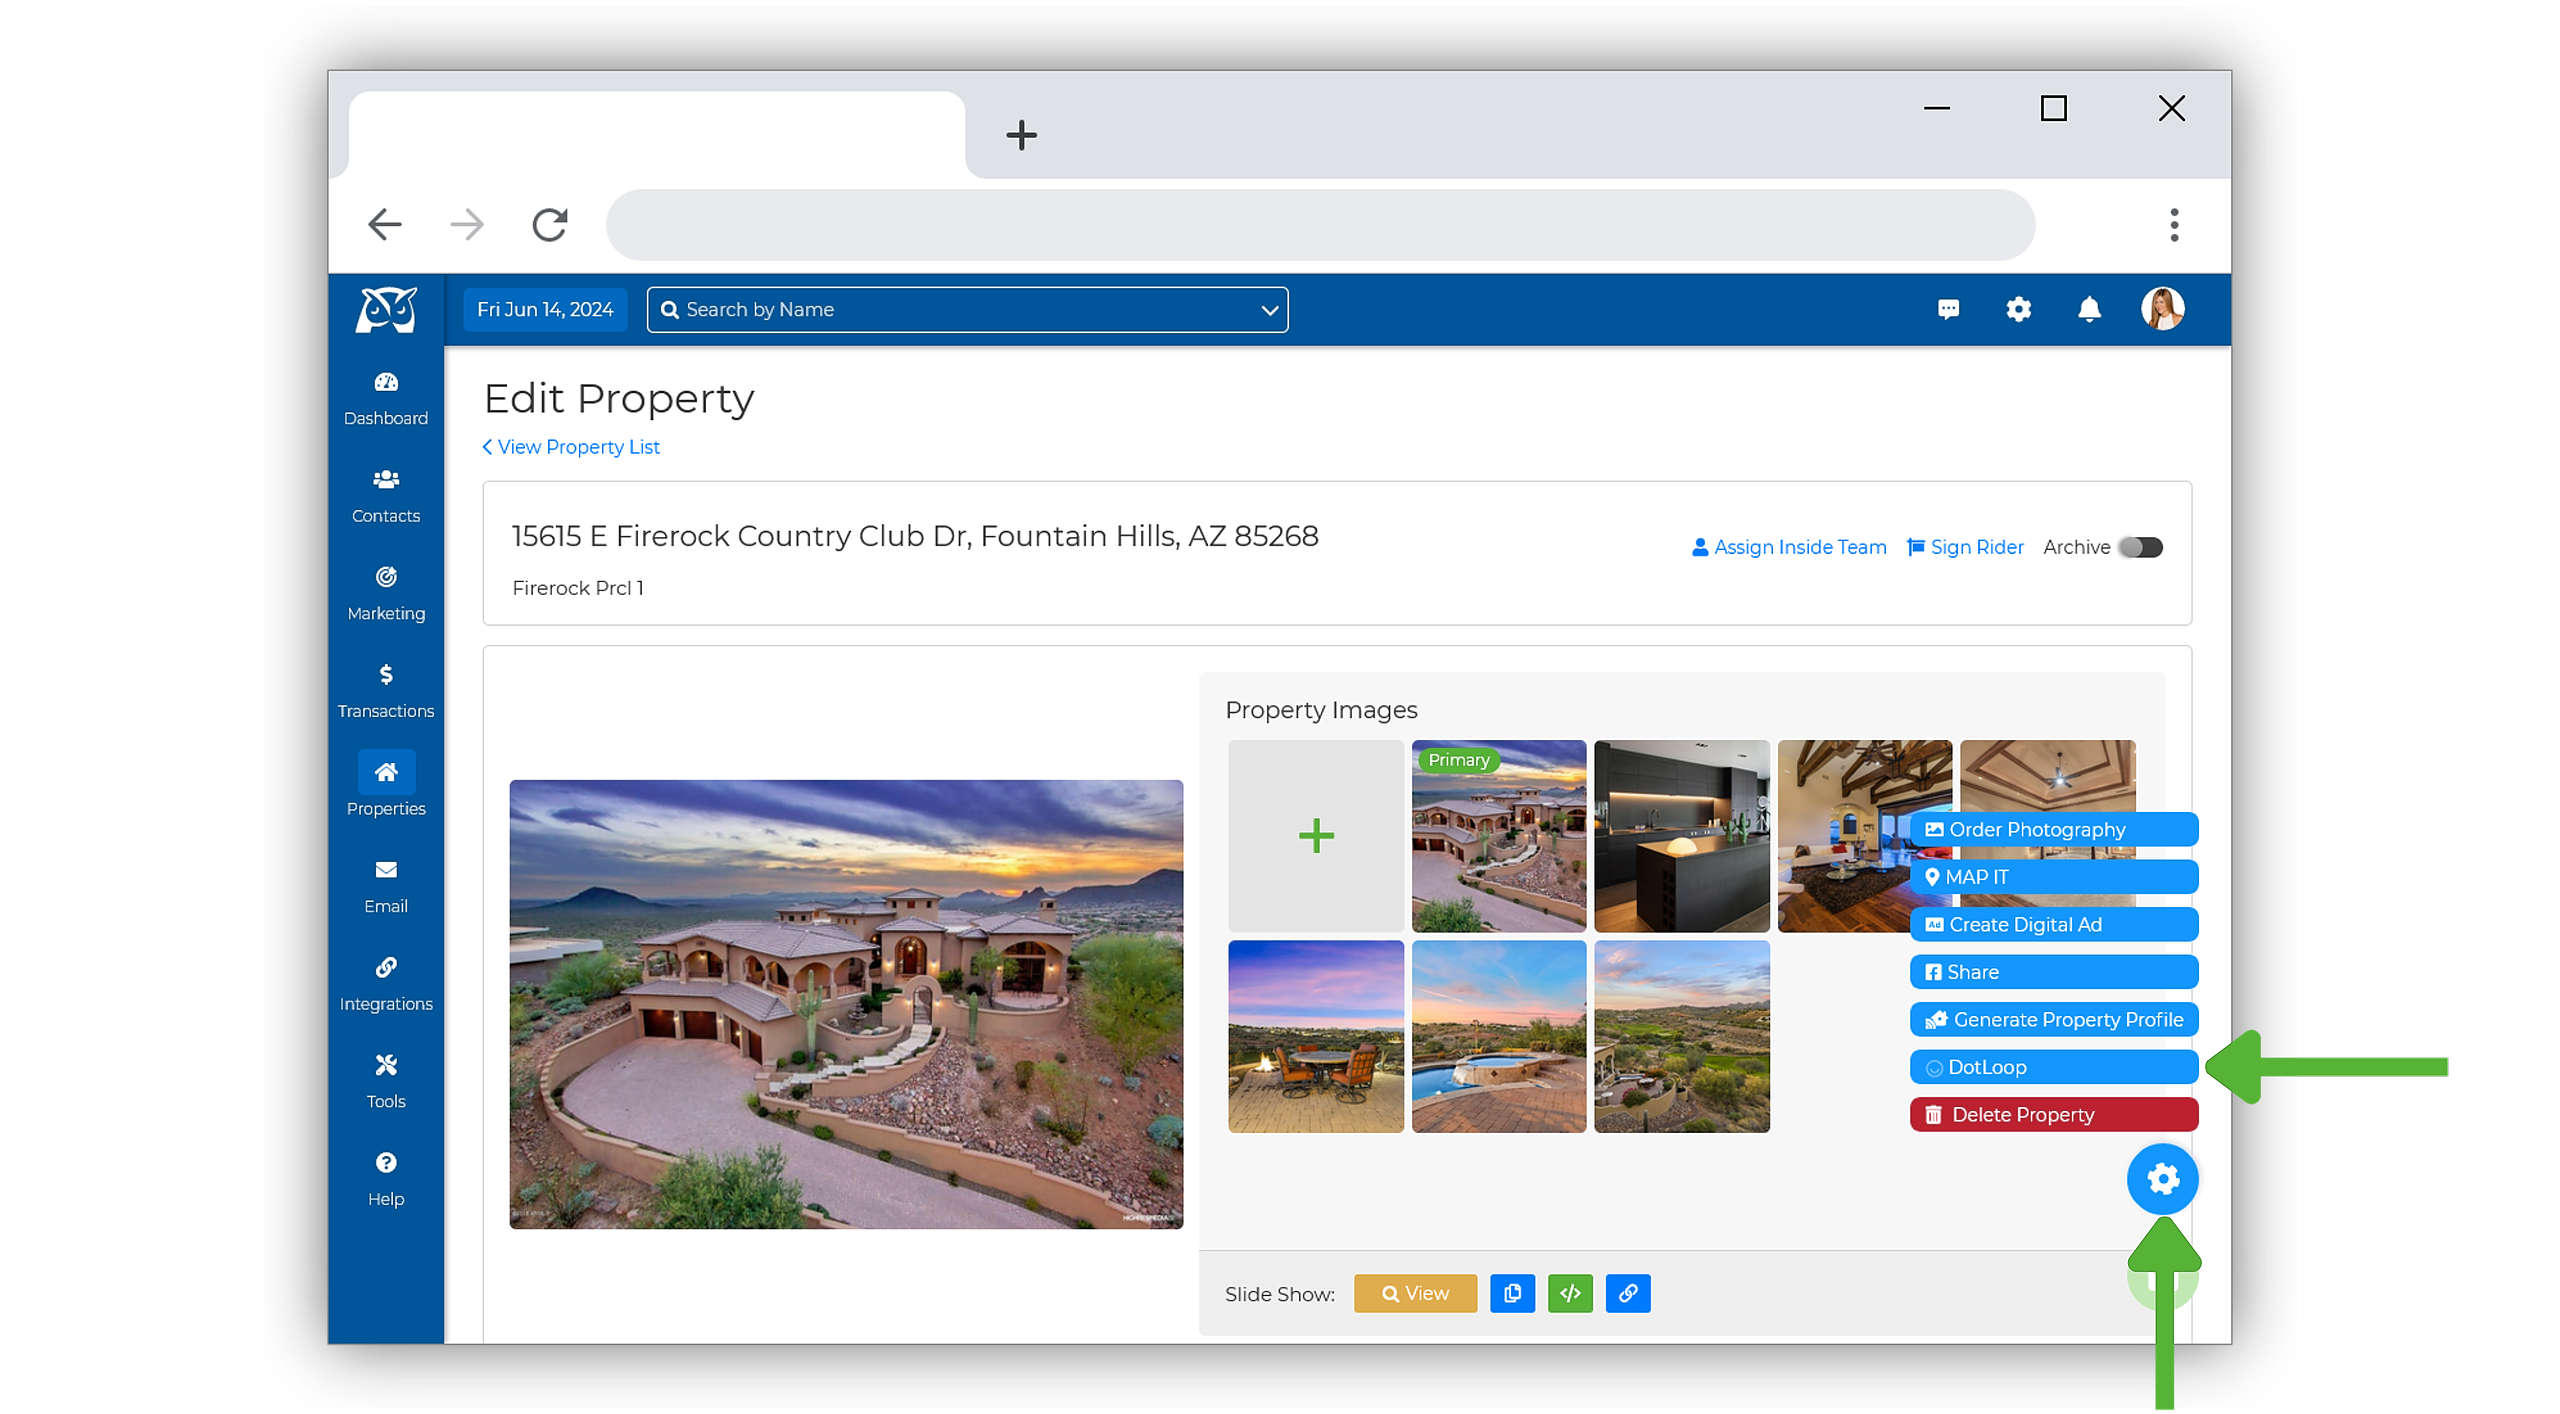
- After saving your new property, you will be directed to the Edit Property page. Alternatively, if the property already exists in your list, select it to enter the Edit Property page.
- In the bottom right-hand corner, click the blue gear icon, then choose DotLoop.
- Decide whether to add this property to an existing loop or create a new one, then fill in your Loop Details.
- Once done, click Save!
Important To Note...
DotLoop allows various profile types:
- Individual
- Team
- Office
- Company
- Association
- National Partner
With this in mind, Dotloop's API restricts access to only individual profiles. Even if a user has access to profiles under an Office or Company profile that has their templates, the integration will only function correctly for those with an individual account.


